
How to paint almost any surface
With proper preparation and the right paint products, you can paint almost any surface in and around the home.
27/02/2019
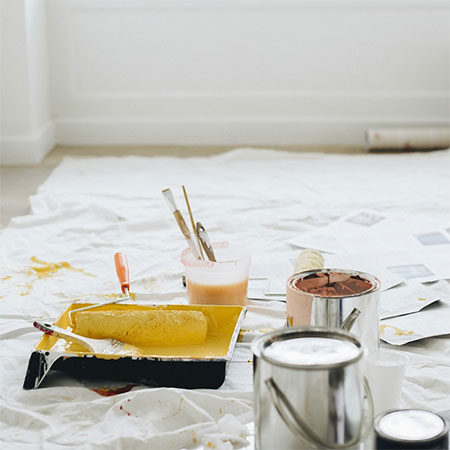
The interior and exterior of a home have a variety of surfaces that need painting, and with proper preparation and the right paint products, you can paint almost any surface.
Every home requires constant ongoing maintenance that includes painting, sealing or varnishing of interior and exterior wood, preventing rust on steel, painting interior and exterior trim, and keeping walls - both inside and outside - looking fresh. That involves painting a variety of different surfaces and materials. To ensure you achieve a professional and long-lasting finish, no matter the surface, we have included a few essential tips for painting a variety of surfaces in a home.
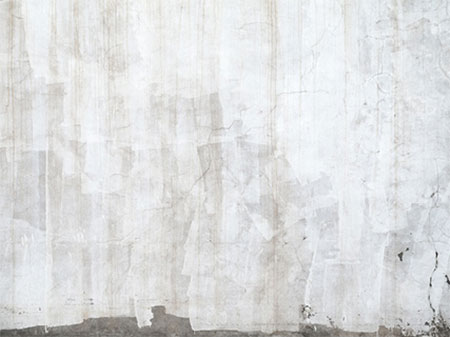
Painting Plaster
First and foremost, keep in mind that plaster should only be painted once it is completely dry. The drying time is based on the type of plaster applied and you should refer to the manufacturer's recommended guidelines for a particular product. Also keep in mind that drying time can vary depending on the weather, temperature and the surface it was applied over.
Interior Plaster
For interior plaster, you can use water-based plaster primer.
Exterior Plaster
An oil-based plaster primer is recommended for exterior plaster finishes.
How to apply Plaster Primer
When applying a primer to fresh plaster, start with a mist coat of paint that is diluted with water. Apply this mist coat with a paint roller and you will see that the plaster soaks up the moisture immediately.
After application of the mist coat, paint walls with one to two coats of plaster primer, or as specified by the manufacturer.
Where to apply Plaster Primer
Any new plaster application on interior or exterior walls should be primed with the appropriate plaster primer, this including touch-up and repairs to plaster walls, RhinoLite or similar plaster products, as well as plaster and plasterboard mouldings and ceiling roses.
Painting Wood
If you are not applying sealer or varnish to wood finishes, and not intentionally letting wood finishes age naturally, paint is an excellent way to protect wood finishes. There are a few essential steps that need to be observed to ensure any paint finish bonds to wood to protect and preserve.
Raw Wood
Any wood needs to be cleaned to remove any surface dirt, peeling or flaking paint. If you are painting a piece of furniture, fill any holes with wood filler, let dry and then sand smooth - or coat exposed screws with metal primer to prevent rust spots or discolouring. To smooth out any unevenness on the surface of wood use 120-grit sandpaper - by hand or with a sander.
GOOD TO KNOW: When hand sanding or using anything other than an orbital or random orbit sander, sand in the direction of the grain (lines in the wood). This will give the surface a smooth finish that is easier to paint. Clean the surface after sanding.
Apply one coat of wood primer - or two coats if it’s going to be exposed to severe weather outdoors - using a paintbrush or paint roller and leave to dry thoroughly between each coat. Allow the primer to dry thoroughly. You can give it a light sanding before painting for a smooth surface. Finish with the paint and colour of your choice. An oil-based primer is best for exterior use and a water-based primer is ideal for indoor furniture and decor.
GOOD TO KNOW: If there are any knots it is especially important to seal these with a primer to prevent bleeding through the paint.
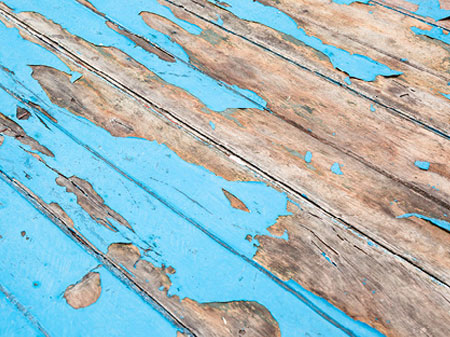
Previously Painted Wood
If you want a long-lasting finish for your furniture, don’t just slap a new coat of paint on previously painted wood. It still needs a bit of preparation beforehand, especially if the surface is in poor condition.
Where necessary, remove the old paint or varnish with a paint stripper or by scraping any peeling paint off with a paint scraper. Once you've done that you can do a bit of sanding and repair. Fill and repair holes in the wood with wood filler and let this dry before sanding smooth. Sanding will also smooth out any irregularities. Wipe clean after sanding.
To provide a better surface for paint, and for best adhesion, apply one coat of oil-based universal undercoat. Once this is dry you can give the surface a light sanding with 180-grit sandpaper to smooth. Finish with the paint colour and coating of your choice.
Painting Brick
There are now several quality paint products on the market that can be used to paint facebrick or exterior cement brick. However, don't skip the prep work for a lasting finish.
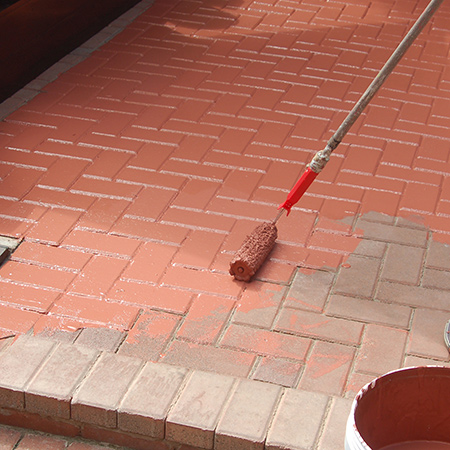
Clean exterior brickwork using a high-pressure spray (outdoors) or using a soft scrubbing brush and sugar soap in warm water (indoors). For deeper insets and loose mortar you can use a stiff brush.
GOOD TO KNOW: On exterior brickwork, mildew might be a problem, and this can be treated with a diluted bleach solution (one part bleach and three parts water). Soak the affected area for an hour and scrub the mildew with a firm brush. Rinse the area with fresh water. After cleaning, leave the brick to dry for at least a day (in cooler climates at least 48 hours) before painting.
Painting Concrete
Only raw concrete can be painted. If you want to paint previously painted or sealed concrete, use a concrete etch to prepare the surface for painting.
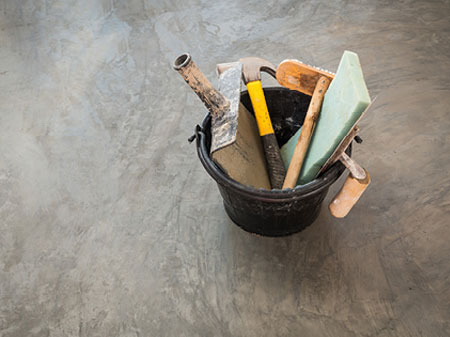
Clean the concrete beforehand using a stiff brush for wall and floors to remove any dust and dirt, or use a high-pressure spray. Scrub the surface with a scrubbing brush and apply a concrete-cleaning solution. Follow the recommended guidelines for application. Allow the surface to dry completely.
GOOD TO KNOW: To test interior floors and walls for excess moisture, tape a piece of plastic to the wall or floor for a day - or use a black rubbing bag. Leave this on for at least 24 hours. Check the outside of the plastic facing away from the wall. If there is moisture, the humidity level in the room is high. If there is moisture present on the side against the wall, then it’s either not dry yet or is absorbing a heavy amount of moisture from the ground beneath it.
Where moisture is present, determine the source and treat the cause of the moisture. The wall must be dry (for at least 30 days) before applying a plaster primer and then paint.
Paint Tiles
Nowadays, it is possible to paint over ceramic or porcelain wall tiles but proper preparation is essential to provide a good bond between the tiles and paint. While it is possible to paint floor tiles, this is not recommended.
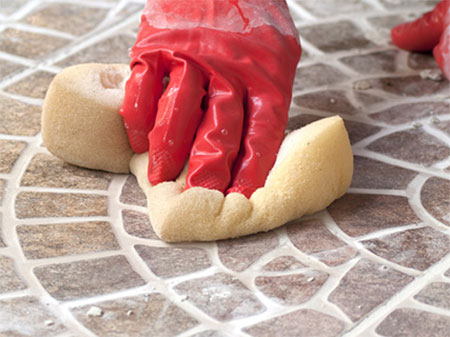
Clean tiles thoroughly with a sponge using a tile cleaner or sugar soap. You need to remove all traces of soap scum, grease and dirt. (Remember to wear rubber gloves!) Rinse thoroughly with fresh water to remove all traces of soap and allow to dry.
Use masking tape to mask off all areas that are not being painted.
Apply one coat of tile primer to the tiles and grout, ensuring that all areas are evenly covered and leave to dry completely before applying the paint. Allow longer recoating times in cool and wet weather conditions.
Painting Melamine or Laminate
When you want to update melamine or laminated furniture, using paint is the easiest and most affordable solution.
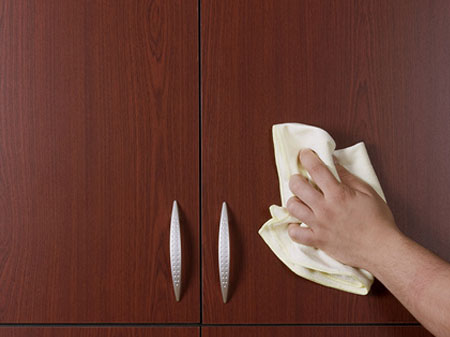
Wipe down and clean the surface with sugar soap using a sponge. (Remember rubber gloves!) Rinse and wipe dry.
You can repair any damage to the surface by filling cracks and other defects with crack filler and allow to dry before sanding smooth.
Lightly sand the melamine or laminate surfaces with 180-grit sandpaper to de-gloss the finish and provide a key. Wipe off any dust before painting with your choice of paint.