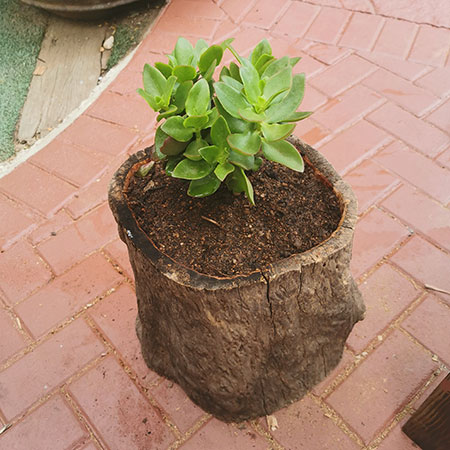
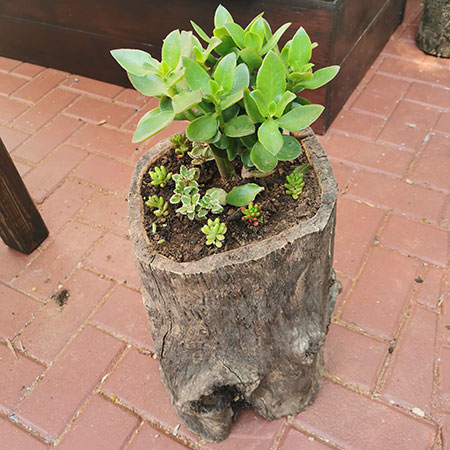
Tree Stump Planter for Succulents
This past weekend I got stuck into carving out a tree stump to plant up a small succulent garden.
16/10/2019
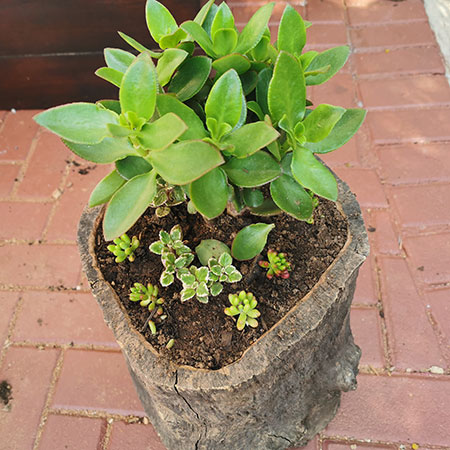
This past weekend I had some spare time on my hands (for a change) and decided to put some tree stumps to good use to make planters for all the succulents I recently bought. I have had the tree stumps lying around for about 3 to 4 years from when we had to cut down a large Pepper tree, so they are dried out and perfect for using.
First off, most trees grown in the garden are not really suitable for DIY projects. Garden-variety trees have extremely hard hardwood that will blunt most tools almost instantly. They are nice for turning into table bases and such, but other than that the wood is far too hard to make them easy to work with.
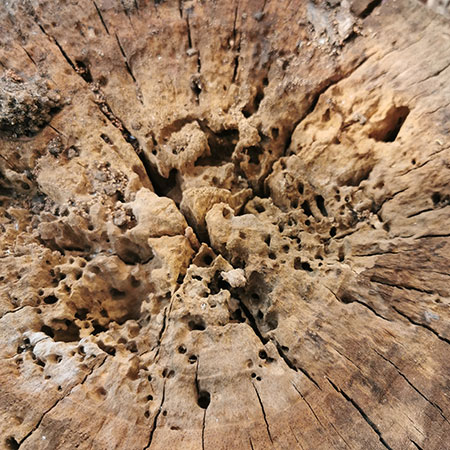
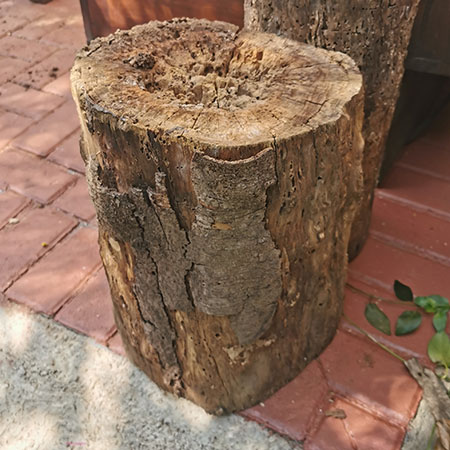
With these stumps being left for 3 to 4 years, they have had time to dry out and they are also full of holes from termites. This will make it a bit easier to work with them.
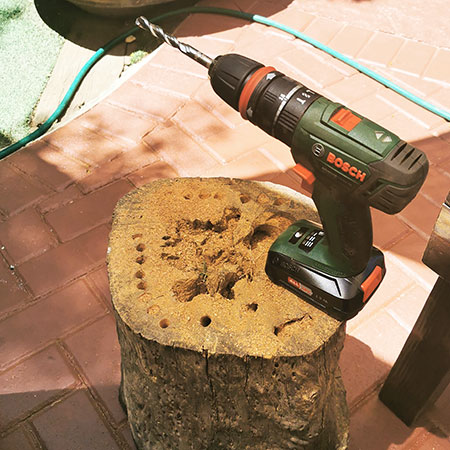
This project was the perfect opportunity to put my new Bosch investment to the test. With the wood being so hard I didn't want to damage my 18V drill/driver, but the Bosch Advanced Impact 18 drill is hopefully up to the job. Keep in mind that an Impact drill is far more powerful than a conventional drill/driver. Check out this article if you are not sure about the differences between these two tools.
The drill bit you use is also important. I will be using an Alpen drill bit specified for hardwood to drill out the stump. This, combined with the Advanced Impact drill, should make the job much easier and faster.
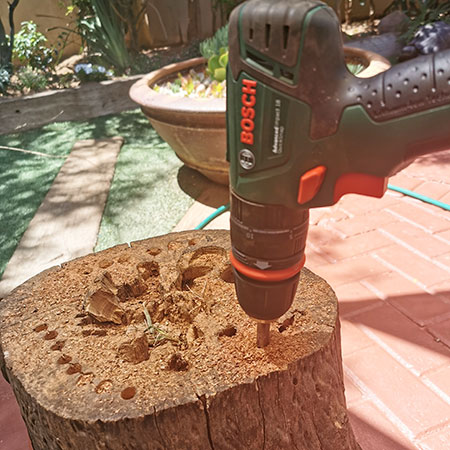
1. The first step was to drill a row of holes around the inside perimeter of where I will be removing wood from the stump. I have allowed a minimum 20cm-wide border all around, and this should prevent damaging the stump.
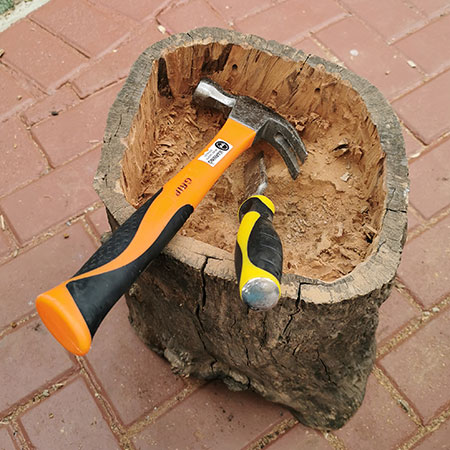
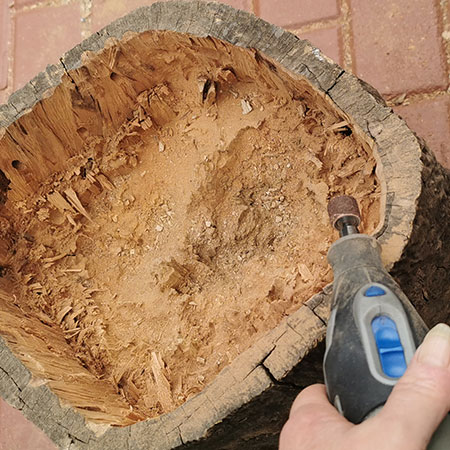
2. After drilling all the holes I switched to using a hammer and chisel to remove most of the wood on the inside of the stump. Only use a sharp chisel, or you will spend hours and hours trying to remove hard wood. I didn't spend the whole weekend doing this, but every time I came outside for a cup of coffee I got stuck in!
3. The edges around the outside of the hole were tidied up using my Dremel multitool and a sanding ring. This step is optional but it does give the planter a nice neat finish.
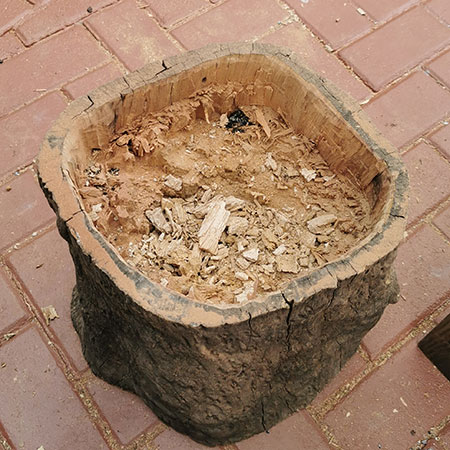
Now all that is left to do is to add some soil and start planting the succulents.