Make your own Ikea furniture starting with a Malm dresser
Ikea furniture is popular around the globe for its affordability and practical designs but it never really took on locally because here in SA we are not very fond of flatpack furniture. Here's how to make a Malm-style dresser or chest of drawers that is sturdy and functional and you can finish it to match your home decor.
workplayetc.wordpress.com
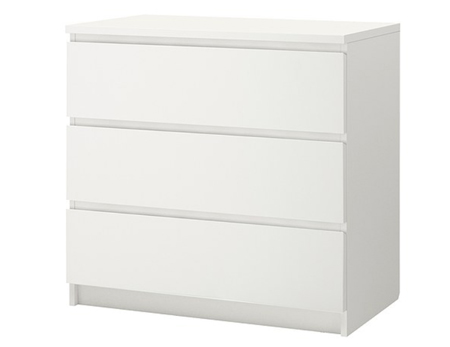
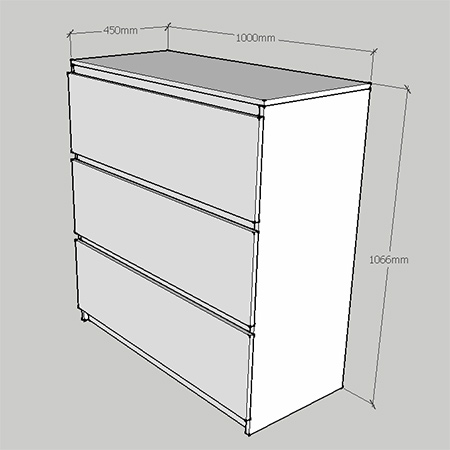
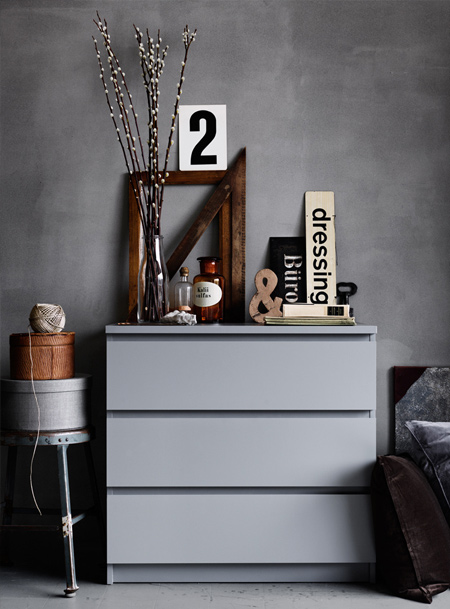
The Malm dresser or chest of drawers is one of Ikea's most popular designs. It comes in a 3- or 4-drawer option and a variety of finishes. For this project you will use half a sheet of 16mm MDF and half a sheet of 12mm MDF and then paint in your choice of colour before selecting your own finishing option to match the style of decor in your home.
A full sheet of 16mm MDF/Supawood costs around R600 while a full sheet of 12mm MDF costs around R450, which means you can make two chests of drawers for just over R1000. If you are buying everything at your local Builders, have them cut all the pieces required to size for easy assembly. Not all Builders stores carry stock of 12mm MDF, so check beforehand or order and have everything cut at your nearest supplier of timber and board. Find a list of timber and board suppliers around the country.
YOU WILL NEED:
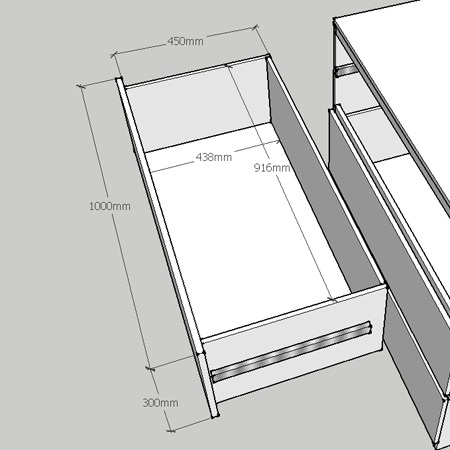
1 of 450 x 1000mm 16mm MDF - top
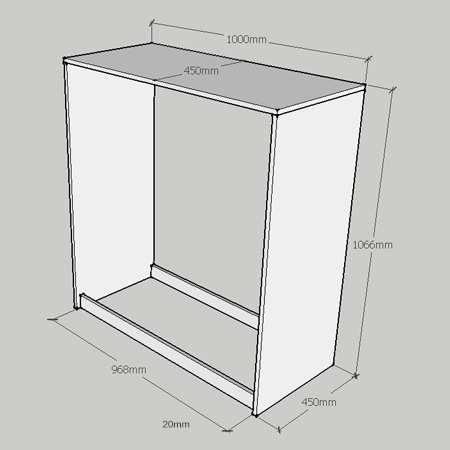
2 of 450 x 1050mm 16mm MDF - sides
2 of 60 x 968mm 16mm MDF - front / back apron
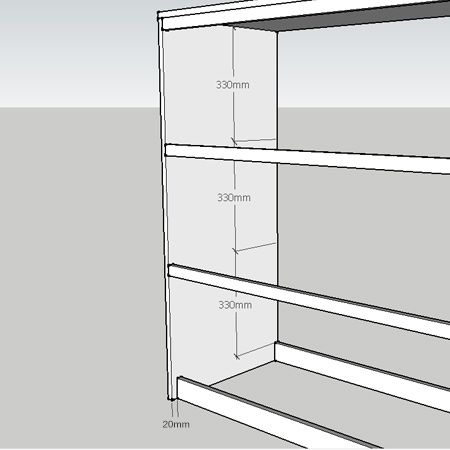
3 of 30 x 968mm 16mm MDF - drawer dividers
3 of 300 x 1000mm 16mm MDF - drawer fronts
6 of 280 x 450mm 12mm MDF - drawer sides
3 of 280 x 916mm 12mm MDF - drawer back
3 of 438 x 916mm 12mm MDF - drawer base
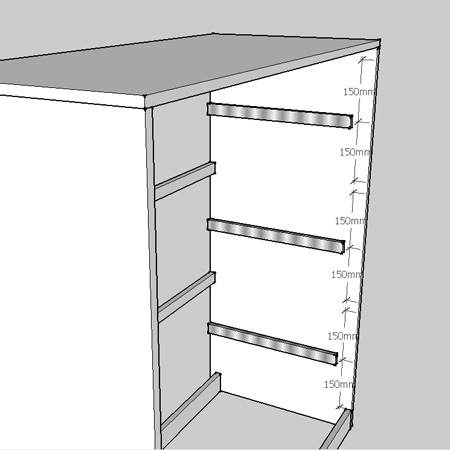
3 pair of 400mm ball-bearing drawer runners
12mm screws for drawers runners into drawer sides
16mm screws for drawer runners into cabinet sides
4 x 35mm screws
Wood filler
Wood glue
TOOLS:
Drill / Driver plus assorted bits
Countersink bit
Choice of joining tool*
For this project you have the option to join the sections together with simple butt joints (hiding the holes with wood filler), dowel joints (which can be a bit tricky), pocketholes on all 16mm sections, or a biscuit joiner. The last two option obviously cut down on the use of wood filler, since joins will not be visible on the outside. You will find plenty of tips and projects in our Beginner's DIY and DIY Tips sections on how each individual jointing method works.
HERE'S HOW:
The cabinet in this project measures 450mm deep x 1000mm wide x 1066mm high and has three deep drawers mounted on ballbearing drawer runners. The drawers are solid and made using 12mm MDF.
1. The first step is to assemble the cabinet frame by attaching the top to the sides. As mentioned above there are various methods for joining the sections and you will select the one that you can do with the tools that you have. See preferred jointing methods.
2. Attach the front and back aprons in the same way.
GOOD TO KNOW:
If using a butt joint you will
drill 3mm pilot holes through the top and into
the sides, countersink and drive in screws.
These holes will later be filled in with wood
filler.
3. To secure the drawer dividers, and because these are not very wide, the best methods would be to use dowels, pocketholes, drill through the sides into the dividers, or you could use steel angle braces at the back if you don't want any visible holes. For all options apply a bead of wood glue to the ends before attaching. The drawer dividers need to have a 300mm gap between them to allow for the drawer fronts.
4. With the frame of the cabinet complete you can attach the drawer runners. Allowing for the dividers and bottom apron, measure and mark 150mm for the centre of each drawer section. Mount the drawer runners with the holding screws on your drawn line.
GOOD TO KNOW:
If you haven't mounted drawer
runners before you will find helpful tips and
tricks in our
DIY section.
5. Assemble the individual drawers by joining together the sides and back and securing these around the base. Align the drawer front accurately onto the drawer sides with a 30mm overhang on both sides to allow for the cabinet frame and the drawer runners. The majority of drawer runners are 13mm thick and an extra 1mm has been allowed on both sides to take into consideration the painted size of the drawer.
6. After painting the cabinet and drawer assembly have someone help you to hold the individual drawers in place while you pull out and secure the drawer runners to the sides of each drawer.
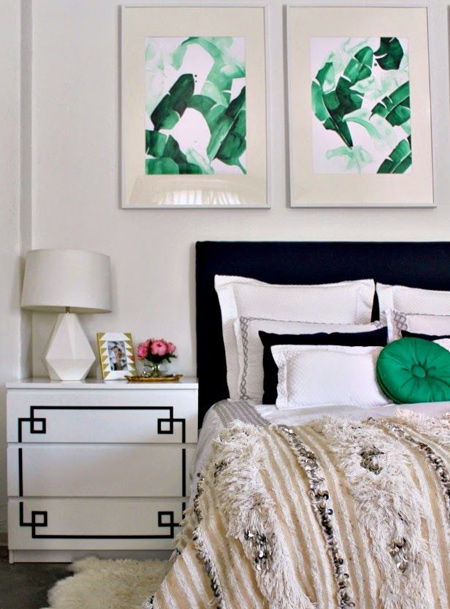
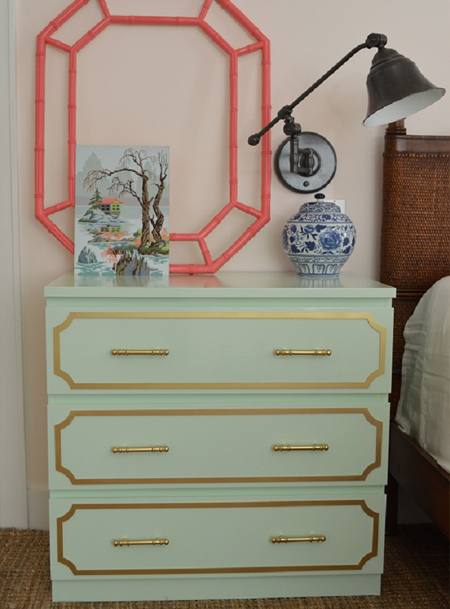
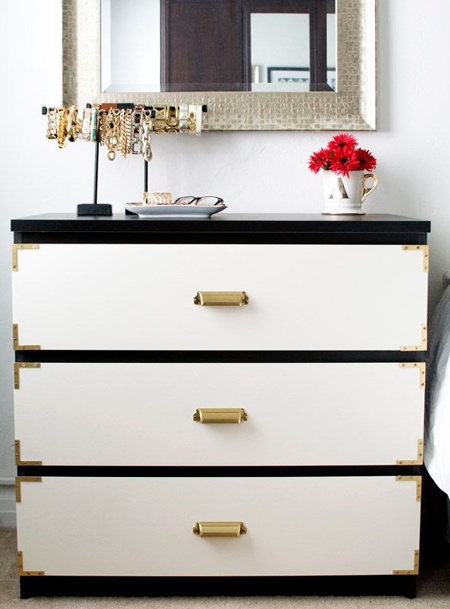
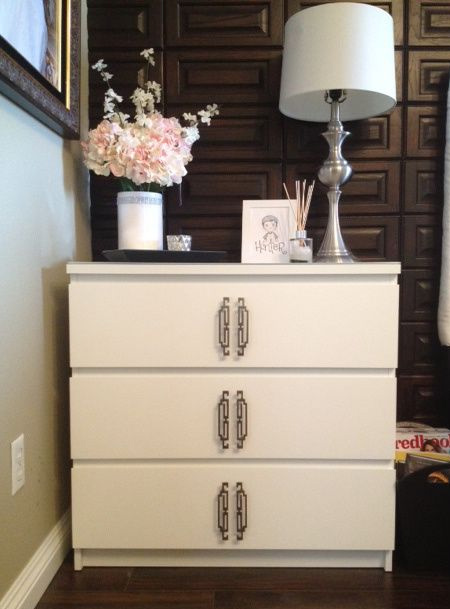
Finishing
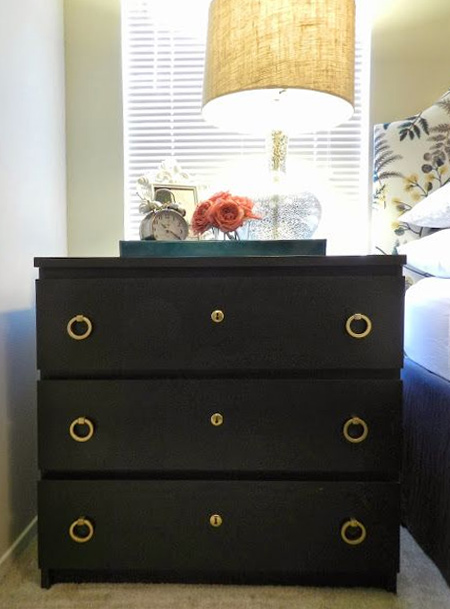
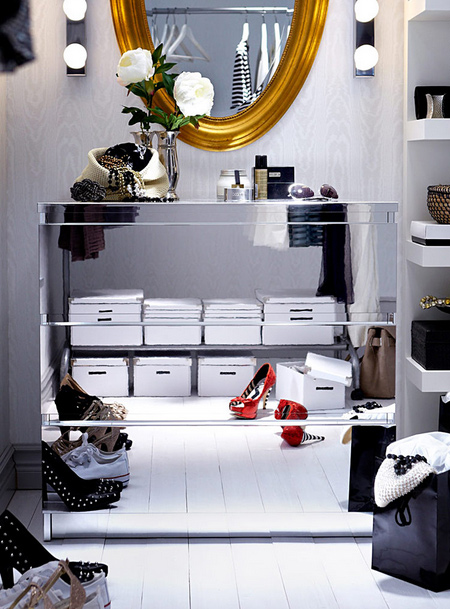
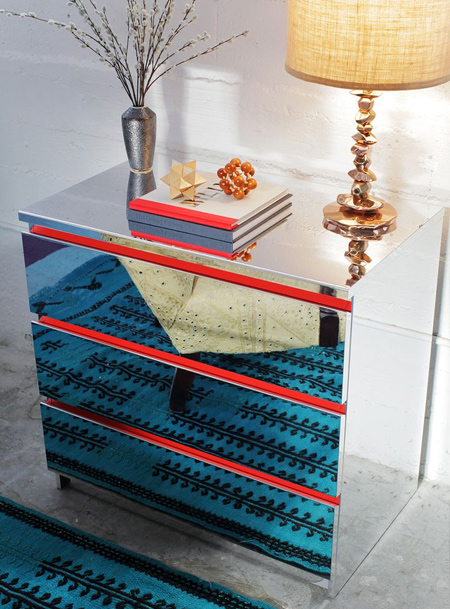
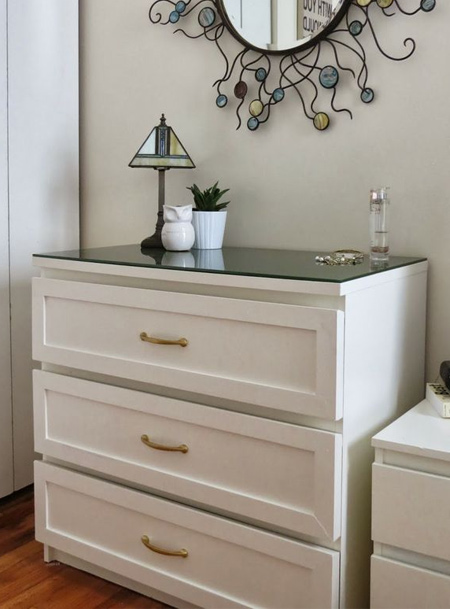
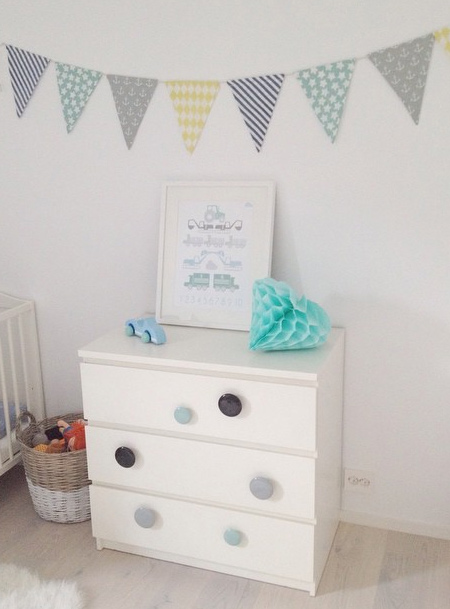
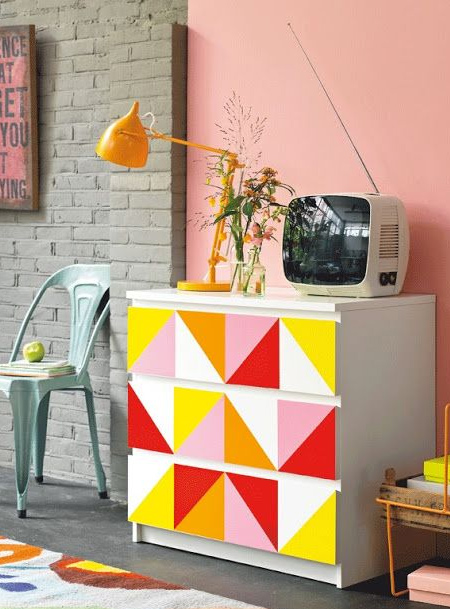
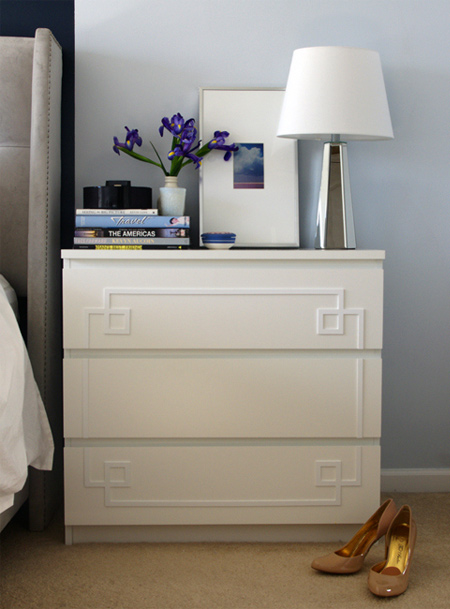
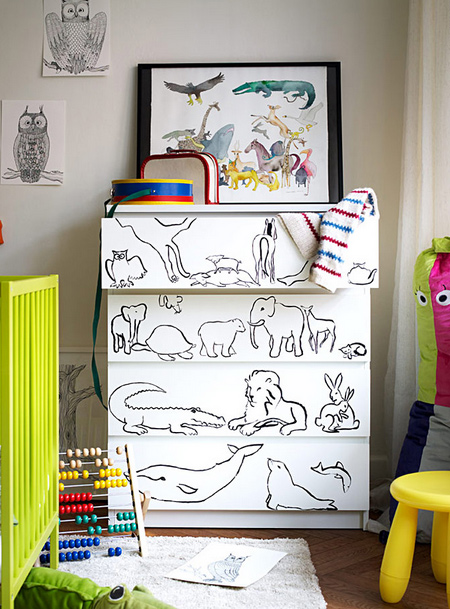
Take a look below to see some of the amazing ways to finish your new chest of drawers. You can leave as is and paint in trendy colours for a modern look, add moulding or trim for a cottage or shaker style, add mirror panels to create a statement piece, or just have fun with the piece.
livethemma.ikea.se
Painting in solid colours if easy if you have a Bosch PFS spray system. All the assembled sections can be placed on a large drop cloth and sprayed quickly with 3 to 4 coats of acrylic PVA in matt, sheen or gloss. See some of our projects using a Bosch PFS spray system in the DIY and Decorating sections.
Using matt allows you to do any additional paint techniques to the piece such as distressing or whitewashing, before applying either a clear acrylic sealer (Prominent Paints have an acrylic sealer ideal for finishing) or applying Woodoc antique wax. You will find more information on these techniques in our Decorating section.
livethemma.ikea.se