
Make a Server for your Dining Room
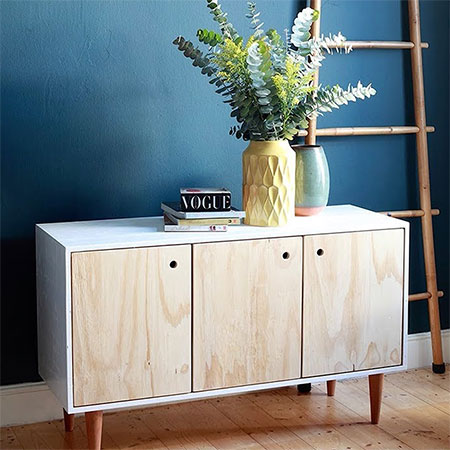
Using a simple basic box frame design, this server or sideboard is perfect for a dining room, or you can even use it in a bedroom or living room.
27/10/2018
gallo images
This plywood server or sideboard is a great addition to a dining room. You can create a focal point with a few decor accessories and pack the shelves with flatware and cutlery, or items you want close to the dining table. The unit can also be used as a media cabinet for your TV or hi-fi, or in a bedroom to provide more storage.
You can follow the step-by-step instructions below, or take a look at the video at the bottom of this page.
YOU WILL NEED:
Sheet of 18mm pine plywood cut to the following sizes:
4 of 500 x 400mm - box sides
2 of 364 x 400mm - bottom / shelf, small box
2 of 764 x 400mm - bottom / shelf, large box
4 of 364 x 70mm - struts, small box
4 of 764 x 70mm - struts, large box
1 of 500 x 1200mm - back
2 of 500 x 440mm - sides, outer frame
2 of 1240 x 440mm - top and bottom, outer frame
3 of 492 x 392mm - doors
Chipboard screws 6mm x 50mm, 8mm x 30mm and 6mm x 16mm
6 Concealed hinges
4 Legs, style of your choice
Sealer or varnish - clear or tinted - plus paintbrush
Pack of shelf pins
TOOLS:
Drill / Driver plus assorted bits
Countersink bit
24mm spade bit
Orbital Sander plus 120- and 240-grit sandpaper
Quick clamps
Tape measure and pencil
Not responsible for errors or omissions
HERE'S HOW:
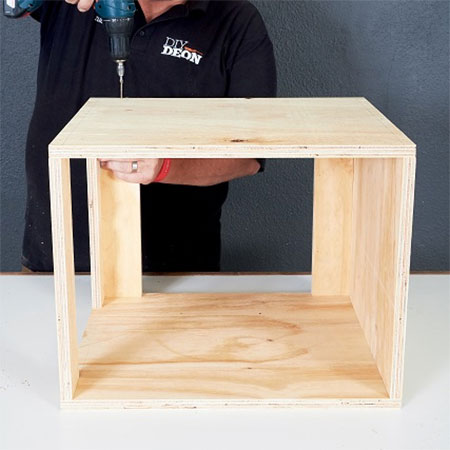
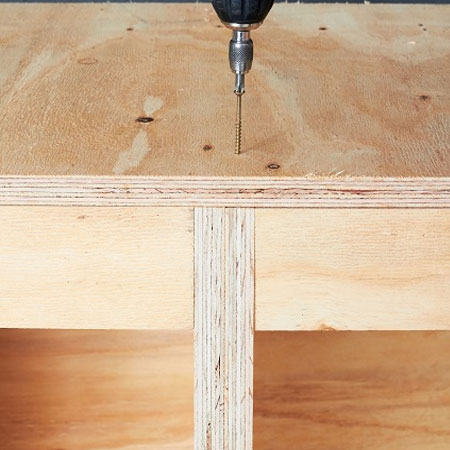
1. Assemble the smaller boxes by joining the 364 x 400mm bottom between the short sides of [2] 500 x 400mm box sides. These are screwed together using 50mm screws. Screw [2] 364 x 70mm struts between the other short sides (the top) and the other two at the back.
GOOD TO KNOW: Drill 3mm pilot holes and countersink all visible screws (that will show on the outside of the frame).
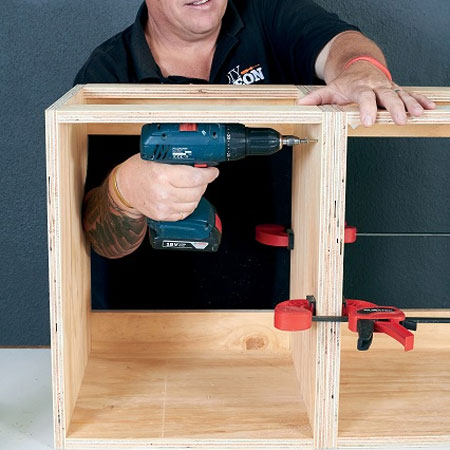
2. Repeat the same process for the larger box, but substitute with the 764mm pieces. Join the two boxes together with 30mm screws.
GOOD TO KNOW: Use quick clamps to hold the boxes firmly in position while joining.
3. Place the server on its back - facing upwards. Join the 500 x 1200mm back piece. This piece will keep the server square and sturdy.
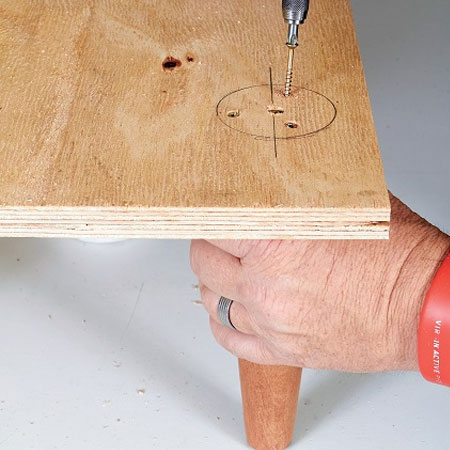
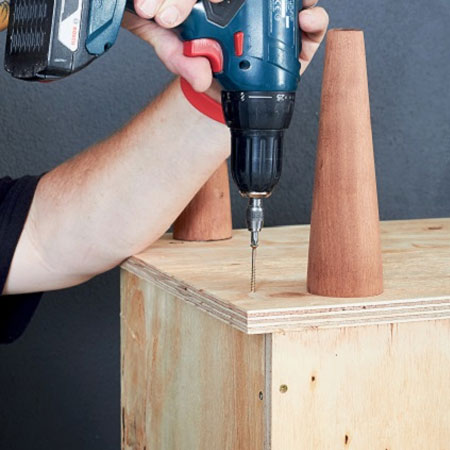
4. Measure and mark the location where you want to position the legs. These will be positioned at the corners (of the 1240 x 440mm bottom) of the outer frame. Drill pilot holes before attaching the legs with 50mm screws.
5. Place the server upside down in order to screw the base in position. Make sure the rear edge sits flush with the back.
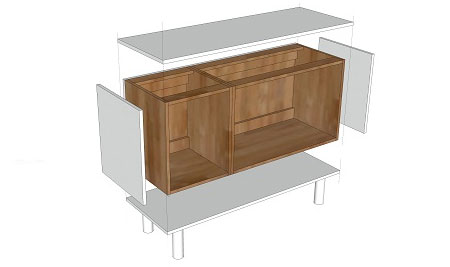
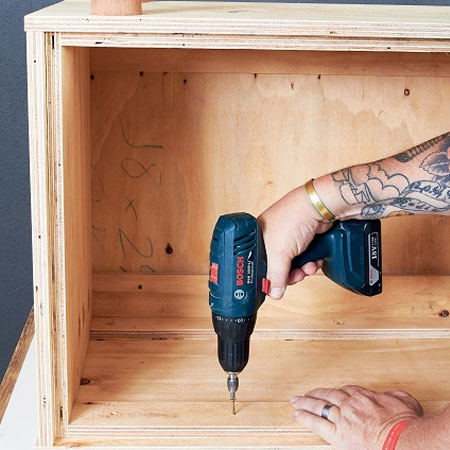
6. Attach the [2] 500 x 440mm sides of the outer frame to the box sides - from the inside. Place the sideboard upside down on top of the remaining 1 240 x 440mm piece and screw together from inside. This will form the top of the sideboard
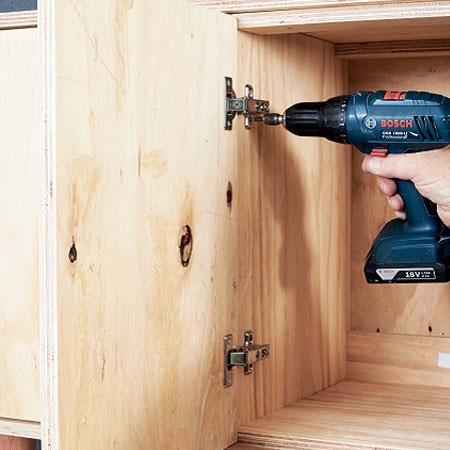
7. Now you're ready to attach the doors. We used concealed hinges for the doors and you will find more information in this article for drilling the holes in the door. Screw the hinges to the door with 16mm screws and then use a 3mm spacer to hold the doors in place before you screw them to the sideboard.
8. Measure and mark 60mm from the top and side of each door and drill a hole with the 24mm spade bit – this serves as a handle. Alternatively, you can add your own decorative handles or knobs.
9. Decide how high you want the shelves in each section and drill 6mm holes for the shelf pins.
https://www.builders.co.za/how-to-make-a-server?utm_source=23/07-WebHowTos&utm_medium=Living-Room-how-to-make-a-server&utm_campaign=TILE995_LivingRoomHowTos
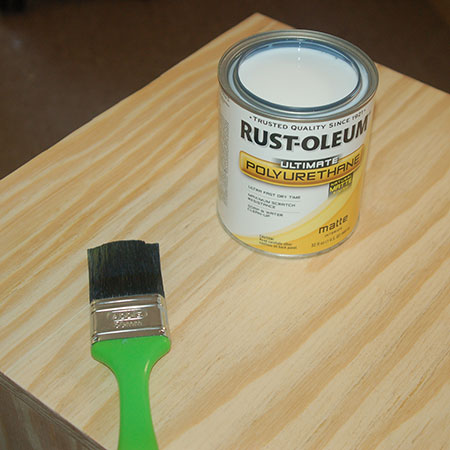
Finishing
Once the assembly is done, sand the server with 120-grit to remove any rough edges and then with 240-grit to smooth. Seal or varnish in your choice of finish.
Make a server or sideboard: