How to mount an extractor fan
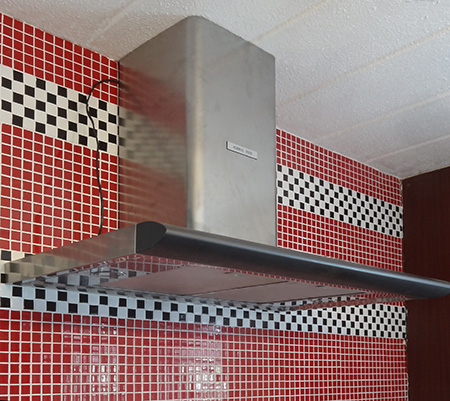
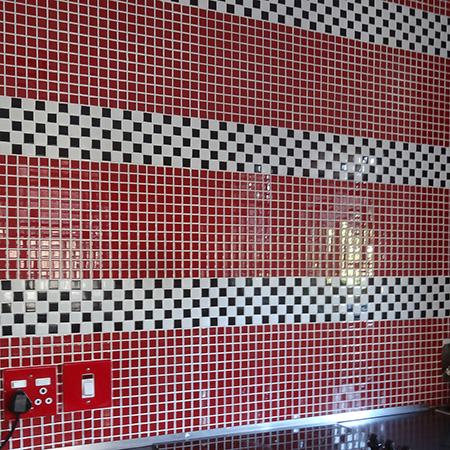
Having recently tiled the backsplash in my kitchen I figured it was finally time to put up the extractor fan to start finishing the project.
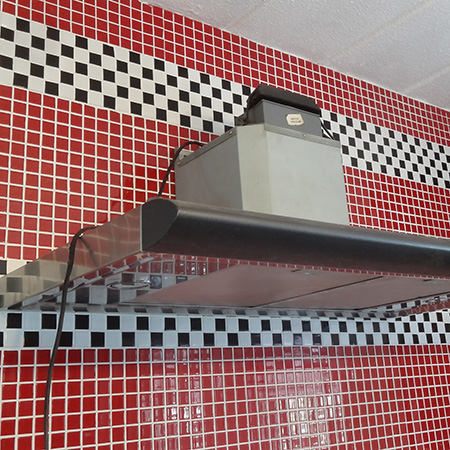
The extractor fan isn't vented to the exterior, as the kitchen is open plan and the extractor is more to keep the hob steam-free and light up the cooking area. However, in a small or poorly ventilated kitchen, adding a venting pipe from the extractor to the outside will reduce moisture and smells in the space.
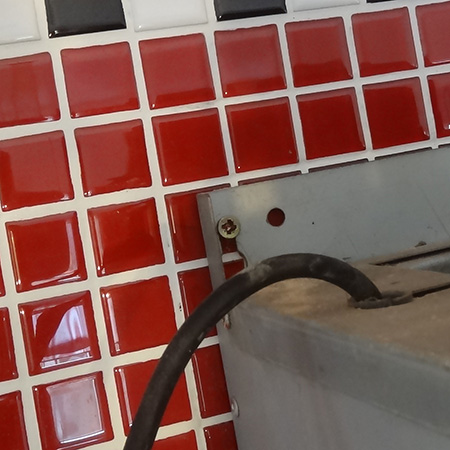
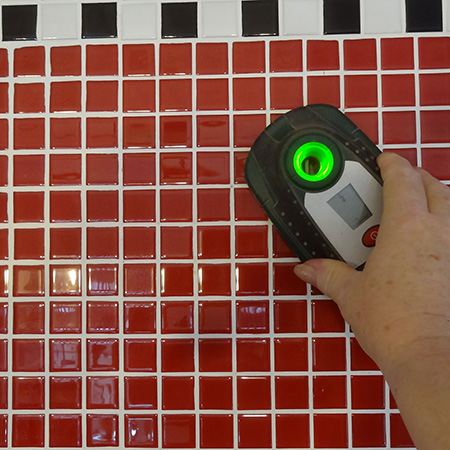
Before drilling into walls - any walls - it's always recommended that you go over the area with an electronic detector to avoid drilling into electrial conduits or water pipes. If the indicator shows green it is safe to drill.
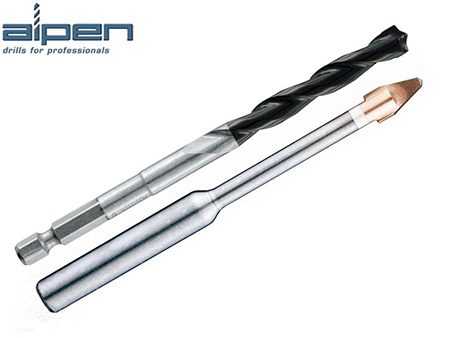
The glass mosaic tiles are extremely hard and you can't use regular drill bits to make holes in these tiles. The best bit to use for drilling into glass or porcelain tiles is the Alpen Keramo Extreme. You can buy the Alpen Keramo Extreme at your local Builders. If you have any difficulty sourcing this product, get in touch with www.vermontsales.co.za to find your nearest stockist.
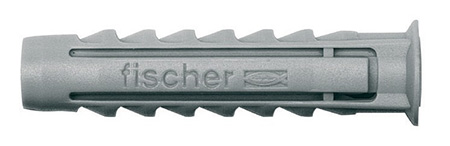
You should also use nylon wall plugs, such as the fischer SX or UX wall plug. Nylon doesn't go soft and soggy when it gets warm, and when you are driving in screws you automatically generate heat, so it makes a great deal of sense to spend a fraction more on quality wall plugs to ensure that the extractor fan is securely (and safely) mounted onto the wall.
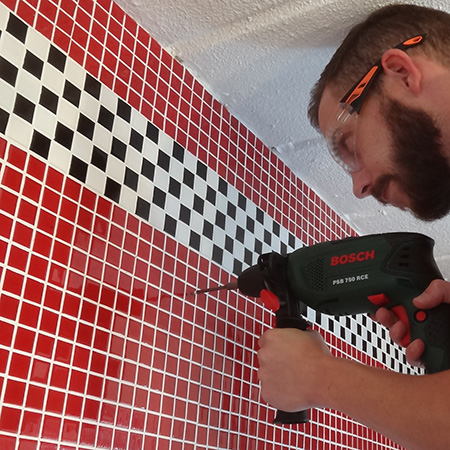
Drill a hole that corresponds to the size of the wall plug, which will probably be a fischer SX-8 or UX-8 and require an 8mm hole. Also remember that the hole you drill needs to be slightly longer than the length of the plug, and that the screw should be the length of the wall plug plus 5mm. This method ensures that the wall plug pops open fully when the screw is driven in and is well-secured.
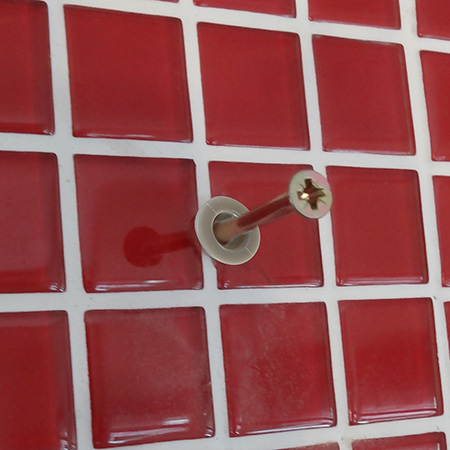
With the screws not fully driven in the extractor fan can be slotted in place and the screws tightened.