
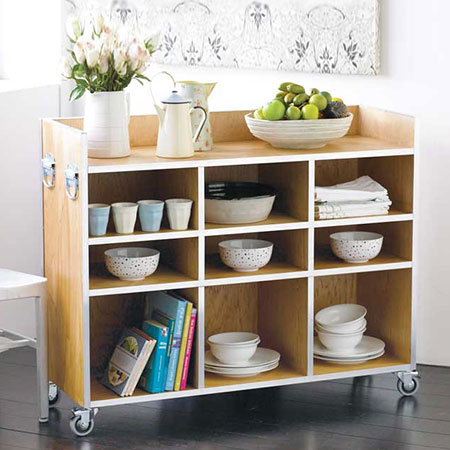
Quick Project: Make a kitchen island for storage
This mobile kitchen island not only offers extra storage space for your kitchen, it also serves as a practical island that breaks up an open plan kitchen / dining space.
17/06/2018
YOU WILL NEED:
18 of 386 x 380 x 9.5 - Box tops and bases
6 of 386 x 330 x 9.5 - Base box sides
6 of 386 x 140 x 9.5 - Mid box sides
6 of 386 x 200 x 9.5 - Top box sides
3 of 380 x 349 x 9.5 - Base box backs
3 of 380 x 159 x 9.5 - Mid box backs
3 of 380 x 219 x 9.5 - Top box backs
2 of 1140 x 396 x 9.5 - Base and top layer
2 of 846 x 396 x 9.5 - Side layer
1 of 1159 x 846 x 9.5 - Back layer
1 of 1140 x 100 x 9.5 - Top back inner
2 of 386 x 100 x 9.5 - Top side inner
Wood glue
Edging to match finish
4 of castor wheels - 1 lockable and 16mm screws
TOOLS:
Pneumatic nailer and brads or hammer and panel pins
Cordless screwdriver or drill/driver plus assorted bits
Sander plus 120- and 240-grit sandpaper
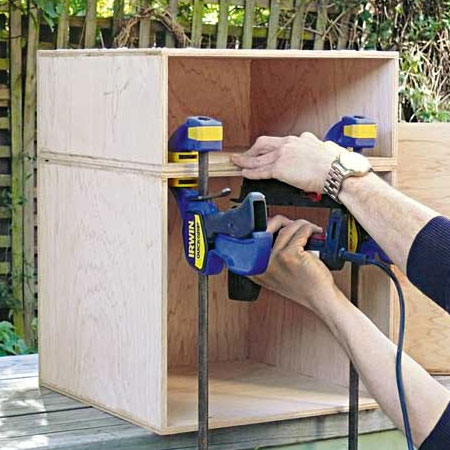
Quick clamps [2]
Tape measure and pencil
Not responsible for errors or omissions
HERE'S HOW:
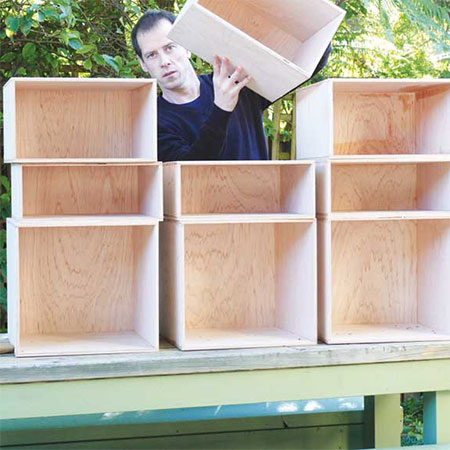
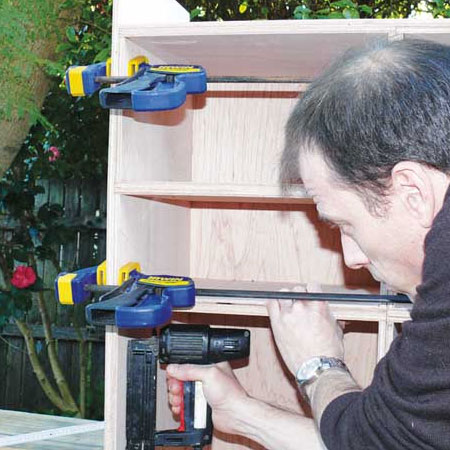
The kitchen island consists of 9 individual plywood boxes glued together and wrapped in a plywood frame.
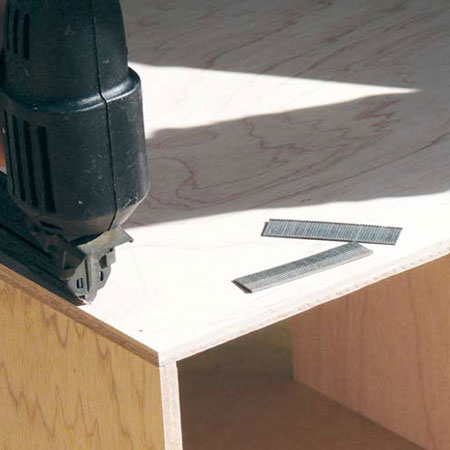
The easiest way to assemble the boxes is to use a pneumatic brad nailer and wood glue. If you don't own an air nailer, you can just as easily join the boxes together with a hammer and panel pins, or by screwing together. If you're looking to add to your tool collection, pneumatic tools offer ease of use and a quick and easy way to assemble your projects.
Once you've made all the individual boxes, glue and clamp these together.
Wrap the assembled boxes with the plywood frame. Again, you can use wood glue and a pneumatic nailer, hammer or panel pins, or screw the frame around the boxes.
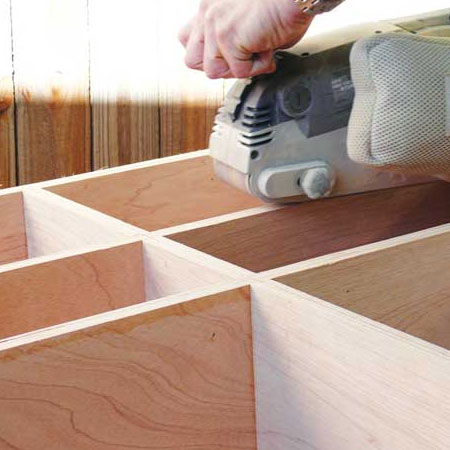
Sand all the edges flush and smooth with 120- and then 240-grit sandpapers.
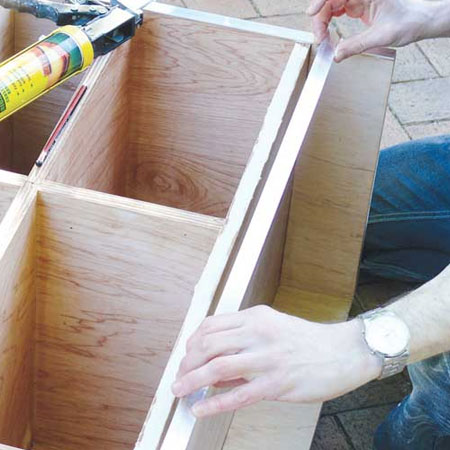
Apply trim to the front edges using iron-on edging or adhesive. Gelmar offers a wide selection of edging strips - plain or glued - for finishing off your projects. The range includes wood veneer, melamine colours, and wood finishes.
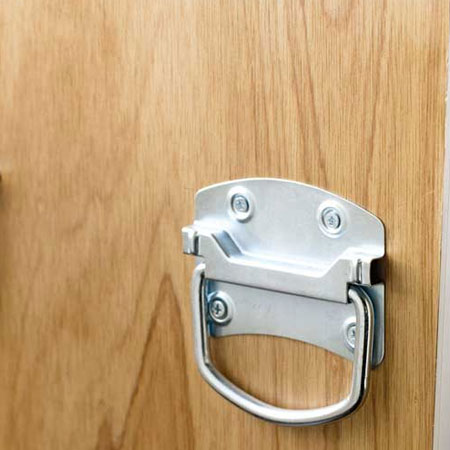
Finish off your mobile kitchen island by adding castor wheels and accessories. Choose a castor wheel design that includes a lockable function for when you need to keep your kitchen island in one place.
Apply your choice of sealer or varnish to protect your new kitchen island.
handyman magazine