Inkjet fusion tile design for bedroom floor
How to install wood-look floor tiles and install under-tile heating as a DIY project.
18/04/2023
The carpet in my bedroom was installed 15 years ago, I'm ashamed to say. No amount of cleaning improves how it looks, so it's definitely time to rip up. Rather than put down new carpet I have decided to put floor tiles down... but not just any floor tiles - wood grain imprinted floor tiles!
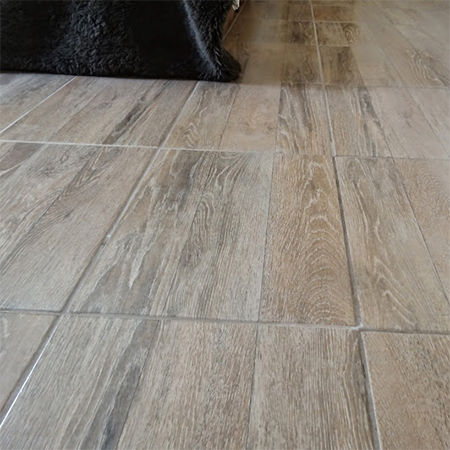
These beautiful wood grain imprinted tiles are from Tile Africa and the moment I saw them I just knew these would be perfect for the bedroom and dressing room area.
While you have the option of ceramic or porcelain planks or tiles, I went with the tiles, purely from the point of view of not having too much work to do to lay the tiles. I also selected a brown grout that creates a more seamless finish.
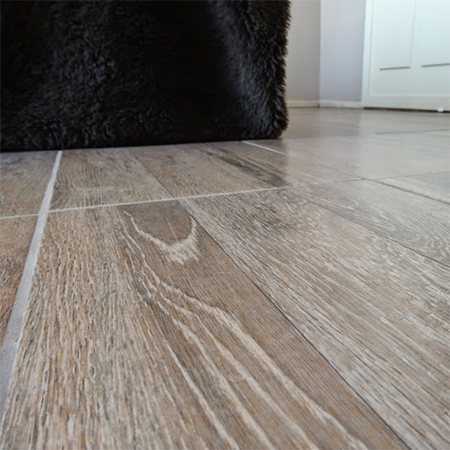
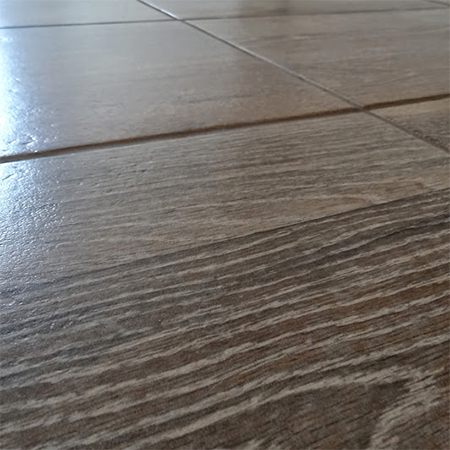
The wood-look tiles have a mat finish that is not perfectly smooth but is slightly textured as wood grain would be. This also ensures that the tiles won't be slippery when wet, which is important since I will also be tiling the dressing room that connects to the bathroom.
Additionally, while laying the floor tile I'm also taking the opportunity to install underfloor heating. Using a single mat of underfloor heating will take the chill off the tile and warm up the room and be far cheaper than using a conventional heater to warm up the space.
Measure up for tiles
Measure from wall to wall in the room you are tiling. Take these measurements along to the guys at Tile Africa and they will calculate how many tiles you need, how many bags of adhesive and grout, plus you will need tile spacers and any tools you don't already have.
Tools:
- Notched trowel
- Wheelbarrow for mixing
- Hammer and chisel if removing skirtings
- Tape measure and pencil
- Spirit level
- Rubber mallet
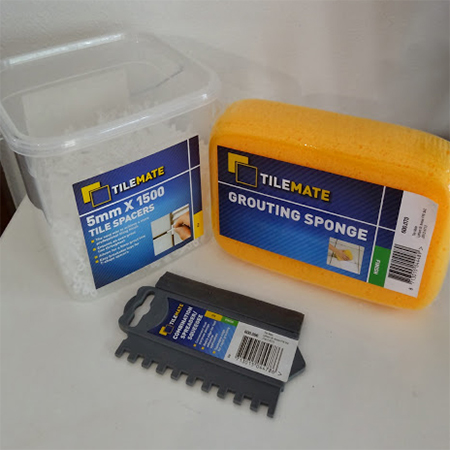
- TAL Tilemate kit
How to lay floor tiles with underfloor heating
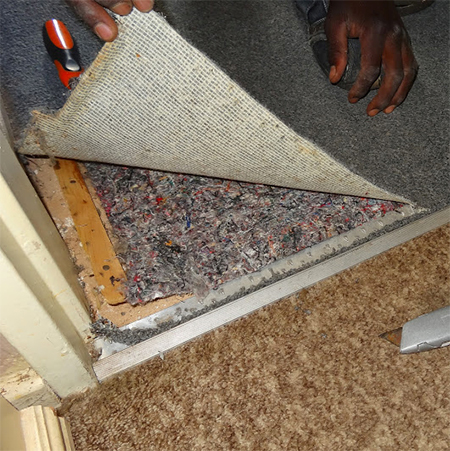
Step 1 - Rip out carpet and underfelt
Before you can start tiling you need to rip out the old carpet and lift underfelt. You also need a hammer and chisel to remove the carpet strips that are nailed to the floor. If the underfelt is stuck to the floor, try to remove as much as possible. A little, thin layer here and there won't be a problem.
Step 2 - Remove skirting boards
If you plan of replacing old skirting boards, remove these before you tile. I will be adding over-skirting on top of the old skirting board, so I'm not going to bother removing those fitted. I will be sharing this project with you shortly. You will find tips on removing skirting boards here. After ripping out carpets and skirtings use a vacuum cleaner to clean up any loose debris.
Step 3 - Plan before you lay
In order to avoid working yourself into a corner plan how you are going to install the tiles before you go ahead. In most instances you would start at the farthest corner of the room and work outwards, or start in the centre of the room and work your way towards the walls. In my case I wasn't in a position to vacate the bedroom, so started tiling one half of the room, then grouted, so that the bed could be moved onto this to allow the other half to be tiled. Do whatever works best for you - there are no hard and fast rules here.
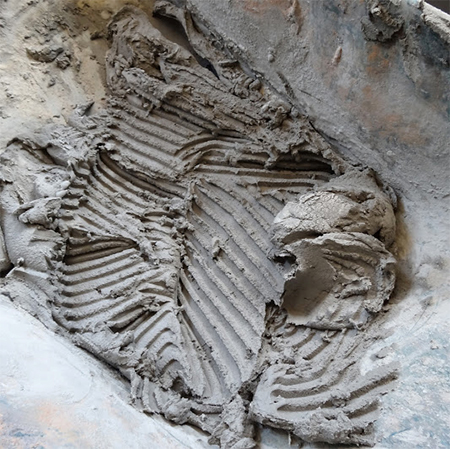
Step 4 - Mix tile adhesive and prepare
As soon as you mix tile adhesive it needs to be used as quickly as possible. Make sure you have all the tools and materials you need close at hand to avoid interruptions as you work. You should only make enough tile adhesive that you can use within a 20 to 30 minute time frame. Longer than that and the tile adhesive starts to dry out and shouldn't be used.
DO NOT add water to the adhesive after it has been mixed.
The tile adhesive should have the consistency of a stiff paste. Too runny and the tiles will sink into the adhesive and you won't be able to get an even level across the floor.
Step 5 - Install underfloor heating (optional)
Here you can see the wiring panels and overlay for the underfloor heating. In all honesty, this was trickier than the tiling! Because I want to be as energy-efficient as possible I only used one underfloor heating kit that heats at 4 x 4 metre space. I spread this out as widely as possible, making sure to leave the recommended gaps between the wires and making sure not to overlap any wires.
The tricky part is that the end wire has to end up at the beginning, since the start and end wires are joined and wired into the wall (by a qualified electrician) or a plug is added. So make sure that wherever you install the underfloor heating you are close to a plug outlet.
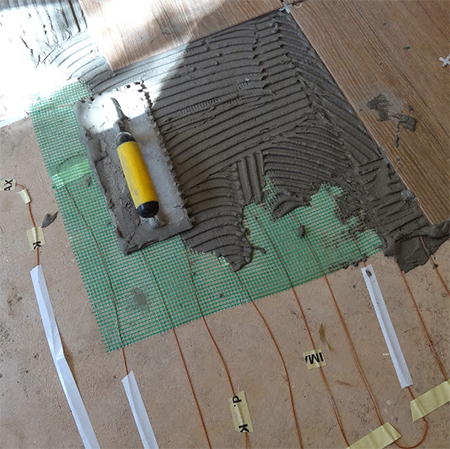
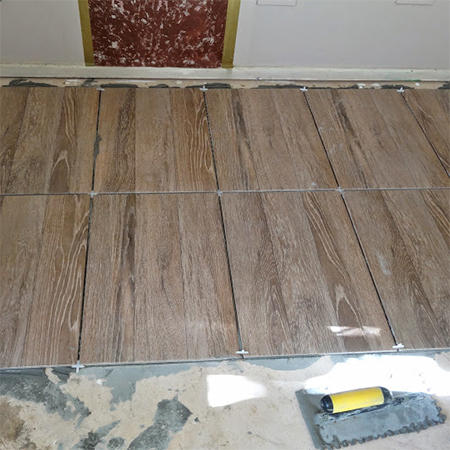
Step 6 - Laying the tiles
Once the underfloor heating has been stuck down and tested, and covered with the supplied sticky mat, you can apply tile adhesive directly over the top of this with a notched trowel.
Use tile spacers between the tiles as you work, and regularly check that the tiles are laid at an even level / height as you work. You can gently tap the tiles with a rubber mallet to bed them nicely in the adhesive and make small adjustments to the height if one tile is higher than another.
Step 7 - Cutting tiles
The outside edge and around any fittings are where you will need to cut tiles to fit. Leaving this till last means that you can cut all the tiles you need in one go and then simply lay them at the end. Less running backwards and forwards! Click here for tips on cutting tiles.
A handy tip is to draw a rough sketch and mark the location of the tiles being cut, and also mark the back of each cut tile, so that you know which tile goes where when it comes to putting them all in the right place.
Leave the tiles overnight and don't walk on them during this time.
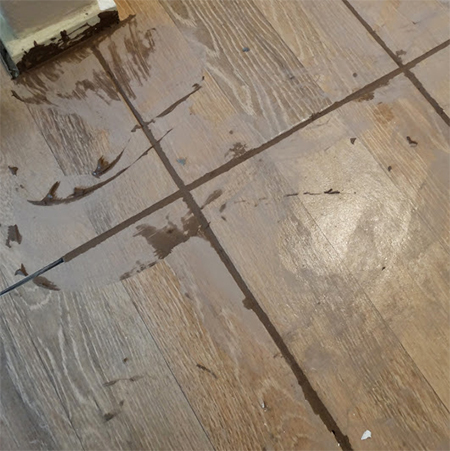
Step 8 - Grouting floor tiles
I purchased a TAL Tilemate kit at Tile Africa and the kit included a plastic notched trowel with a squeegee on the other side. I discovered that this came in very handy for spreading grout into the joints and cleaning the tile surface at the same time.
Leave the grout to dry for about a couple of hours and then use a damp sponge to wipe away any excess grout. Have a clean bucket of water on hand for rinsing out the sponge as you work, as you will need to wipe the floor a couple of times to remove all the grout on the surface.
Leave overnight and the next morning you can use a very slightly damp cloth to wipe away any remaining traces of grout residue.
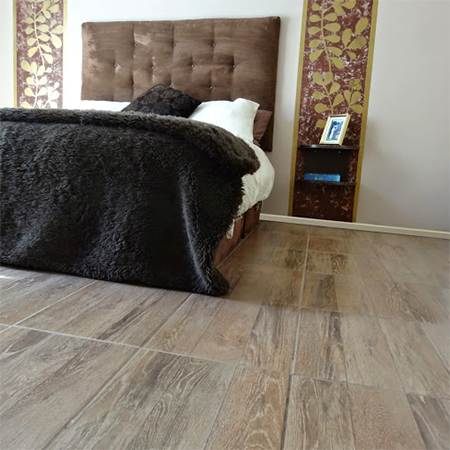
Tiling floors is far easier than tiling walls and to tile a bedroom, dressing room and landing took three days in total, which included all the cutting for around the edges and to fit around awkward angles.
The new tiles look absolutely gorgeous and have made the room feel so much more spacious and a heck of a lot cleaner.