

DIY how to tile kitchen walls
I have been waiting to tile my kitchen finished for a few years. After the kitchen revamp I didn't know what to do with the tiles around the windows, since the burglar bars were welding in and couldn't be removed. As a temporary fix I glued vinyl tiles over the ceramic tiles. But the time has come to properly tile the kitchen walls.
The tiles for this project were sourced from Tile Africa. I selected a plain white tile that would match the tile inside the window frames, and which cannot be removed. After taking measurements of the walls, the guys at Tile Africa calculated how many tiles were need (plus extra for breakages), as well as tile adhesive, grout and tiling accessories.
The process of tiling is labour intensive, so do yourself a favour and hire someone to do the hard work for you! If you know what needs to be done you can keep an eye on what's happening and correct any mistakes before it's too late to fix them.
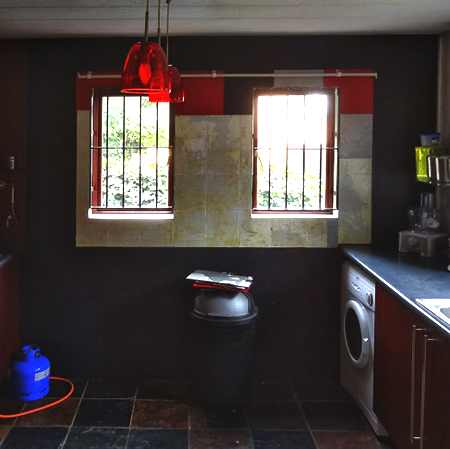
BELOW: The temporary solution that ended up lasting longer than it should have! The vinyl tiles are covering up where tiles were originally removed until a solution could be found for fitting tiles around the burglar bars.
1. To start removing tiles from the wall, choose one tile and chip away around the edges with a hammer and chisel. With one tile removed you can them work in different directions with the hammer and chisel to remove remaining tiles.
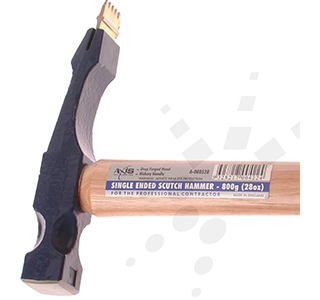
2. The tile adhesive still stuck the a wall can be removed with a comb hammer. This type of hammer has a replaceable comb that fits into the end of the hammer and can be used to chip away adhesive without damaging the wall. You will find a wide selection of tools for tiling at your local Builders Warehouse.
GOOD TO KNOW
The wall doesn't need to be 100 percent clean, but it does need to have a level surface so that the newly installed tiles sit flush and level once installed.

This process is messy and if there is a way to close off the kitchen while you chip away the remaining tile adhesive - do it. I managed to hang a canvas drop cloth over the open end of the kitchen to help keep the dust to a minimum.

3. Have a spray bottle filled with water on hand to lightly mist the wall before applying tile adhesive. This helps prevent the plaster from sucking all the moisture out of the adhesive causing it to dry too fast and not bond properly to the plaster finish.
GOOD TO KNOW
If plaster primer or base coat has been applied to the plaster you need to add Bonding Liquid to the tile adhesive. Follow the manufacturer's guidelines for the correct quantity to be added.

4. Mix the tile adhesive with water (and Bonding Liquid if necessary) to the consistency of a thick paste. Too thick and you will find it hard to spread - too runny and it won't bond the tiles firmly to the wall.

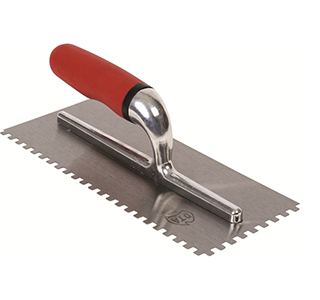
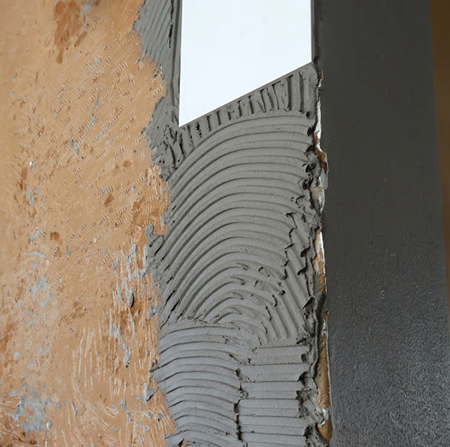
5. Apply tile adhesive onto the wall with a notched trowel. The method is similar to that of plastering, where you load up the trowel with adhesive and slap onto the wall, spreading upwards as you do. Use the notched side to create grooves in the adhesive.
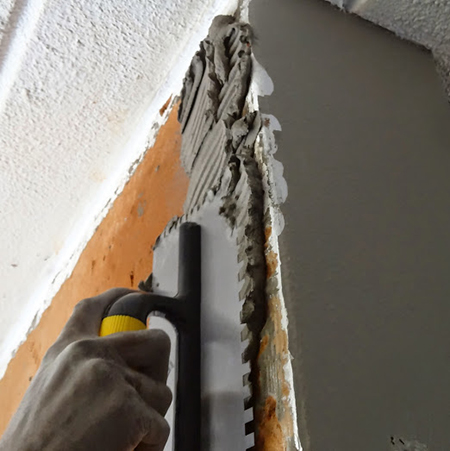
6. Press a tile onto the tile adhesive. The grooves create suction to hold the tile firmly and also allow the adhesive to spread out underneath, without excess oozing out of the sides.
GOOD TO KNOW
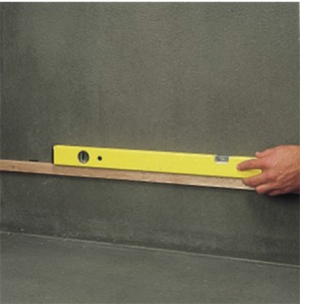
Keep a straightedge and spirit level close to hand so that you can regularly check that tiles are laid straight and level. On a couple of occasions I had to ask that tiles be removed as they were not sitting straight.
GOOD TO KNOW
If you are tiling on a wall that has not previously been tiled, it is important to ensure that you have a perfectly straight and level starting point. Nail a length of straight timber to the wall to act as a guide. At one end of the wall measure and mark at a height equal to that of the tiles you are using and mount one end of the board on this mark. Use a spirit level to place and mount the other side to the wall.
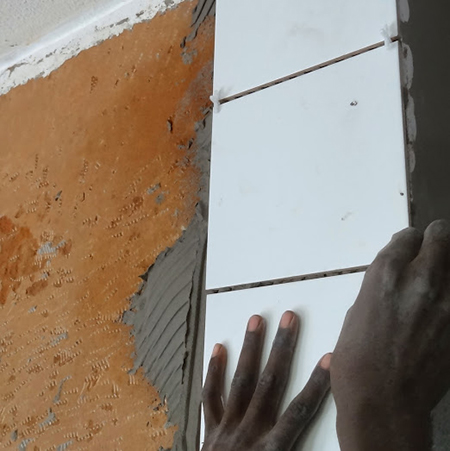
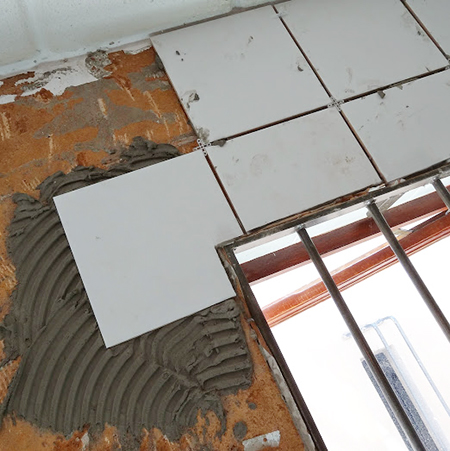
7. It is important to use tile spacers as you mount tiles onto the adhesive. The tile spacers ensure equal gaps across the entire tiled area.
GOOD TO KNOW
As you mount tiles onto the wall, use a spirit level or laser level to ensure the tiles are straight both on the horizontal and vertical planes.
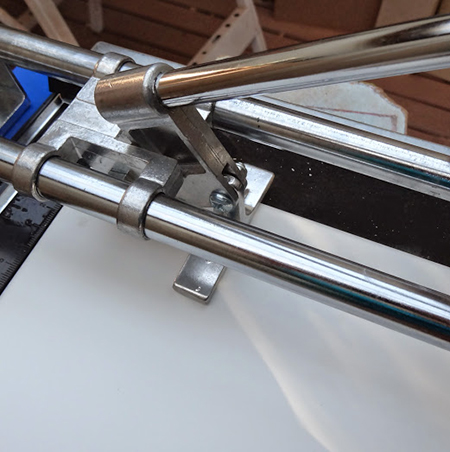
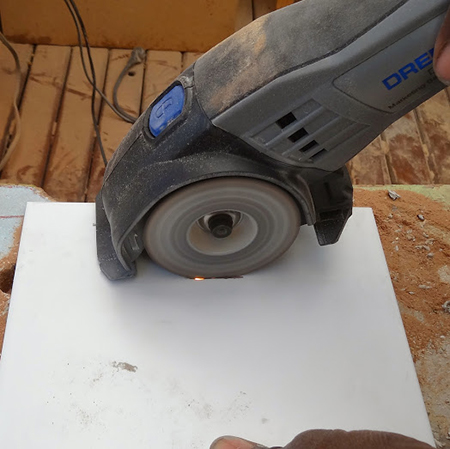
8. Cutting tiles to fit around window frames and fittings that cannot be removed can be done is various ways.
Tile Cutter
You can cut ceramic tiles with a tile cutter. Tile Africa offer the TileMate range of tile cutters in different sizes to accommodate different sizes of tiles. It makes sense to invest in a larger tile cutter, so that you already have this should you need to cut small or large tiles.
Dremel DSM 20 / 40
The handy DMS 20 / 40 from Dremel can cut a variety of materials and can definitely be used for cutting ceramic, porcelain or natural stone tiles. Similar to an angle grinder but far easier to use, the Dremel DSM 20 / 40 is lightweight and cuts through ceramic tiles easily and quickly.
Now that installing the tiles is complete, all that's left is to clean up and grout the tiles.
I also need to add a frame around the windows. The steel burglar bars were custom fitted and welded in place, these cannot be removed, so I decided to mount a frame around the outside of the window that will cover the edge of the tile.

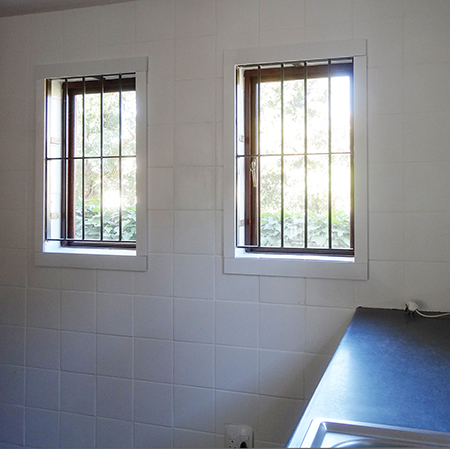
BEFORE: The idea behind the tiling project was to re-tile the front wall (far left) and this involved replacing the tile on the side wall as well, since there was no way to match the old tile.
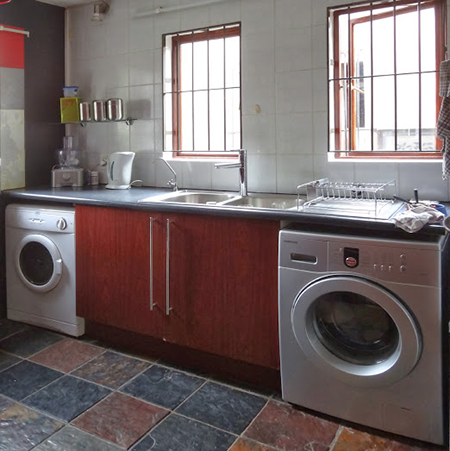
AFTER: The new white tiles are now mounted on the side and front wall. 12mm SupaWood frames have been fitted around the windows and I still need to add a bit more detail to finish off. I will be making Roman blinds for all the windows.
The kitchen renovation isn't quite finished; I still need to add a mosaic tile splashback above the hob area and I will also be replacing the countertops with new Formica Lifeseal countertops. All the projects to be done will be featured on Home-Dzine as and when I complete them.
