
Fit New Interior Doors to a Home
Another task on my home facelift can be ticked off... that of replacing old hollow core doors with new modern interior doors.
25/01/2019
After living in my current house for over 20 years, the time is well overdue to replace old, dated fittings with more modern, aesthetically pleasing alternatives. For this project I am removing and replacing all the dinged, scratched and beaten hollow core interior doors. The existing doors have been repaired and painted so many times by now that I've given up on fixing them up and would rather replace them for new doors.

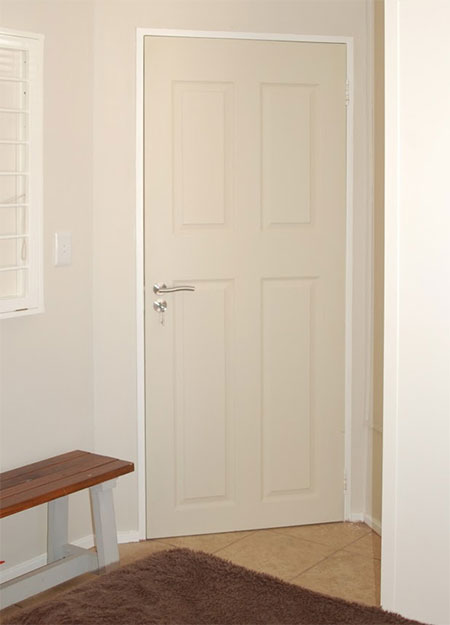
I bought the new doors from my local Builders Warehouse, after bringing one home first to see how it looked in the setting. The doors have a laminate veneer on both sides that claims to be of wood, but I'm not sure of that. Anyway, it does look good, even unpainted and in a slightly off-white colour.
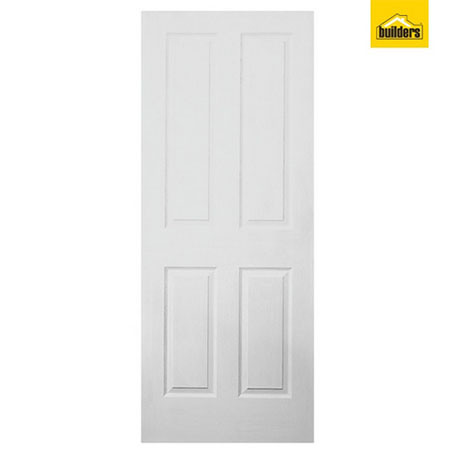
The new interior doors are Swartland Townsend at a cost of R309 each, depending on location and while stocks last. I only need to replace a total of 5 doors, so I think the price works out reasonable when you consider they already have a nice finish and might not even need painting (apart from the edges).
HERE'S HOW:

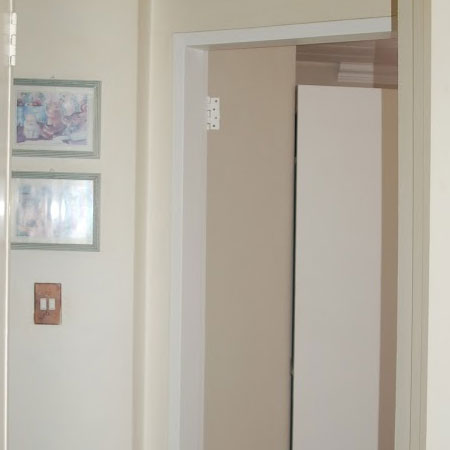
1. The first step will be to remove the existing door. While it's off you can also check the hinges to determine whether or not these need to be replaced, or if they can be cleaned up with a bit of paint stripper.
2. You can use the old door as a template to cut the new door to size. All new doors will have to be trimmed at the top or bottom to fit into the door frame, and you can cut to fit using a table saw, circular saw or jigsaw. We used a jigsaw to cut the door to fit.
GOOD TO KNOW: If the original door has any fitting problems; perhaps the door is too small for the opening, or catches in certain areas - this is the time to fix those problems by adjusting the new door.
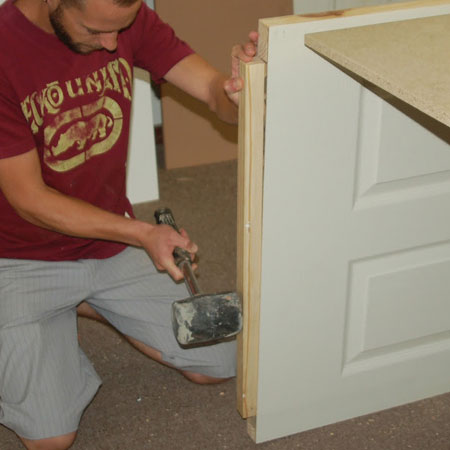
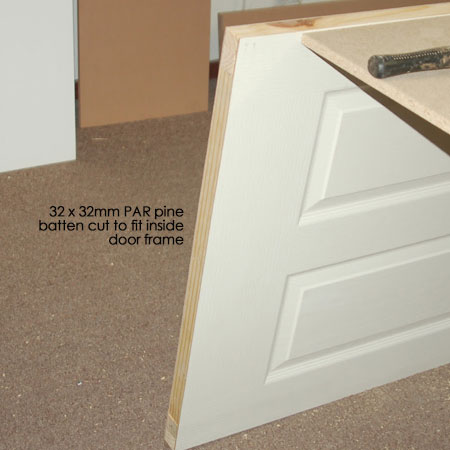
3. When you cut a hollow core door to fit by removing excess either at the top or bottom of the door, you need to reinforce the cut section with a piece of 32 x 32mm PAR pine.
GOOD TO KNOW: Since hollow core doors are manufactured as the name implies, they are hollow on the inside and it is only layered cardboard that supports the front and back panel. By reinforcing the base or top of the door you ensure that the door cannot be easily damaged.
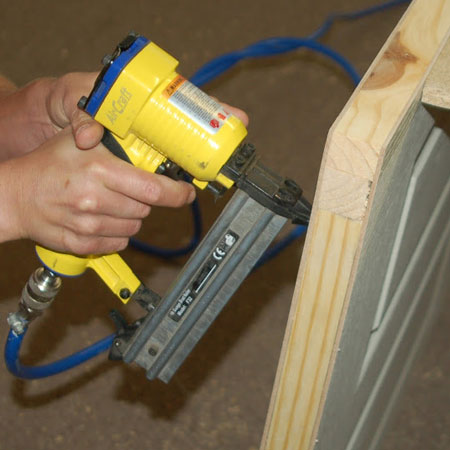
4. To ensure the batten stays firmly in position, add a couple of brad nails, or use a hammer and panel pins.
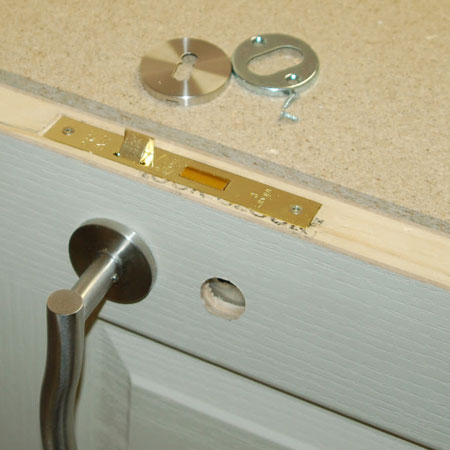
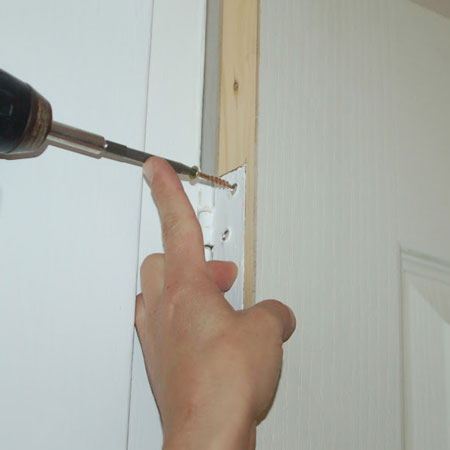
Now you have reached the point where you need to fit the door hardware. As part of this reno I also replaced the old fashioned, builder's grade handles with new handles. You will find step-by-step instructions for replacing the door hardware (handles and lock) on this page.
5. Once the new handle and lock are fitted, it's time to hang the door inside the frame. If you are working on your own, have a couple of shims on hand to place underneath the door to help hold it in place while you hang the new door on its hinges. Alternatively, have someone hold the door for you while you secure onto the hinges.
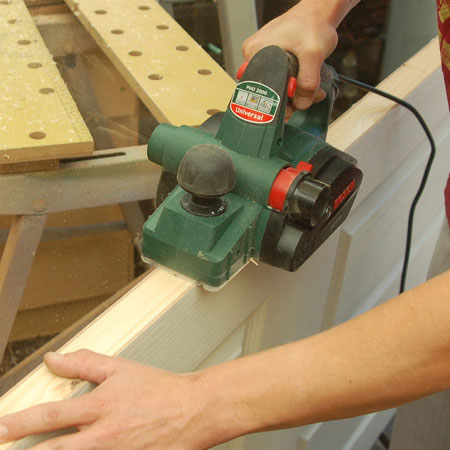
6. Test fit the door to see if there are any adjustments that need to be done. In our case, one edge of the door needed to be planed down slightly for a perfect fit. Obviously the door frame is a bit skew!
GOOD TO KNOW: If any of you were wondering why we didn't paint the edges of the door before mounting... we left this until after the door was test fitted!
And there you have it. To replace one door took about an hour and we managed to install all 5 doors in a single day.