How To Raise The Height Of A Brick Or Precast Concrete Wall
Now that painting the exterior of the house is done, it's time to increase the height of my front wall using the fence panel method.
21/08/2020
You may remember that a few months back I posted on a method for increasing the height of a brick wall or precast concrete wall using wood fence panels. With the exterior house painting now out of the way and the ivy removed from the front wall, it's time to increase the height of the front wall.
For many years the front wall was covered in ivy. I've always wanted a wall of ivy, not sure why it just appealed to me. The ivy was on the wall for over 10 years and was growing well until it was infected by mealie bug. I also noticed that it was being damaged by a weird-looking bug that nipped off all the fresh buds. It was starting to look a bit drab and I realised it was probably time to say buy-bye to the ivy and replace this with something else.
The fence panels that were fitted to the back walls were doing the job well and I love how it looks, so decided it would be great for the front and would increase the height just enough to add some privacy. All you need to make the fence panels is some 50 x 76mm pine for the uprights, 12 x 94mm PAR pine for the horizontals and 10mm threaded rods for the supports.
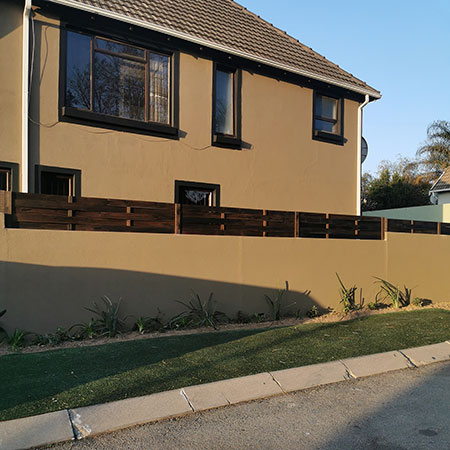
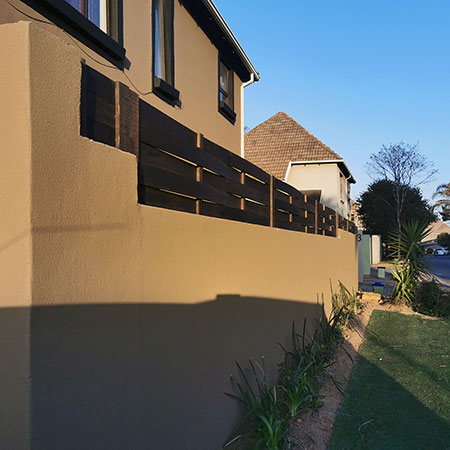
ABOVE and BELOW: The ivy was removed from the wall, which was patched up and painted to match the rest of the exterior. Wood panels were assembled and fitted on top of the wall to increase the height.

The ivy that was originally on the front wall added an extra 30cm height to the wall, which afforded privacy to windows at the front of the house. The fence panels are 5 planks in height and provide more than enough privacy for windows on the lower level that face onto the street.
YOU WILL NEED:
12 x 94mm x 1800mm PAR pine (5 per panel) - for the slats
2 of 50 x 76mm x 480mm untreated pine (2 per panel) - ends/side supports
2 of 22 x 44 x 480mm PAR pine (2 per panel) - centre supports
10mm threaded rod or rebar
Creosote or exterior wood sealer and paintbrush
Fast-Anchoring cement
TOOLS:
Bosch Impact Drill
Alpen 10mm x 150mm masonry bit
Router and slot bit
Jigsaw and steel cutting blade
Tape measure and pencil
HERE'S HOW:
I have already posted instructions for this project on this link, but here is a brief rundown of what needs to be done to make the individual fence panels.
1. The first step will be to measure up and determine the length of each panel. You can purchase 12 x 94mm PAR pine in lengths of 1800mm, 2400mm and 3000mm. This makes it easier to make individual lengths without too much cutting involved.
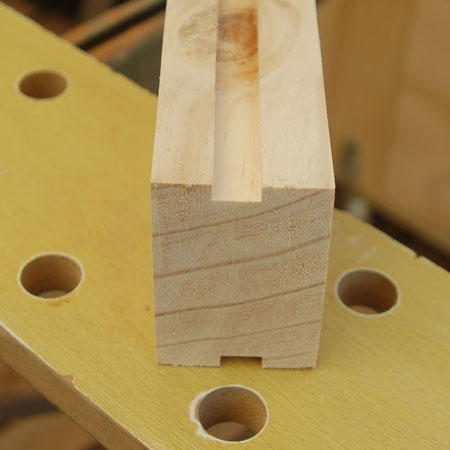
2. The second step will be to determine the height of the panels. I don't recommend anything over 600mm in height. Once you know the height, you can cut the 50 x 76mm uprights to the correct length. Each upright is routed with a slot or groove, as shown below, and into which the horizontal slats will sit.
3. Before assembly, the uprights, slats and dividers are treated with creosote and left to dry. Once they are dry you can start to assemble using a pneumatic nail gun or hammer and panel pins. Start at one end and insert the dividers - see Step 4 below - before placing the slats into the upright at the other end.
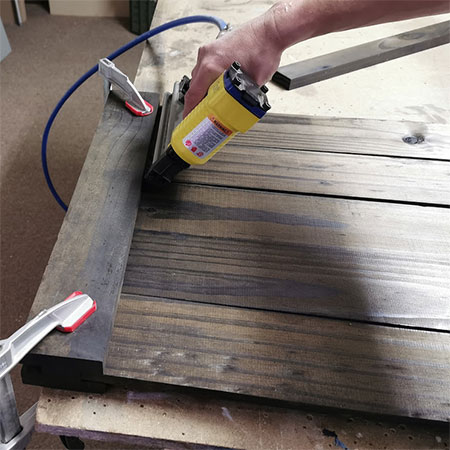
4. The dividers are there to allow you to create a basketweave design for a more pleasing effect. These are also held in place with nails or panel pins.

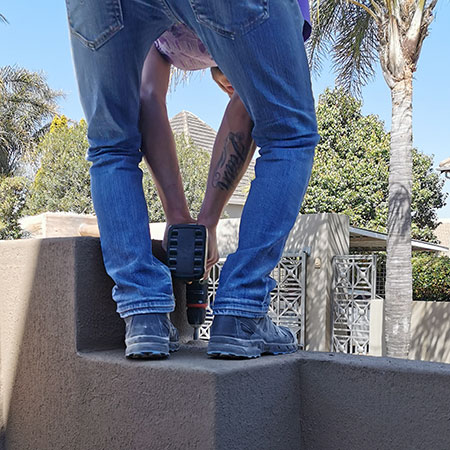
5. The last step in the assembly process for the panels is to add a 200mm length of threaded rod. Drill a 10mm hole into the base of the uprights to insert the threaded rod to a depth 50mm. The other end of the threaded rod fits into the hole drilled in the top of the wall.

6. To install the panels on a wall, measure and mark the location for drilling the 150mm deep x 10mm diameter holes. Do a test fit to ensure the threaded rods align with the holes before adding quick-anchoring cement and place the rods in the holes. Tap down with a rubber mallet and your new fence is installed.