How to Easily Increase Wall or Fence Height
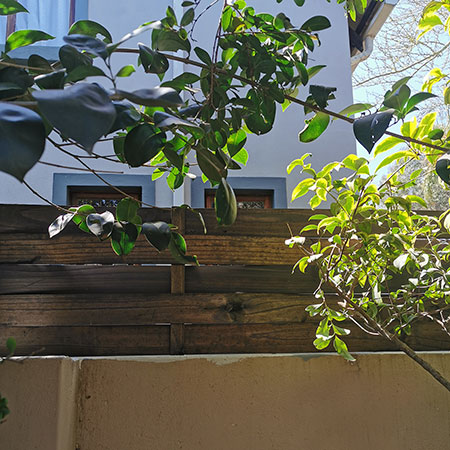
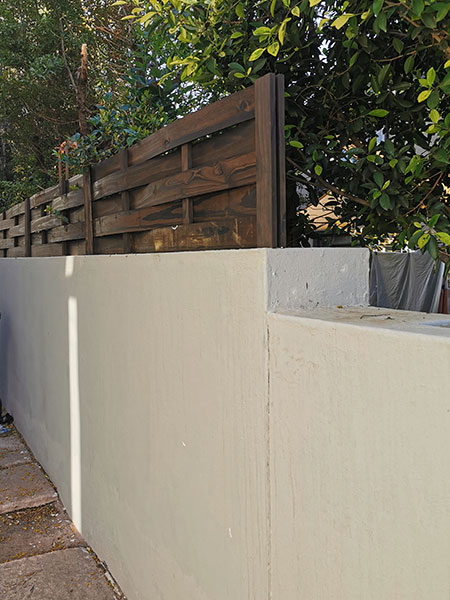
Not wanting to spend a fortune and needing to increase the height of the garden wall, I designed some wooden fence panels that work like a dream.
27/09/2019
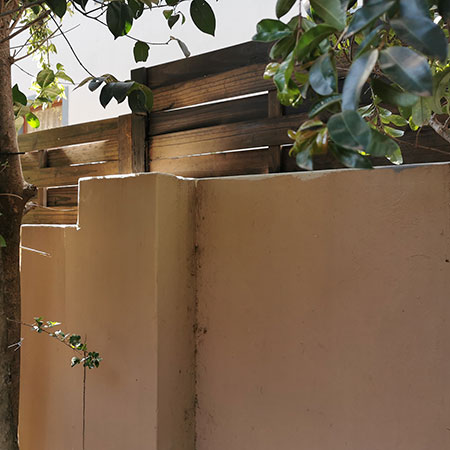
The fence panels that I designed are made using 12mm thick x 94mm wide lengths of 1800mm PAR pine that is slotted into sturdy end pieces of 50 x 76mm untreated pine in order to add these on top of the garden wall to increase the height.
All the materials to make the fence panels can be found at Builders Warehouse and it is an easy project that you can do as and when you have the funds available - rather than have to do the whole job in one go.
The cost for each 1800mm long panel works out at around R360 each, which I think is probably the most inexpensive way to increase the height without having to go to the mess and fuss of adding extra layers of brick and plaster. And having already been given a quote of R13,000 for something similar to what I did, I definitely saved myself a lot of money.
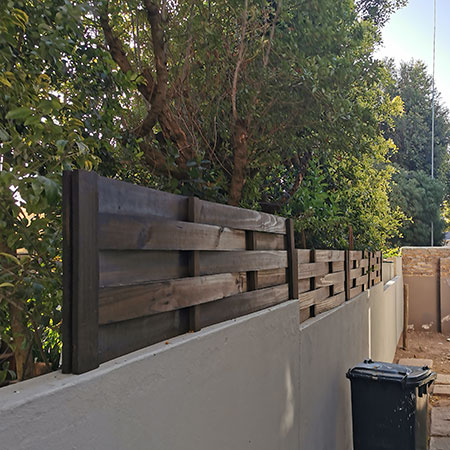
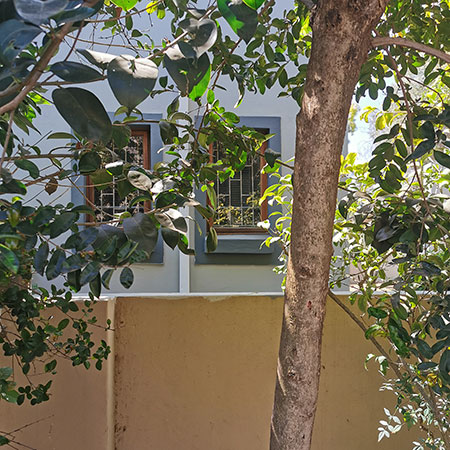
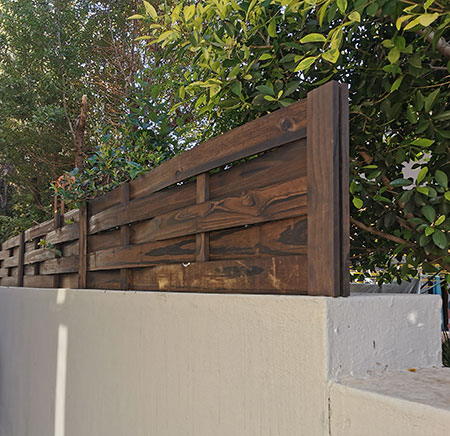
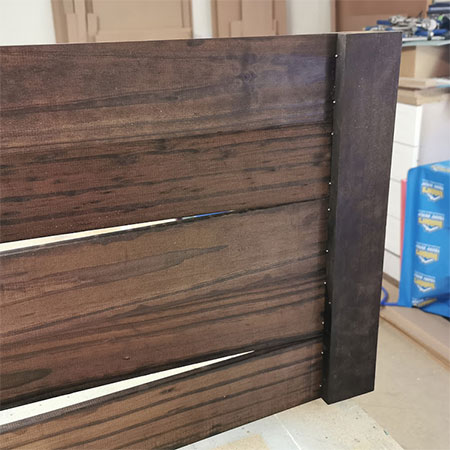
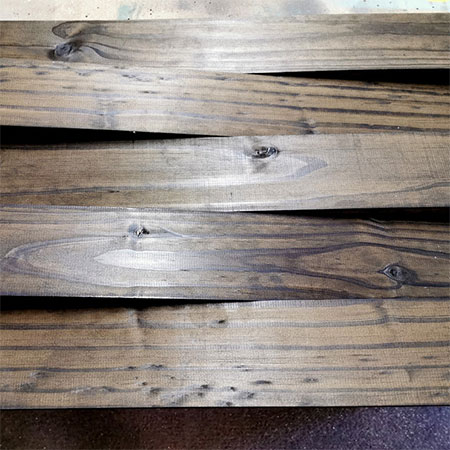
The individual fence panels are 5 planks in height, although you could add more or less panels as required, and are finished to give an attractive basket weave design. In this instance, 5 slats was enough to block off my nosey neighbours and give me more privacy.
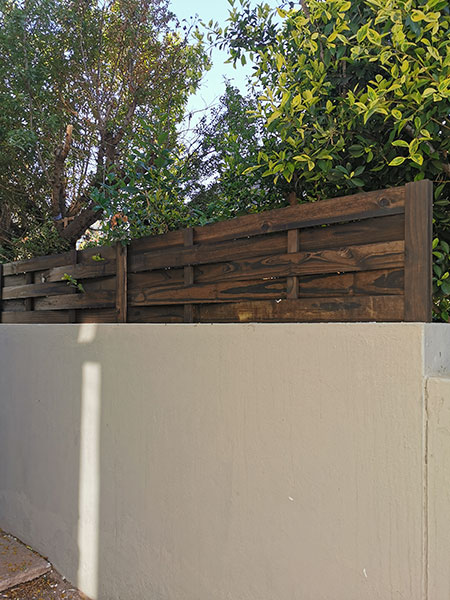
The individual fence panels were treated with Creosote before assembly, since it was much easier to do it this way, and less mess. The basket weave design was easy to achieve by using 12mm thick pine planks.
YOU WILL NEED:
12 x 94mm x 1800mm PAR pine (5 per panel) - slats
2 of 50 x 76mm x 480mm untreated pine (2 per panel) - ends/side supports
2 of 22 x 44 x 480mm PAR pine (2 per panel) - centre supports
10mm threaded rod or rebar
Creosote or exterior wood sealer and paintbrush
TOOLS:
Corded drill
Alpen 10mm x 150mm masonry bit
Router and slot bit
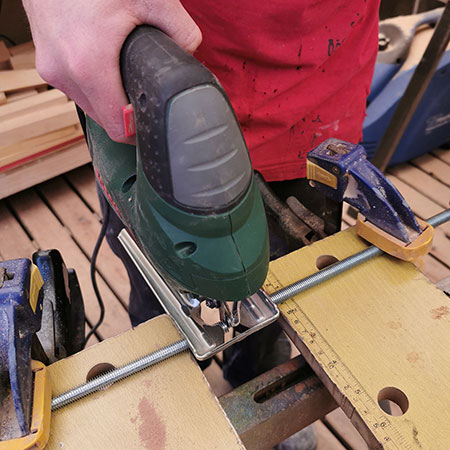
Jigsaw and steel cutting blade
Anchoring cement
Tape measure and pencil
HERE'S HOW:
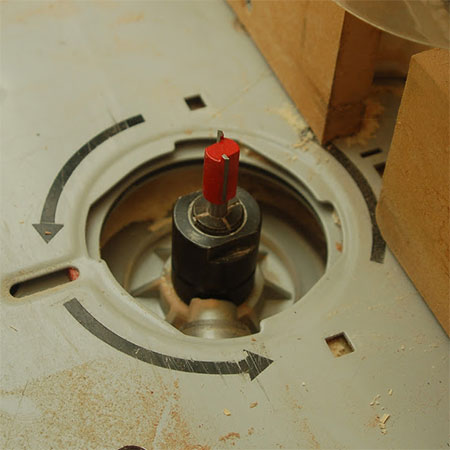
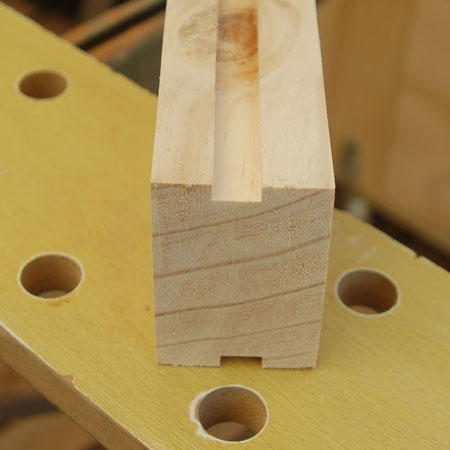
1. Cut the side supports to 480mm length to accommodate mounting 5 x 94mm wide PAR pine planks. Use a slot bit to cut a groove on both sides of the supports to about 5mm depth. Also cut the [2] centre supports to 480mm length and trim to fit.
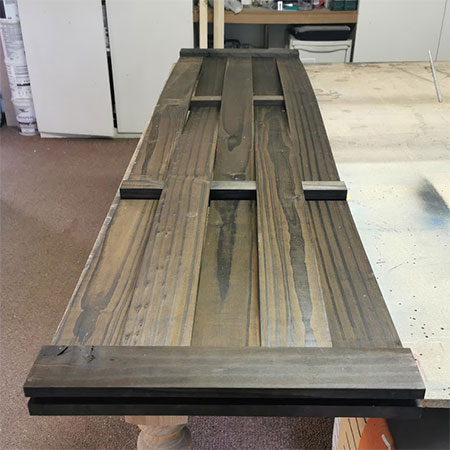
2. After cutting the side supports, all the individual pieces were treated with creosote and test fitted to ensure everything correct. Trim where necessary.
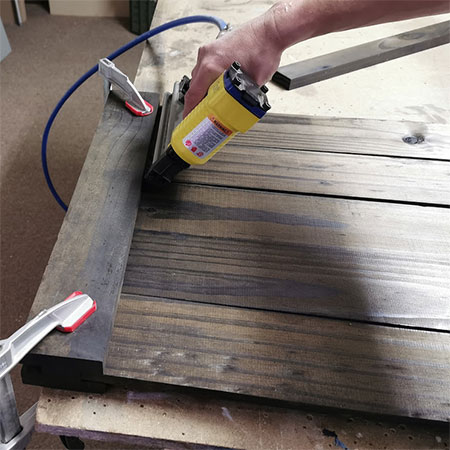
3. A pneumatic nailer was used to secure the individual slats into the side supports. This step is optional or you can use a hammer and panel pins if you don't have a pneumatic nailer.
GOOD TO KNOW: Find more details on a range of Aircraft Pneumatic Tools and Compressors here.
4. Place a couple of brad nails or panel pins along the centre supports.

GOOD TO KNOW: You will need to use a long (150mm) 10mm diameter drill bit to drill into the side support and the wall in order to insert the threaded rod or rebar.
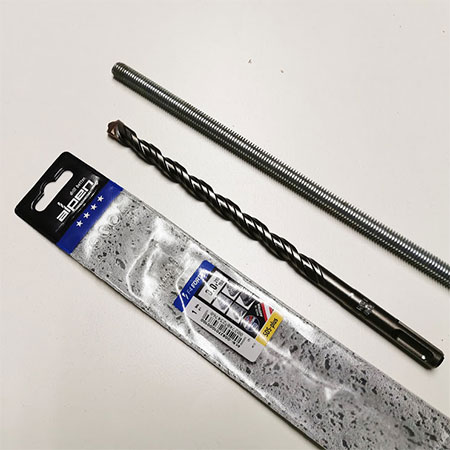
5. Cut the threaded rod or rebar to 200mm length.
6. Drill a 10mm diameter hole to 50mm length in the centre of both side supports.
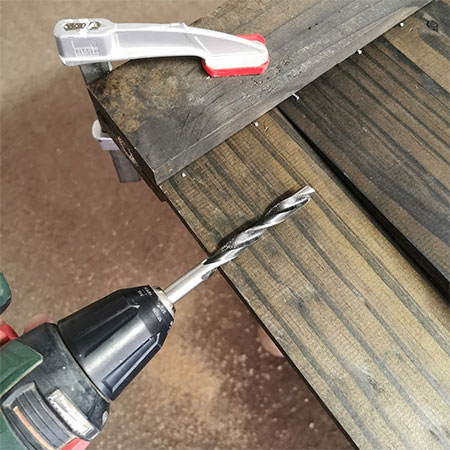
7. Insert the threaded rod or rebar into the drilled hole.

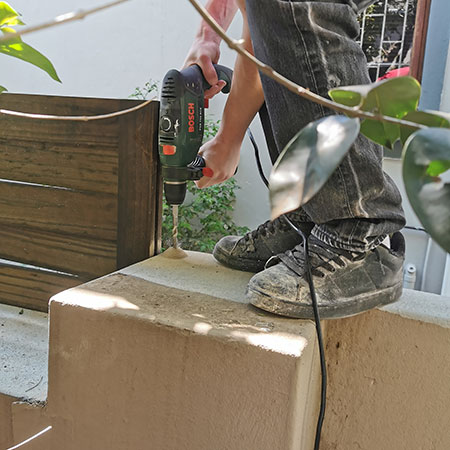
GOOD TO KNOW: Use a corded (min 550W) drill for the next step.
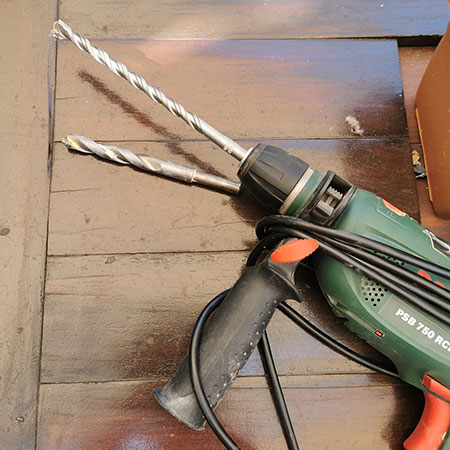
7. Drill a 10mm diameter x 150mm deep where the fence panels are to be mounted.
Now you are ready to fit the fence panels. For added security and strength, anchoring cement was mixed and poured into the drilled holes before inserting the threaded rod/rebar at the base of the panels.