DIY concrete fire bowl
Casting concrete is easy and allows you to make items that will last a lifetime. A fire bowl is not only easy to make, it adds so much ambience to outdoor entertaining on cool evenings.
manmadediy.com
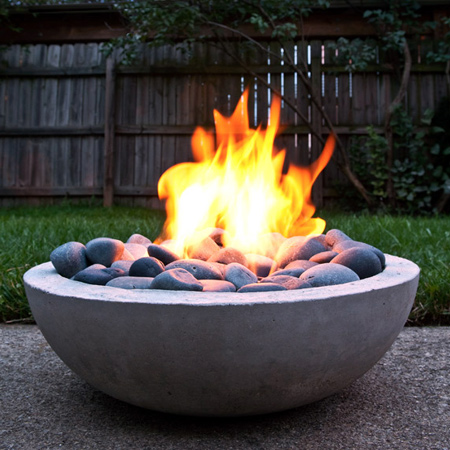
Affordable and weather-resistant, a concrete fire bowl costs very little to make and adds a modern touch to outdoor entertaining. This easy DIY fire bowl uses bio gel fuel or denatured ethanol that you should be able to find at your local Builders, or from online suppliers.
If you have never cast concrete projects before you might want to try a smaller project, like this concrete planter.
YOU WILL NEED:
Bag of cement and river sand
Large bowl for exterior mould (46cm) and smaller one for interior (40cm)
Non-stick cooking spray
Large bucket - or wheelbarrow - for mixing
Trowel
Rubber mallet
Rubber gloves, dusk mask and safety glasses
Weights or heavy rocks
80- and 120-grit sandpaper
Gel or denatured ethanol fuel canisters
Grill for finished fire bowl
Large and medium pebbles
HERE'S HOW:
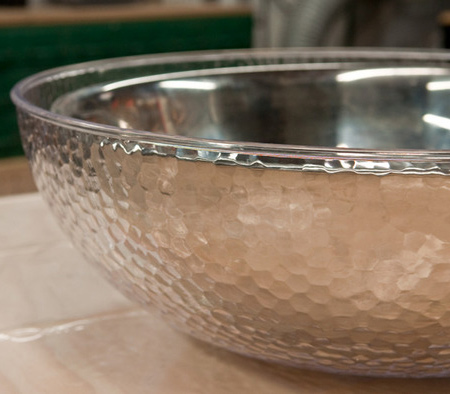
1. To cast the fire bowl look for the largest bowls you can find. You can use plastic or steel bowls - shop at discount stores for bargain buys. Remember to allow plenty of depth for the gel containers, grill and pebbles.
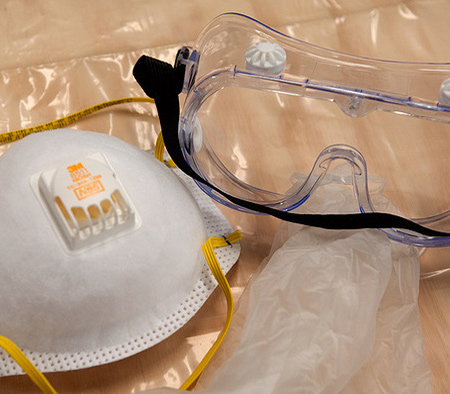
2. Wear safety gear when mixing concrete. Working with concrete isn't difficult, but it does require some finesse. It is fairly heavy and can be difficult to mix in large batches by hand. Work outside or in a well-ventilated area, and cover your work surface with plastic.
3. Spray the moulds with non-stick spray to help release the concrete once it's cured. A thin, even layer over the inside of the outer mould / outside of the inner mould will do.
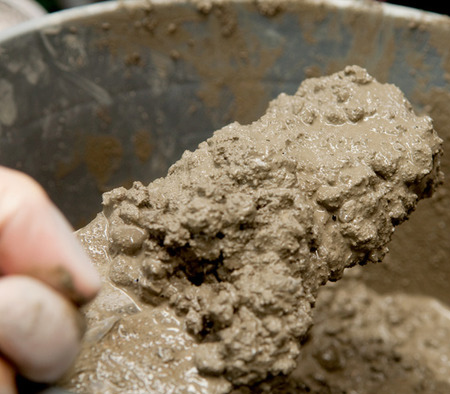
4. You need to guestimate how much concrete you will need, as it will depend on the size of the bowls. But it's better to mix up too much rather than have to make more in the middle of your project. Use 1 trowel of cement to every 2 trowels of sand and mix to a thick, cookie batter-like consistency.
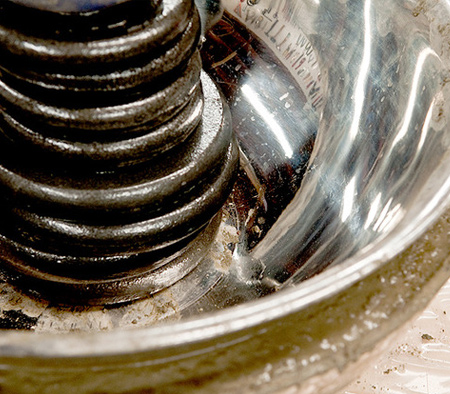
5. Use the trowel to add the concrete mix to the outer mould, filling about half full and the placing the inner mould inside to see how high the concrete comes up the side. Take the inner mould out if you need to add more mix. Use weights or rocks to keep the inner mould securely in place.
GOOD TO KNOW:
Make sure the inner mould is centred so your
bowl will have an even thickness all the way
around.
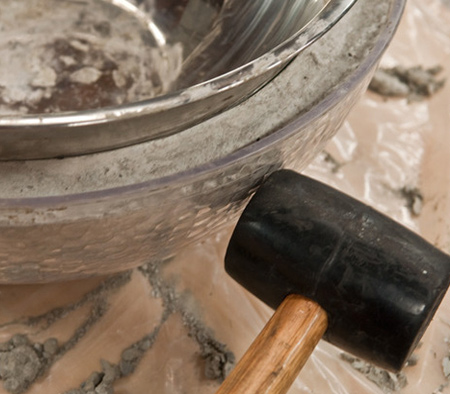
6. Tap the side of the outer bowl with a rubber mallet to release any trapped air bubbles. Tap gently all the way around - at the top and bottom.
7. Allow a minimum of 48 hours for the concrete to cure before carefully removing from the mould. Lightly tapping with the rubber mallet will help release the moulds.
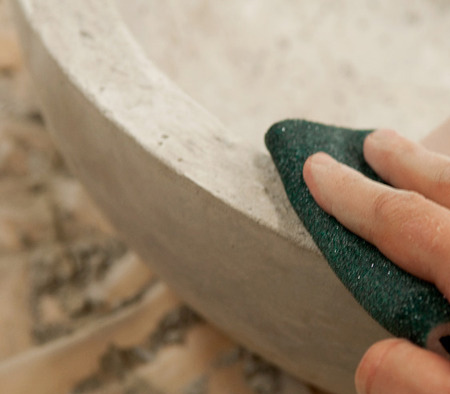
8. Use 80-grit sandpaper to sand away any rough edges, particularly around the lip and then use 120-grit sandpaper to smooth the bowl.
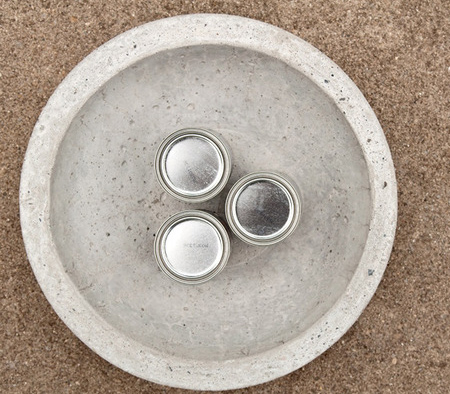
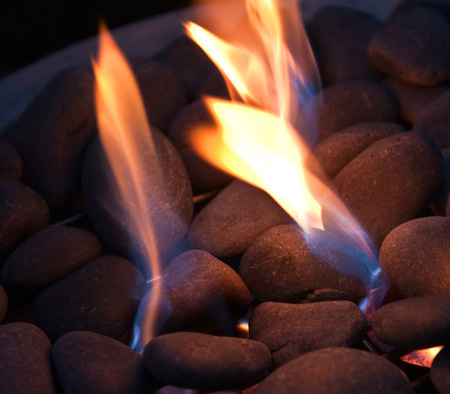
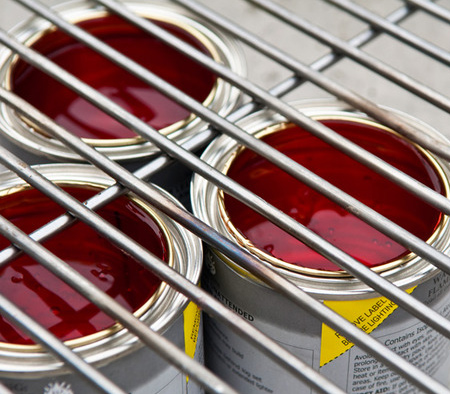
9. Place outdoors and pop in the fuel canisters. Place the grill in the bowl and then cover the grill with a layer of pebbles.
Now you are ready to add some ambience to a special occasion outdoors, or just for a bit of fun when friends and family gather together.