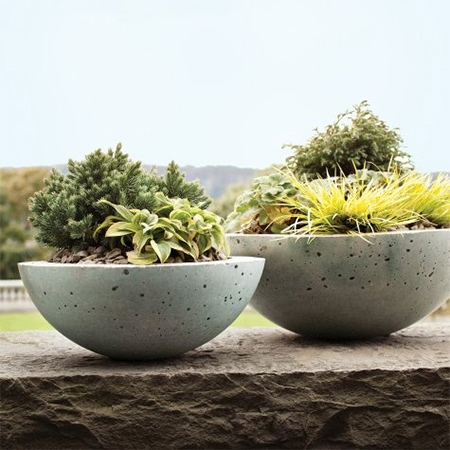
Use cement to create unique planters or water features
Concrete planters and garden ornaments, such as small water features, are easy to make and are a wonderful way to add interest to the garden. Buying ready made can be expensive, but one bag of cement goes a long, long way!


Small concrete projects are a fun way to get started and once you realise how easy it is you can look at doing larger projects. Stock up on what you need for this project at your local Builders and start making your own!
YOU WILL NEED:
Bag of cement
River sand to mix in
Non-stick cooking spray
Assorted plastic or stainless steel containers
Rubber gloves
Trowel
Bucket of water
Container for mixing
Rubber mallet
HERE'S HOW:
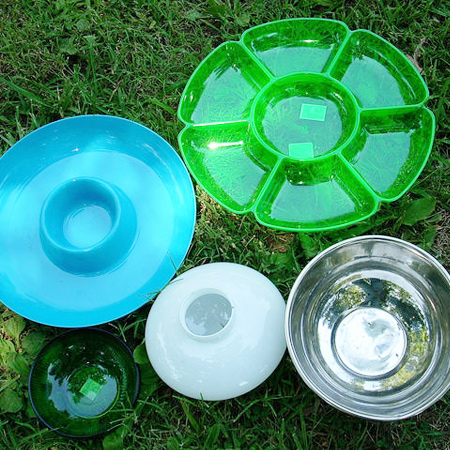
You can use just about any mould to craft your own unique concrete planters or water features. Shop at discount home stores, secondhand stores, or look at your household waste and recycle plastic food containers to use as moulds for your concrete projects.
Plastics, coated cardboard and stainless steel are easy to remove from cured concrete if sprayed with non-stick spray, and you can use these containers repeatedly.
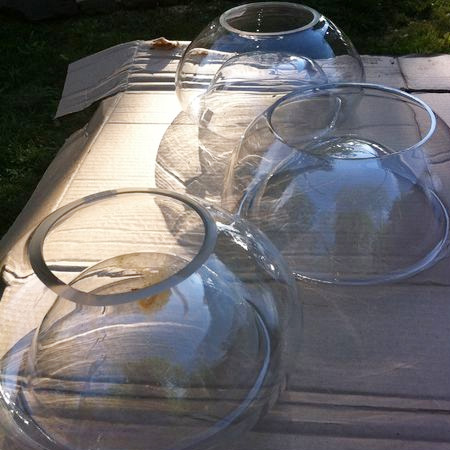
Apply a liberal coating of non-stick spray to the mould/s. Other alternatives include petroleum jelly or WD-40 as a non-stick agent. This coating allows you to re-use some containers over and over.
Use a trowel to measure the correct quantities for smaller projects: A strong mix should contain 1 part cement to 2 parts pea gravel or river sand. Click here for more details on mixing cement for small projects.
The consistency of the mixed cement should resemble thick porridge. You want to be able to pour the mix into your containers without too much mess or fuss. Too thick and it will create gaps when you pour. Test the mix by placing a ball of cement in your hand. It should hold its shape and not slump.
GOOD TO KNOW:
Always wear rubber gloves when
working with cement.
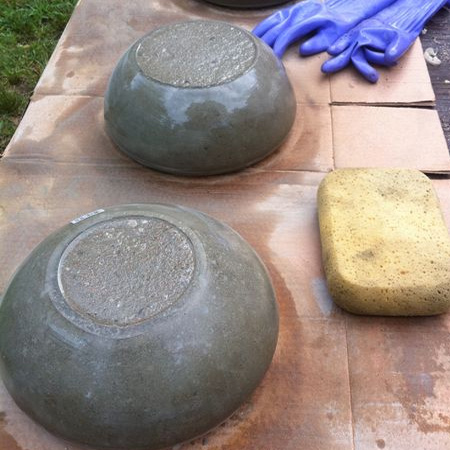
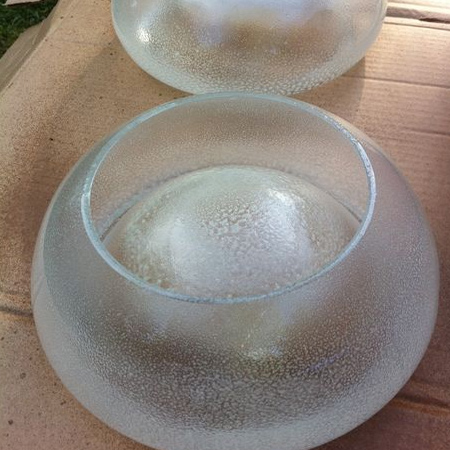
Pour the mix into the previously sprayed mould, making sure to leave no gaps and using your hand to push the mix into any crevices. Level off the top with a straight edge and then tap with a rubber mallet to remove any trapped air bubbles.
The filled containers can be put aside to cure in a convenient spot that it not in direct sunlight and left for a couple of days. If the weather is hot, cover the project with a plastic bag to prevent it from drying out too fast.
The trick to a successful project is to allow sufficient time for the concrete to set. Concrete that is not left to set properly will crack. Allow a minimum of 48 hours to cure and then submerge in a deep bucket of water for about a week. I find this makes it easy to remove the project from the mould and also ensure a proper curing process.
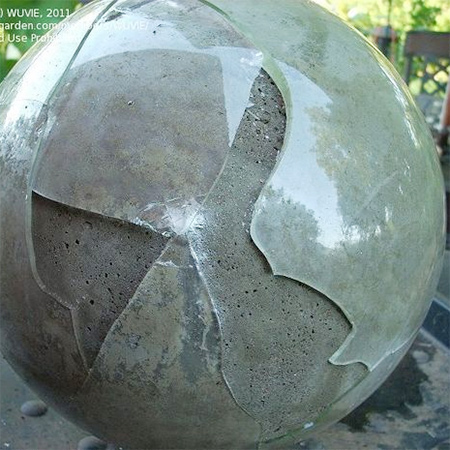
Once cured and soaked in water for a week you can remove the container. If you can't easily remove the container you may need to break it. Exercise caution to protect yourself from stray bits of plastic or glass.