
DIY Outdoor Garden Furniture
With easy access to tools and materials for DIY enthusiasts, making outdoor garden furniture has become a growing trend that many like to take on as an alternative and affordable option for outdoor furniture.
19/02/2022
castorama.fr
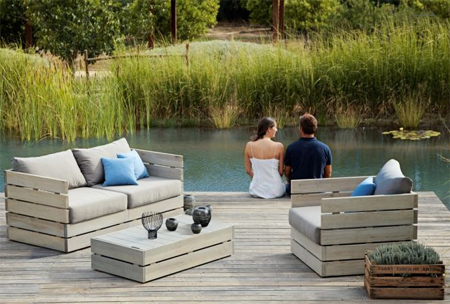
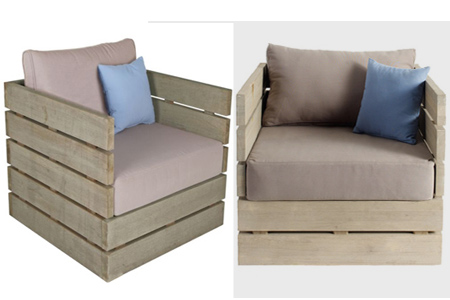
With a few basic power tools and plan, any DIY enthusiast can make unique outdoor garden frniture that fits in with their lifestyle and budget. The Cavello patio furniture shown here is a great outdoor furniture project to start with and can be made using reclaimed wood or locally available soft or hardwoods. You will find PAR pine in various widths and sizes at your local Builders Warehouse.

I chose this outdoor garden furniture because of its simple design and smooth lines. Despite the simplicity, the furniture has modern appeal and can be stained or finished as you prefer. It is also an affordable project if you use reclaimed wood, meranti or pine.
Don't Feel Like DIY? Buy a New Set of Garden Furniture
If you don't feel like making your own garden furniture (and we don't blame you) then you could consider purchasing a new set for this summer instead. Choosing something weatherproof and hassle-free, such as this range of ready assembled rattan garden furniture, can help you get started with the furniture straight out of the box, with no assembly or covers required. This means you can enjoy contemporary garden furniture, without any of the downsides.
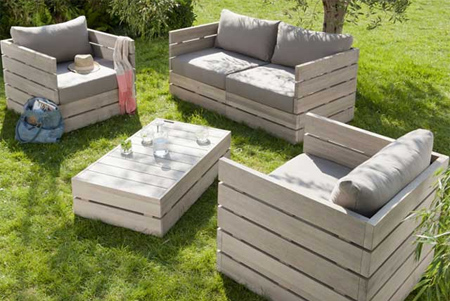
If you prefer a natural light, or blonde finish, similar to that shown here, after sanding all the pieces apply liming wax on a regular basis. Use this tip to make your own liming wax.
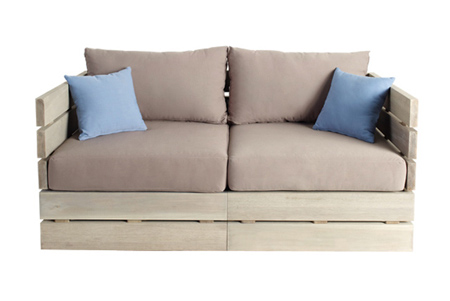
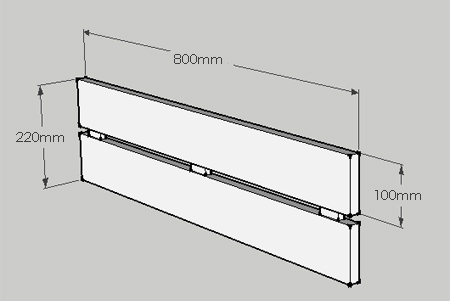
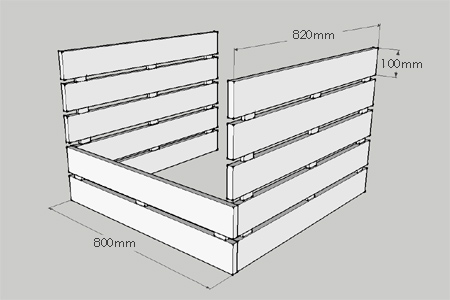
If you look closely as how this furniture is assembled, it consists of planks approximately 100mm wide and cut to length. There are a couple of methods that could be used for joining the planks together, dowels being one, but I have opted to show a method where a mortise is drilled out.
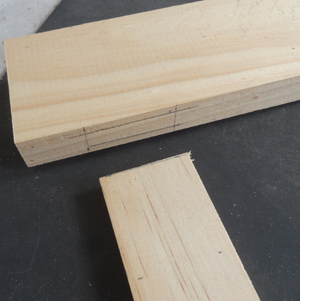
The method of drilling out a mortise and fitting a a tenon-style joint will create a strong joint between the sections. I think that 10mm dowels will work just as well, if you add more along the length.
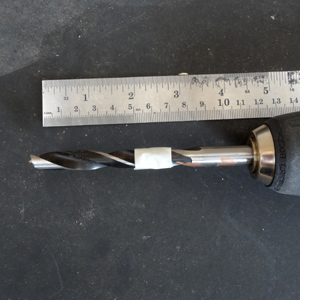
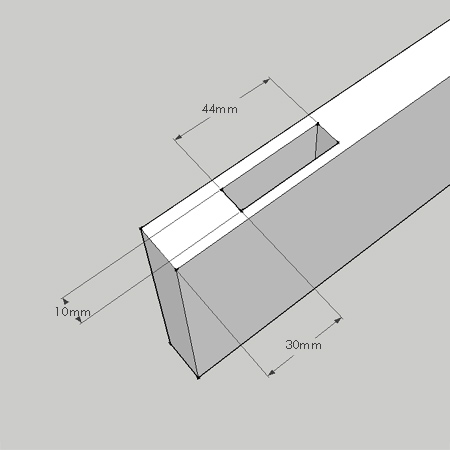
The tenon used for demonstration was a 10 x 44mm strip of PAR pine. To accommodate for this you will need to use a 10mm wood bit. Although I have marked off the drill bit at 50mm, a depth of 30mm should be more than sufficient.
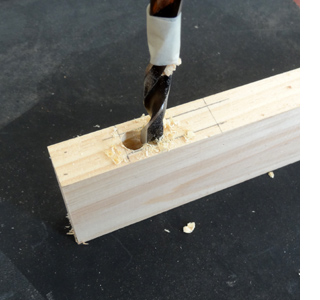
Use the 10mm wood bit to bore out holes along the cutting area to a depth of 30mm. Space the drilling holes as close together as possible without overlapping, as this will cause the drill bit to slip away from the hole.
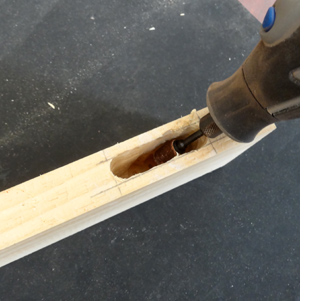
Since the width of the bored hole is only 10mm, using a wood chisel isn't practical. A Dremel MultiTool with small sanding ring works like a dream to clean out the mortise. The reason I modified the depth from 50mm to 30mm is to allow you to reach the bottom of the morise with a Dremel sanding ring.
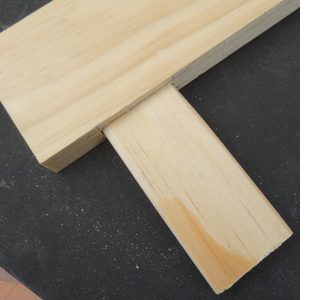
On the 10 x 44mm PAR pine I used a sander to round off the corners. Cut the 10 x 44mm PAR pine to a length of 80mm. This allows for 30mm mounted in the lower and upper planks and 20mm in the gap between.
The front seat section consists of two planks joined together as explained above.
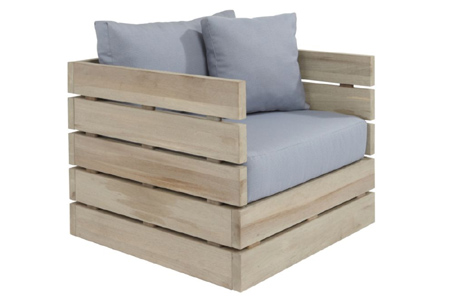
Both sides sections are joined in the same way. The bottom two slats are screwed onto the back of the front seat sections.
On the back section, the slats are screwed into the sides.
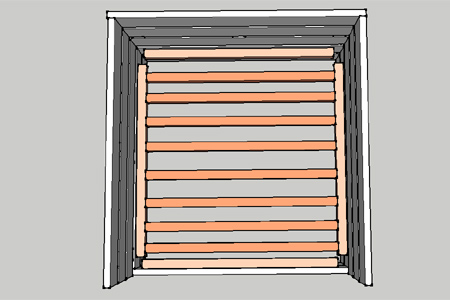
For mounting seat slats, add 32 x 32mm battens at 20mm below the top of the second slat - on the front, back and sides. Before attaching the side battens, screw on 32 x 32mm crosspieces and add steel angle braces for additional support.

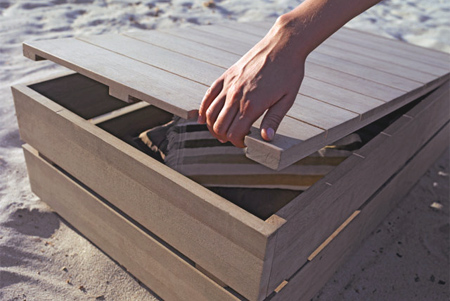
The storage coffee table is made with side panels made in the same way as the outdoor furniture, but the base has slats that lifts the coffee table off the floor, and a slats on the lid to hold it in place.