Kid's craft table and chair
Today we had our DIY Divas workshop and made this child's art and craft table and chair. We cut out all the curved pieces and sanded where necessary and the entire project (excluding painting) took 2 hours from start to finish.
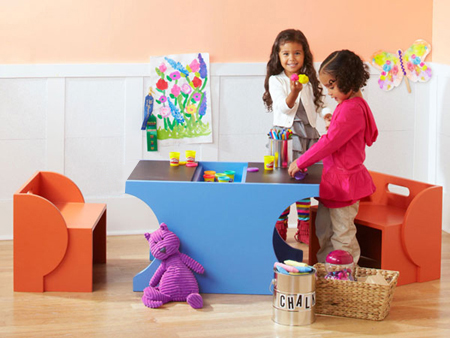
[ original image via lowes ]
YOU WILL NEED:
QTY |
MATERIAL | ITEM | ||||
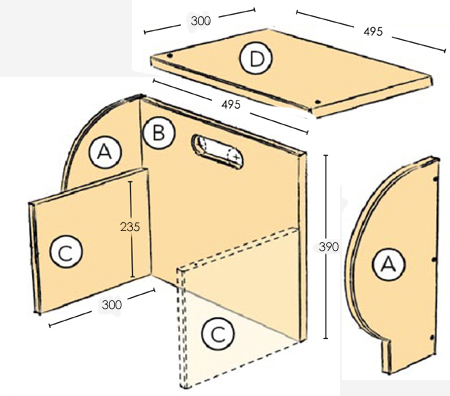
A |
2 |
450 |
910 |
16mm SupaWood | A & E sides | |
B |
1 |
390 |
495 |
16mm SupaWood | chair back | |
C |
2 |
235 |
300 |
16mm SupaWood | seat supports | |
D |
1 |
300 |
495 |
16mm SupaWood | chair seat | |
E |
see A |
|||||
F |
2 |
100 |
495 |
16mm SupaWood | box base | |
F |
4 |
90 |
495 |
16mm SupaWood | box sides | |
L |
2 |
270 |
495 |
16mm SupaWood | table top | |
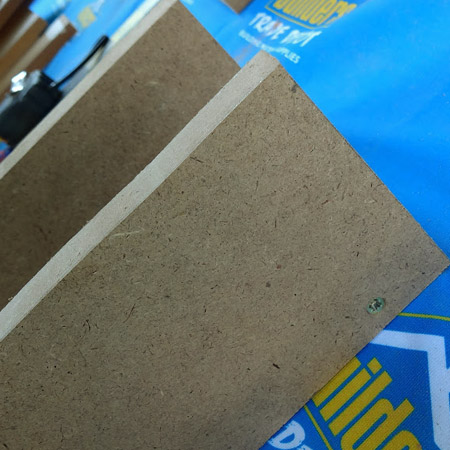
NOTE: If you plan of painting this project, make sure that you use SupaWood, as this has a much smoother finish than other MDF products. You can buy all your SupaWood at Builders Warehouse and have it cut to size.
3,5 x 30mm screws
Wood filler
Choice of finishing (acrylic paint or Rust-Oleum 2X spray paint)
TOOLS
Drill/Driver plus assorted bits
Countersink bit
25mm
spade bit
Jigsaw and clean-cut blade
Dremel MultiTool and sanding ring OR
120- and 240-grit sandpaper
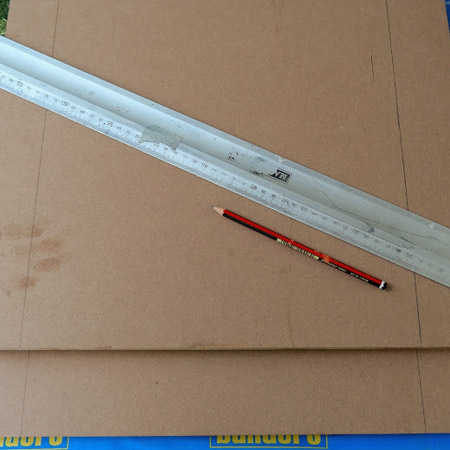
Steel rule, tape measure and pencil
Item as template for half-circle
Buy all the tools that you need for this project at your local Builders Warehouse.
HERE'S HOW:
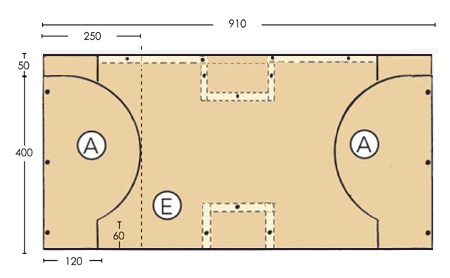
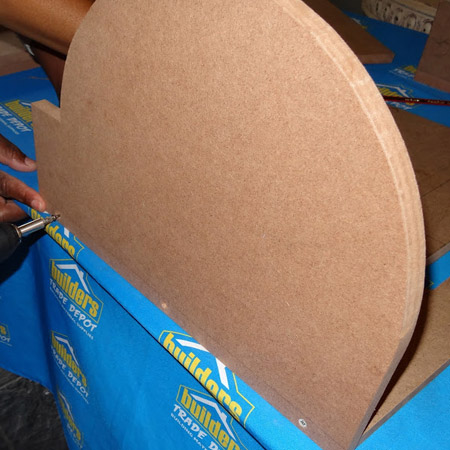
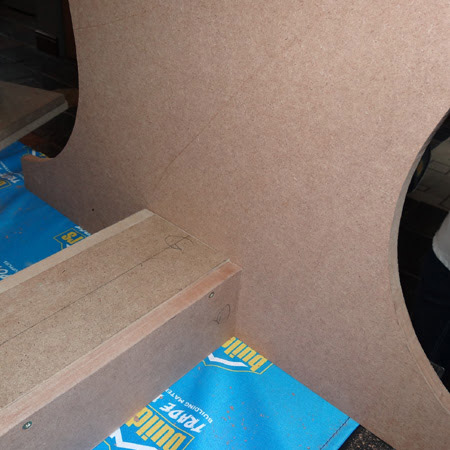
On the two side sections [E] use a steel rule and pencil to mark and draw lines at 50mm down from the top and 60mm up from the bottom.
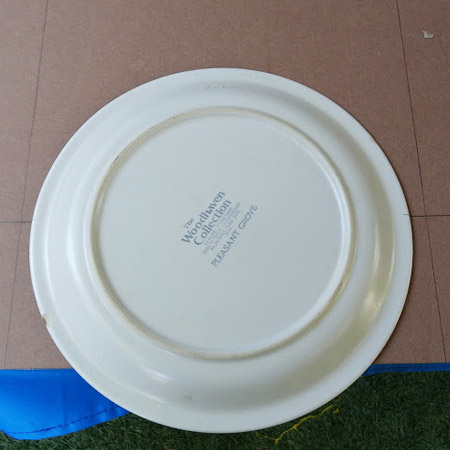
Also draw a line 120mm in at each end on both sides. Use a template - I used a large plate - to draw a half circle on the inside of the drawn line. Use your pencil to make a mark on the plate, so that you can be sure to position the plate at the same place on all edges.
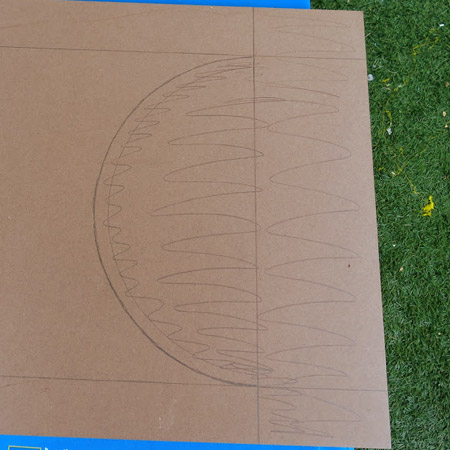
Use a pencil to shade in the area that will be cut out. These sections [A] will later on become the decorative sides for the chair.
Use your jigsaw to cut out these sections and put them aside for the time being while we make the chair.
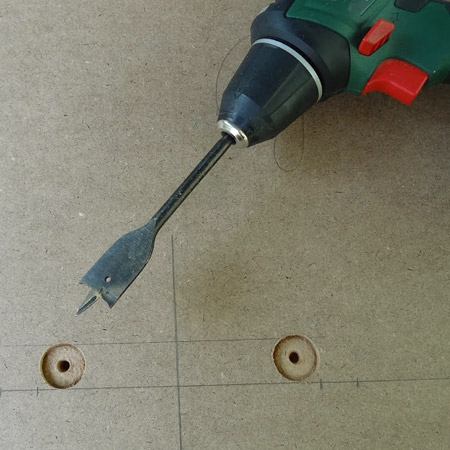
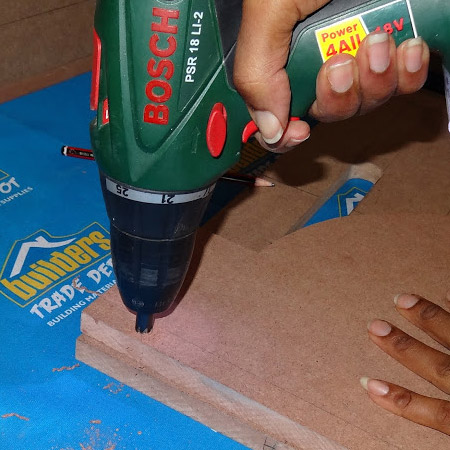
Use a tape measure and pencil to mark the centre of the chair back [B] at about 50mm down from one end. Measure 60mm out on both sides and at this point use a 25mm spade bit to drill holes for the chair handle.
NOTE: Only drill to about half the thickness of the wood and then turn over to continue on the other side. This gives you a nice, neat finish.
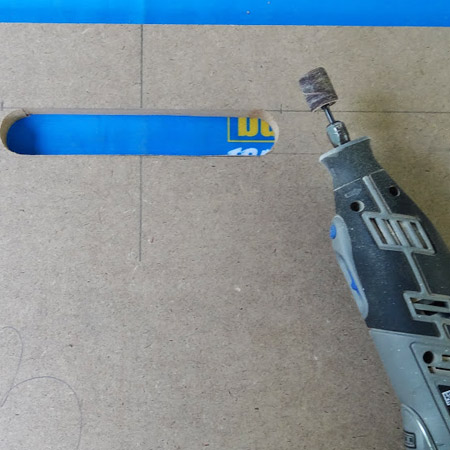
I used my Dremel MultiTool and a sanding disc to smooth the inside cut edges once done, but you could also use 120- grit sandpaper for the job.
On the outside edge of the chair sides [A] drill pilot holes and countersink for mounting onto the chair back [B].
Use 3,5 x 30mm wood screws to attach the chair sides [A] to the edge of the chair back [B].
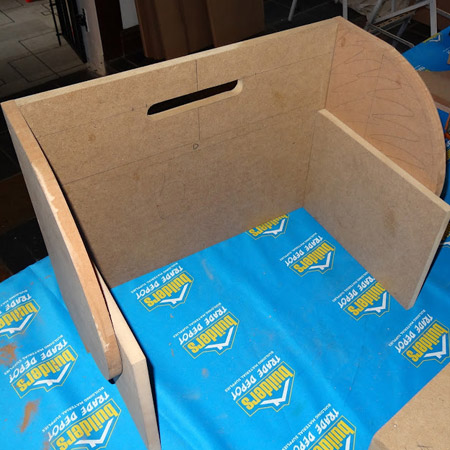
Insert the seat supports [C] and attach these by drilling countersunk pilot holes through the chair back [B]. In other words, drill through the back of the chair back and into the seat supports [C]. Place the seat [D] on top of the seat supports [C] and drill countersunk pilot holes before driving in screws to secure.

Above is what the finished chair should look like. Note that we also added a screw through the side [A] into the seat support [C] for added stability.
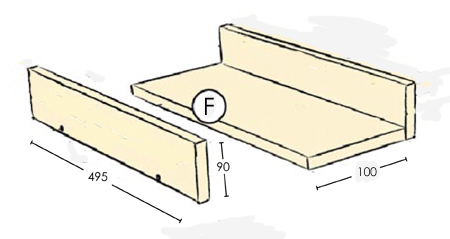
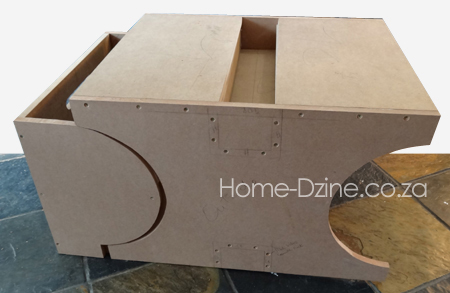
Before you assemble the table, make the top and bottom boxes [F] that will fit in between the sides. To make the boxes simply screw the sides to the bases. Do remember to drill pilot holes and countersink beforehand.
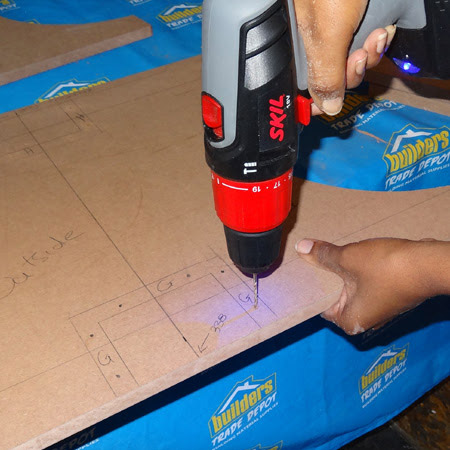
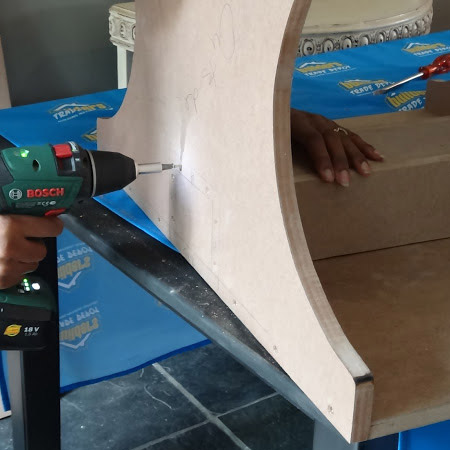
Use a tape measure and pencil to draw a centre line from top to bottom on both sides [E] and then place the boxes centrally on this mark. Draw around the box [F] so that you can drill pilot holes and countersink on the outer sides [E] to make it easy to mount the boxes on the inside.
NOTE: For the top box, allow a 16mm space for mounting the top.
After drilling countersunk pilot holes for mounting the top and bottom boxes, start with the bottom box and use the drilled holes as a guide for positioning. Drive 3,5 x 30mm screws through the outside of [E] and into the box [F] on both sides.
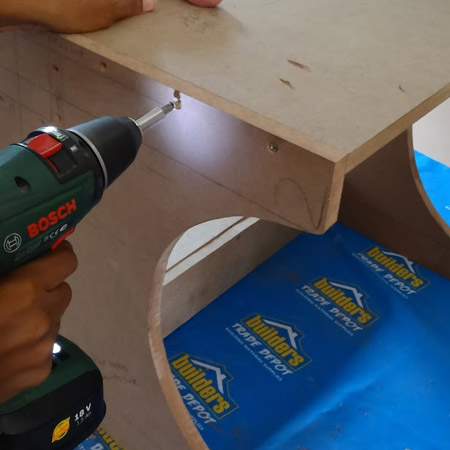
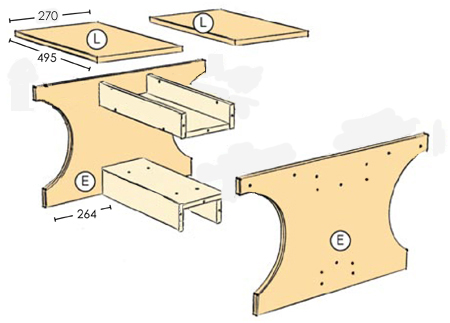
Before mounting the top box, drill countersunk pilot holes and attach the two top sections [L] so that they are flush with the top and sides of [E].
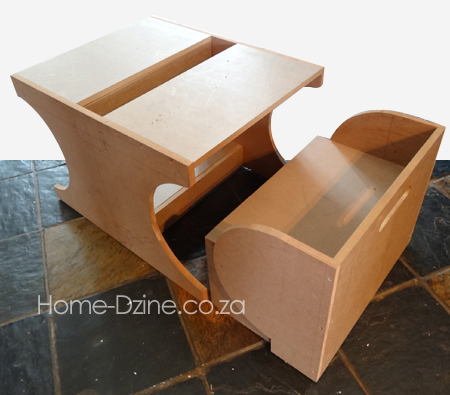
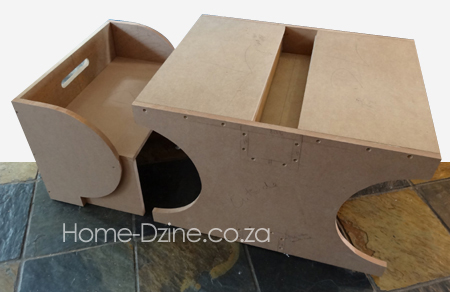
Now you can turn the table upside-down to mount the remaining box [F]. This box fits just under the edges of the tops[L] to provide a place for crayons, pencils and paints, etc. Below is the finished table and chair. We only made one chair for this project, but you can now make another chair if required.
Before you paint the table with acrylic PVA, be sure to round off all the sharp edges and corners with 120-grit sandpaper and then smooth with 240-grit sandpaper. If you are going to use Rust-Oleum 2X spray paint for this project, remember to polish the cut edges for easy spray painting.
The design allows for the chairs to fit snugly under and inside the desk when not in use.