Maintain Outdoor Wood Furniture the Easy Way!
Having looked at easier and affordable way to maintain and care for outdoor wood and wood furniture, I am putting this to the test on all my outdoor wooden furniture to see how it works.
31/07/2022
I am a big believing in the saying, "Put your money where your mouth is!" and always prefer to put an idea or practice into effect before I make any claims or suggestions. If you have read the article, "Maintaining Wood Furniture Should be Easy and Affordable," I discuss easier ways to go about maintaining and caring for outdoor wood fittings and fixtures and wood furniture.
Sometimes it is better to leave wood furniture as is and just do maintenance as and when it needs it.
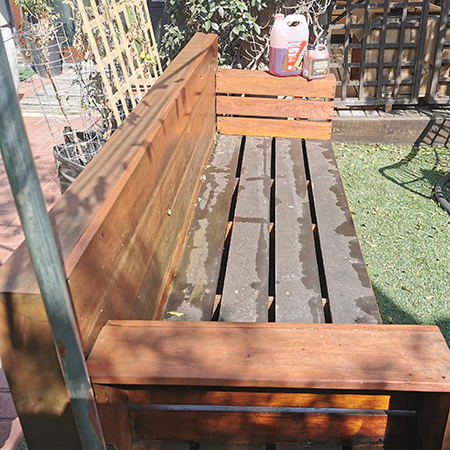
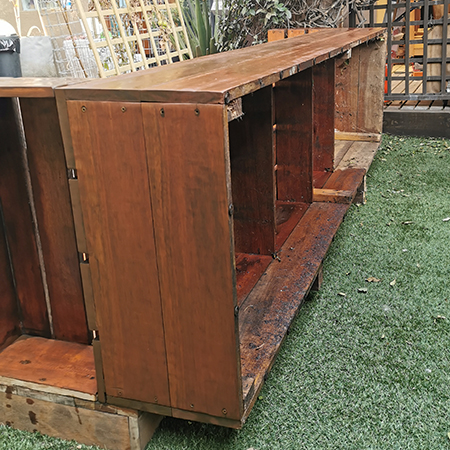
Most of the wooden furniture in my home I have made using Pine or Meranti, both for indoors and outdoors. One in particular, my outdoor sofa that I made in 2014, is on my maintenance and care list before spring arrives and I am going to use this as an experiment to see how I can make it easier to care for the wood and provide adequate protection from the elements. For the past 8 years, my Meranti sofa has been outdoors and completely exposed to the elements.
Designed and assembled in 2014, this is my Meranti wooden sofa that cost around R2500 to make. Originally, the sofa was left unfinished in its natural state without any type of protection being applied and, I must be honest, it looked great. At the time, I was working with clients that supply a wide selection of wood finishing products, including exterior sealers, and I ended up applying an Imbuia exterior sealer. Probably not my wisest choice as since that time, I have had to do ongoing and time-consuming maintenance since the exterior sealer degrades over time and there is a process that must be followed for re-application.

Don't get me wrong here, I am not knocking the product in any way whatsoever, I am merely stating that I wished I had never done the application and left the sofa just as it was. I dread having to go through what is involved to keep up the maintenance and I am sure that many of you will agree that our down-time is precious, and we don't want to spend it doing unnecessary tasks. Yes, the dark stain looked good on the sofa, but I loved it just as much when it was left natural.
After 8 years outdoors, the only visible area of wear is where the exterior sealer has faded.
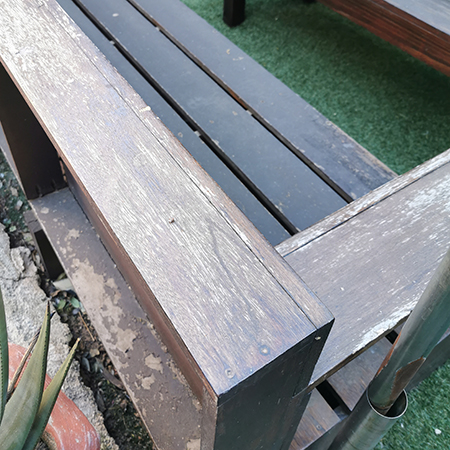
Despite being made 8 years ago, the Meranti wood is still in excellent condition barring the sealer applied over the years. The only damage that has occurred is to the pine frame that supports the seat. Something to keep in mind when designing outdoor furniture and particularly when using pine.

Preparation:
Step 1
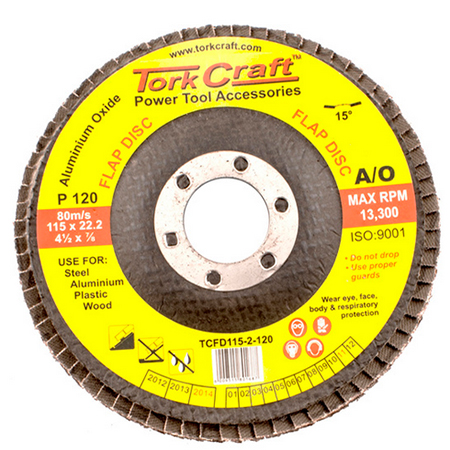
All the old sealer needed to be removed. After 8 years, you can imagine there were quite a few layers that had to be sanded back. Rather than waste money on expensive sanding pads, I fitted flap disks onto my angle grinder. These disks cost around R30 each and last a very long time - much cheaper than using sanding pads and far more effective.
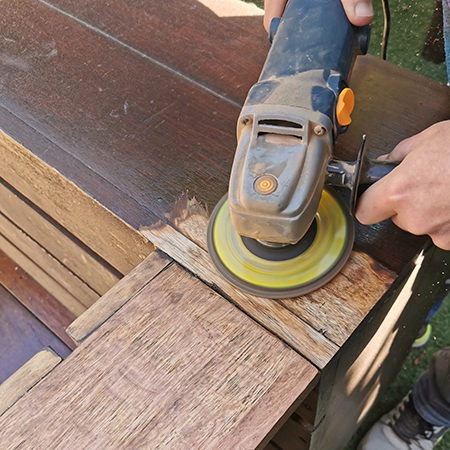
Step 2
Flap disks were used to remove all the sealer that was built up over the years. Whereas the job would have taken hours and hours using just a sander, the flap disks cut down the sanding to around 2 hours. Do keep in mind that, because the flap disks are circular, there are going to be areas that will need to be hand sanded or finished with a sander.
Tork Craft Flap Disks (120-grit) make quick work of removing layers and layers of protective finish. Available at Builders' stores countrywide.
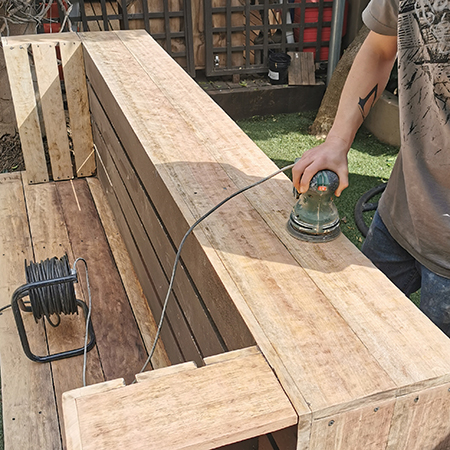
Step 3
The flap disks don't leave a perfectly flat, smooth finish so you will still have to use a sander and 120-grit sanding pad for finishing and smoothing the surface of the wood.
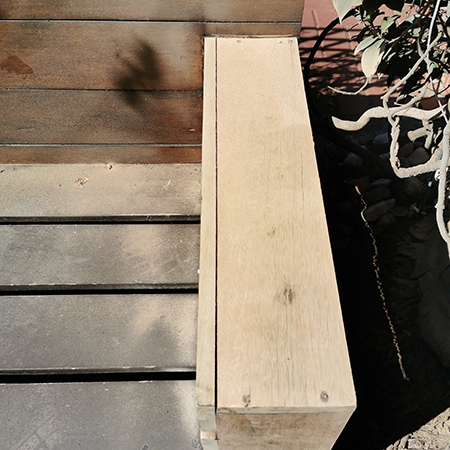
Step 4
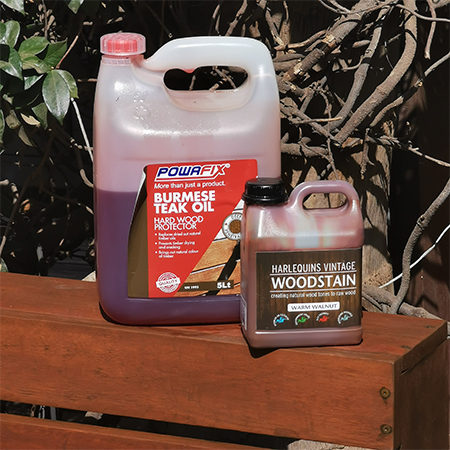
After sanding, you can decide to leave as is or apply a wood stain. I went with the wood stain simply because the Meranti differed greatly in colour on the original pieces used and I wanted a solid colour. Harlequin Vintage Woodstain was applied (warm walnut) and this evened out the overall colour.

Step 5
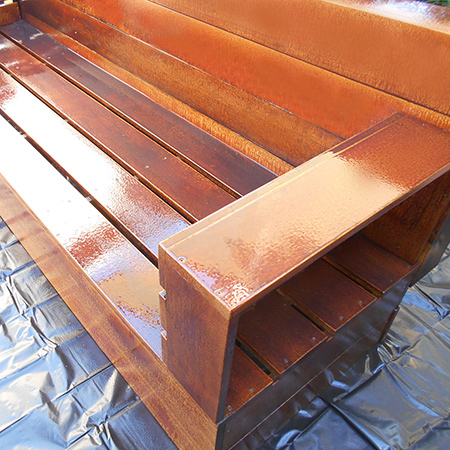
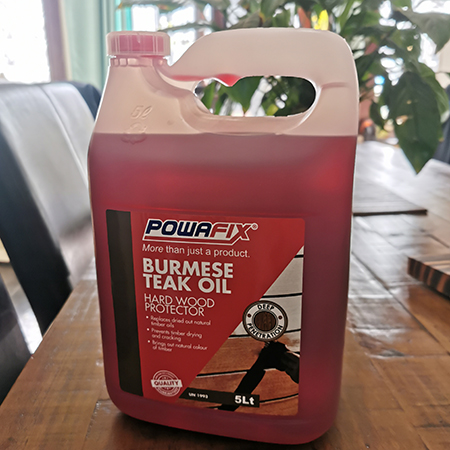
Applying the Burmese Teak Oil is easy and all you need is a paintbrush and some old rags. I applied a very liberal coating over the wood and let this soak in before wiping down to remove excess on the surface and then applying a second coat. If the wood quickly absorbs the oil, you may also want to apply a third coat.
Step 6
Apply the oil finish to the entire construction, including underneath if possible. This will ensure maximum protection.
Now ongoing maintenance is easy!
From now on, no more hassle to maintain, care for and keep the outdoor sofa in good condition. As soon as the wood appears dry, I just need to apply Teak Oil to refresh and restore the wood.