
5 Ways to Finish Off Tile Edges
When you are tiling halfway up a wall, adding a listello to a plain wall, or have a row of tiles that need the edges covered up, what options do you have?
18/07/2020
https://pinterest.com - 2603712263263912/
There may come a time when you want to add tiles to a wall that will only go up to a specific height. How do you finish off the edge of the top row of tiles? Or perhaps you have a tiled wall in a bathroom where the edge of the tiles shows. How do you cover this? I recently added tiles around small windows, purely to add some interest other than just my NOT fancy burglar bars, and wondered how I should finish off the edge of the tile was showing. If you want some ideas for finishing off the edge of a tiled row, see what I have come up with below.
You invest a lot of your money into tiles so you will want to ensure that the finish looks good, even more so if you are doing it yourself. Not only does finishing off the raw edge of a row or wall of times complete the look, but it also hides that raw edge that would otherwise be visible and not very attractive. There are various options you can put to use for finishing off the edge of tiles:
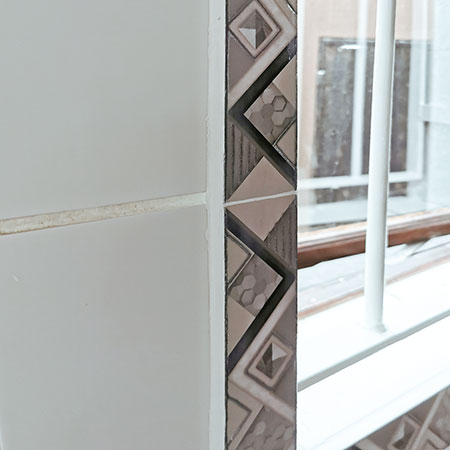
1. PAINT THE TILED EDGE
One of the simplest and fastest ways to finish off the raw edge of a row of tiles or listello is to paint it to match the surrounding tiles. In my particular instance, I painted the raw (terracotta) edge of the tile with oil-based enamel paint. While I could have used a water-based enamel, there was some paint left over from a previous project and I thought this would be a good excuse to use what was left.
The area surrounding the raw tile edge was masked off with painter's tape to ensure no paint was messed on the tiles. I also made sure to use a thin paintbrush to keep mess to a minimum. It was necessary to add two coats of white enamel paint to cover up the dark edges of the tiles.
2. USE A TILE EDGING STRIP
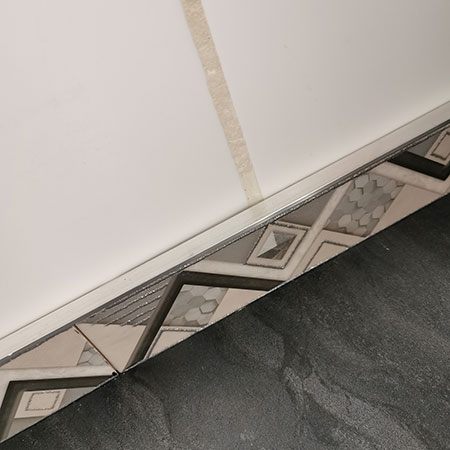
An edging strip is an aluminium profile that comes in long lengths that can be cut to fit and finish off your tiling project. If you plan of finishing off your tiles in this way, make sure to buy the edging strip when you purchase the tiles, so that you can be sure it is the correct thickness to completely cover up the raw tile edges. An Aluminium edging strip has a satin finish that gives the tiles a professionally finished edge.
There are all types of designs in aluminium edging strips and the best thing to do is discuss this with your tile supplier.

pinterest.com/pin/111534528259402689/
3. ADD A ROW OF LISTELLO TILES
ctm.co.za
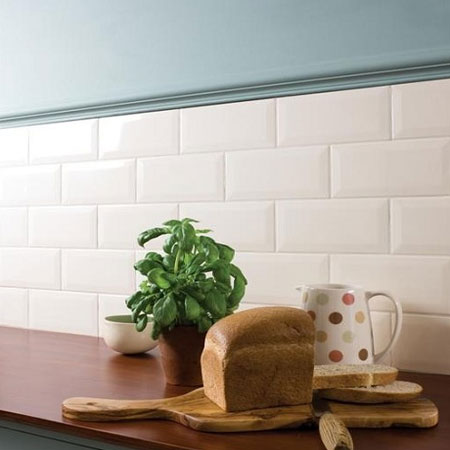
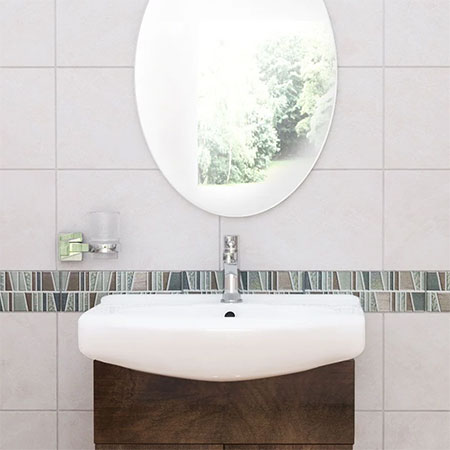
When shopping for tiles for your project, be sure to also see the range of listello tiles that they offer. Listello is usually a single row of tiles in a bold colour or pattern, that is used to break up a wall of plain tiles and add interest, or to finish off a tiled wall that does not go all the way up to the ceiling.
4. ASK FOR BULLNOSE OR DADO TILES
pinterest.com/pin/273030796138913368/
Before making a final selection for tiles for a specific project, and especially if you are not tiling to the top of a wall, ask if they have a particular range or style of tiles that come with a finishing bullnose tile to top off the last row of tiles. Additionally, if you select a white or popular colour choice for your tiles, you may be able to obtain the bullnose at another supplier.
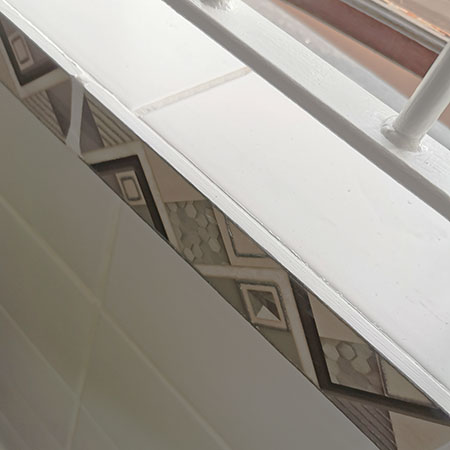
5. ADD WOODEN MOULDING STRIP
pinterest.com/pin/2603712263263912/
One solution that I have used before and that works great is to use strips of wooden moulding to finish off the top edge of a row of tiles. The moulding can be painted in the same colour as the tiles or in the colour to match a painted wall, or colour taken from wallpaper if you are installing this.

https://pinterest.com - 574771971192033692/
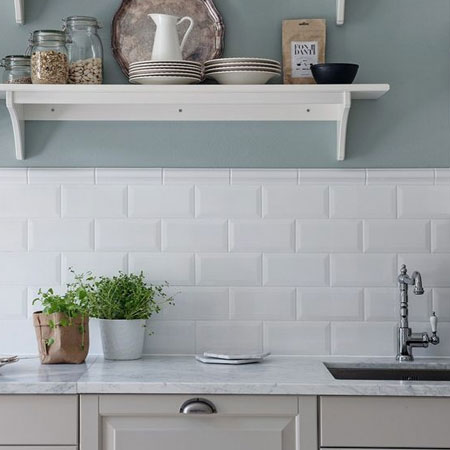
6. USE SEALING STRIP TO FINISH OFF TILED EDGES
This last one is a recent addition to the list and one that I have just used to finish off the tiled edges around the kitchen cupboards for my kitchen backsplash. Click here for details.