How to upholster your made tub chair
If you have already seen the instructions for making your own tub chair, you can now read on to find out how to upholster the chair to make it ready for the slipcover.
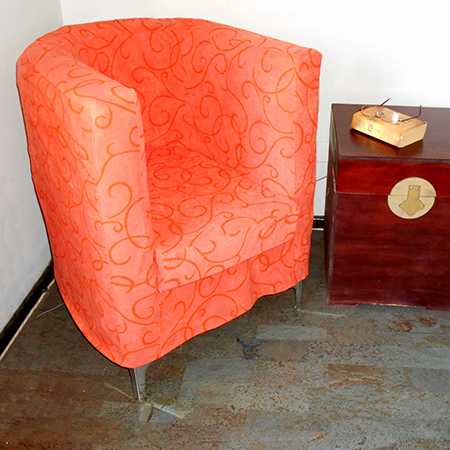
I mentioned in the project for making the tub chair that my son had grabbed this one for his bedroom, and this is why it is upholstered in an orange fabric, which happens to be his favourite colour. The prototype design for the chair came out a bit too narrow for my liking, but I did provide measurements and cutting list for a full size chair and which I will be making this week.
This tub chair is upholstered in lining fabric that allows or easy removal and fitting of a slipcover that can be dry cleaned or washed, depending on the type of fabric. This week I will be making another, larger tub chair and this will be fully upholstered and I will post the details for this project as well.
YOU WILL NEED:
3 metres of lining fabric
Medium-weight batting, scraps will do or buy half a metre
Fabric glue or contact adhesive
Scrap fabric to cover base
4 legs and 16mm screws
TOOLS:
Bosch Tacker
Craft knife and sharp scissors
Tape measure and pencil
Sewing machine and accessories
HERE'S HOW:
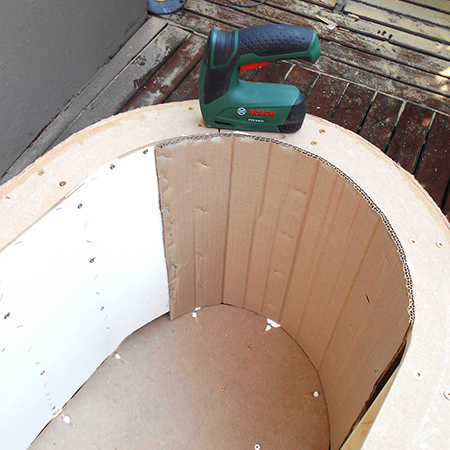
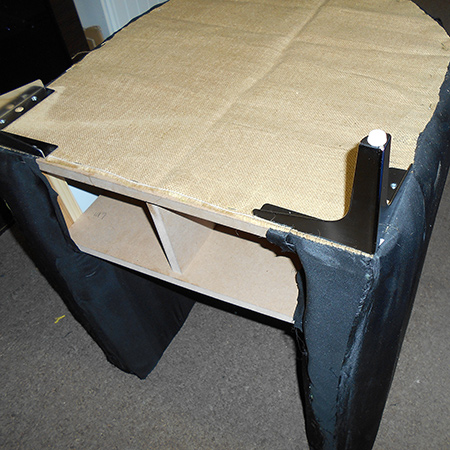
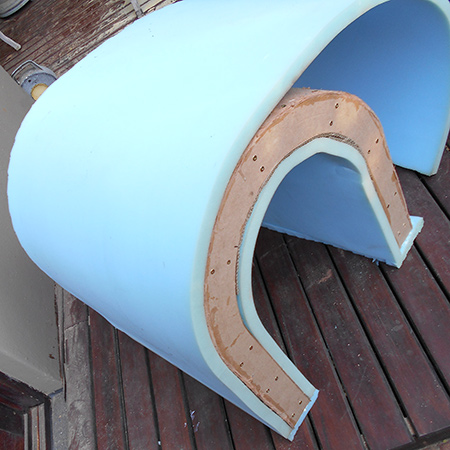
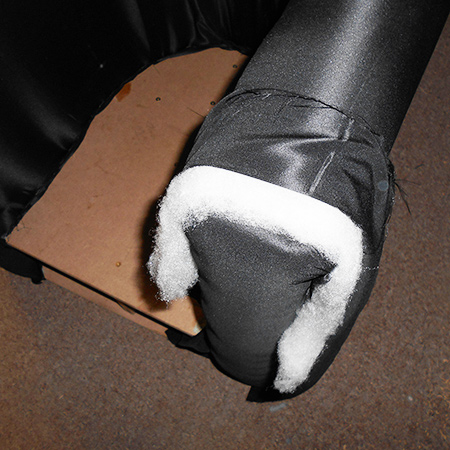
1. Cut the foam to fit around the inside of the frame, and also for the front. Note that the front sections should be wide enough to cover the foam being fitted outside the frame.
2. Use contact adhesive to glue the foam to the frame at the top and bottom, and also to the struts.
GOOD TO KNOW:
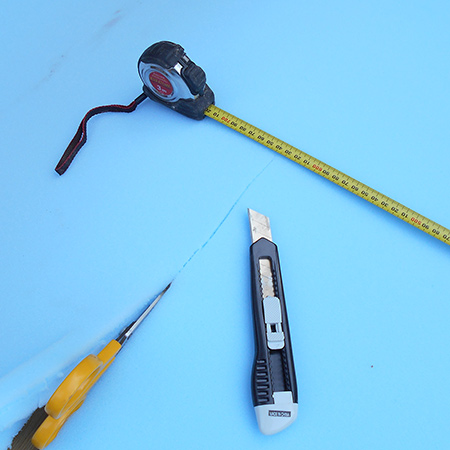
If you need to cut the foam
sheet into sections, use a craft knife to mark
and sharp scissors to cut.
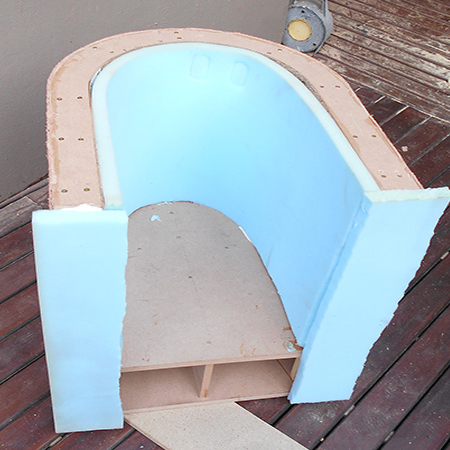
3. Also cut foam for the top of the frame. Here you can add your own level of thickness. I simply used the same thickness foam for the top.
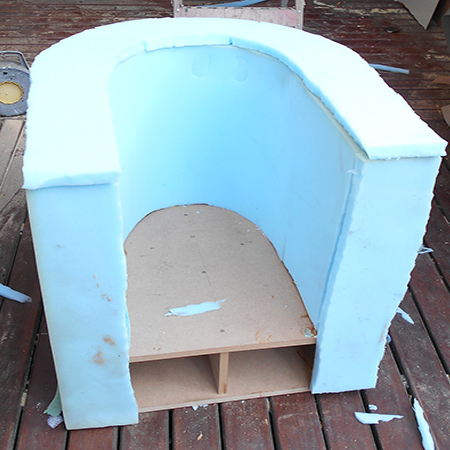
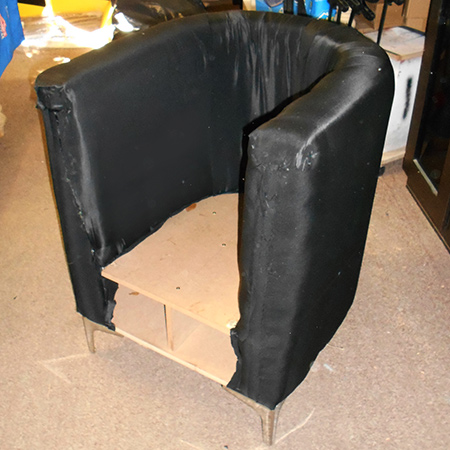
4. The lining fabric was cut to fit over the front sections of both sides, with plenty of excess fabric at the top, bottom and sides for stapling to the chair frame. Make sure you press the tacker or stapler down very hard to penetrate the wood underneath the foam.
GOOD TO KNOW:
Don't worry too much about
where you staple, as you will be able to cover
this up with thin batting.
5. To wrap the main part of the chair cut 3 sections of lining fabric long enough to staple to the seat base, wrap over the arms and staple underneath the base. Staple the back section in place first and then add the two side sections, overlapping the sections. Make sure to fold under the fabric at both ends (on seat base and under base) to prevent from tearing and use a staggered arrangement of staples. Don't forget that you can use thin strips of batting to fill in where there are staples.
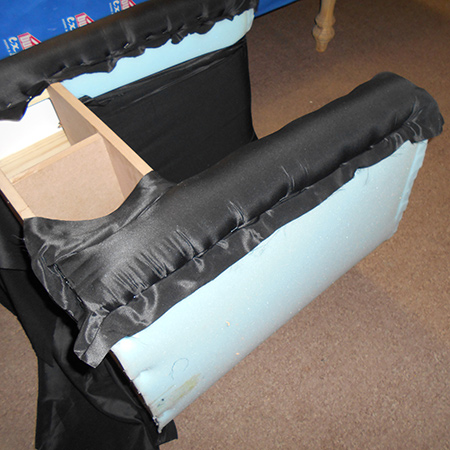
6. Use fabric glue or contact adhesive to wrap the ends of the sides over the front panel. I used contact adhesive because it dried much faster. Bear in mind that all this will be covered up with the slipcover. You just want to shape the foam and have a finish that allows for easy fitting of the slipcover.
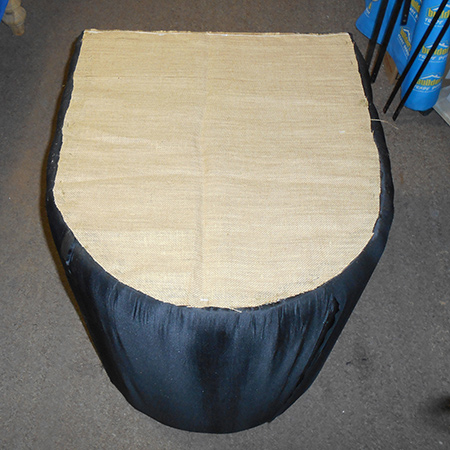
7. For a professional finish add a scrap of fabric to the base to cover up the staples. Cut to fit and glue this in place with contact adhesive.
8. Position the legs and screw these in place.