
Shou Sugi Ban Platter
I recently posted on the Japanese method of burning wood using the Shou Sugi Ban technique, and in this project you can make a Shou Sugi Ban platter.
28/10/2018
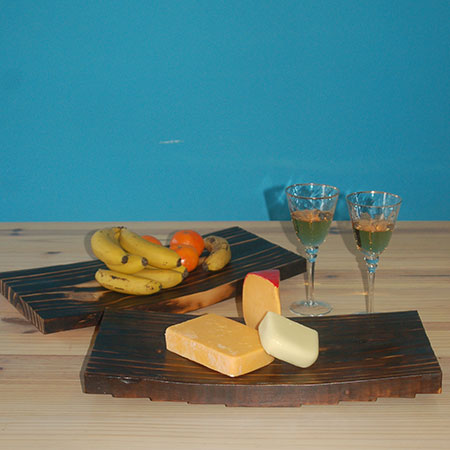
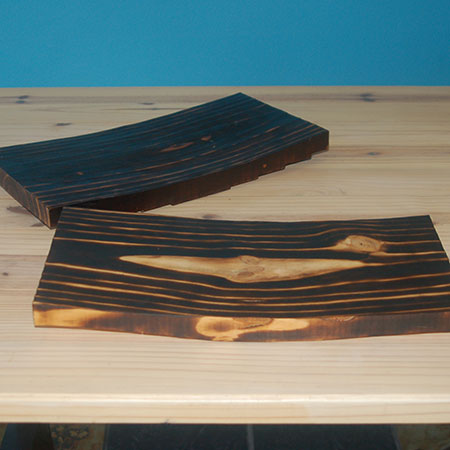
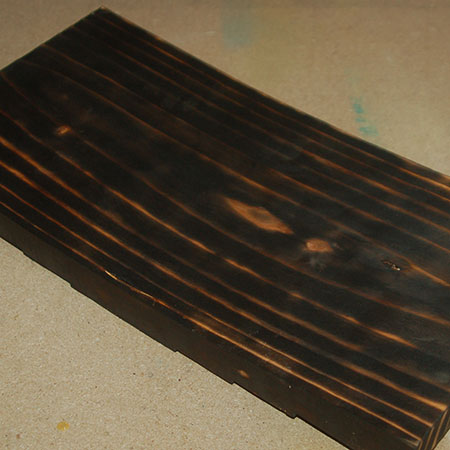
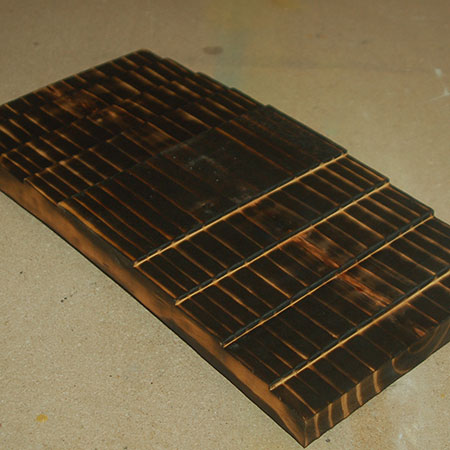
For this project I made two different platters using the Shou Sugi Ban technique. The platter at the back (above - back) has a base that is sanded smooth, and I also did not sand the surface after scorching the wood. This gives a much darker effect. The second platter (above - front) has an unsanded base but with a sanded finish.
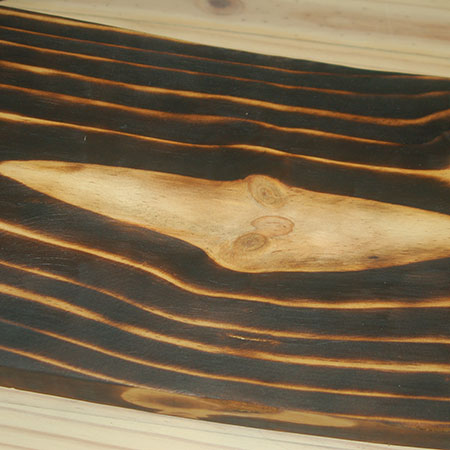
Up close you can see the detail that Shou Sugi Ban brings to the wood grain. It's important to choose your wood carefully. The first platter (above) has a much nicer grain pattern than the second.
YOU WILL NEED:
180-grit sandpaper
Mineral Turpentine
Sealer or varnish
TOOLS:
Planer
Dremel VersaFlame or blowtorch
Gloves
Rags
*You can make several platters - or bar stools - or plant stands, from a single length.
HERE'S HOW:
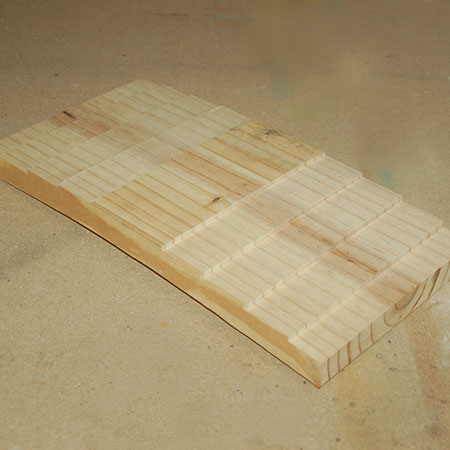
Follow the instructions in our Curved Bar Stool or Plant Stand for making the curved top using a piece of pine and a Planer.
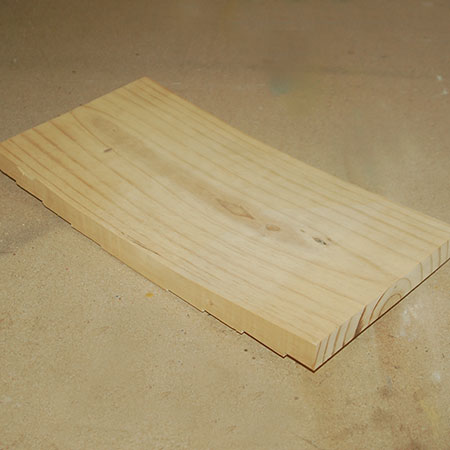
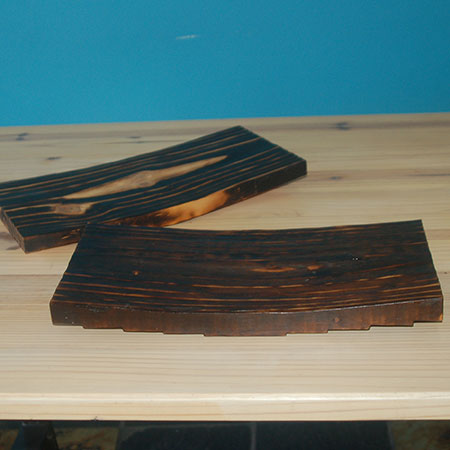
1. In this project you have the option to choose to leave the base of the curved top unsanded (above) or sand the base smooth, as in the main pic. I personally like the unsanded top. The angled base gives the platter an edgy look.
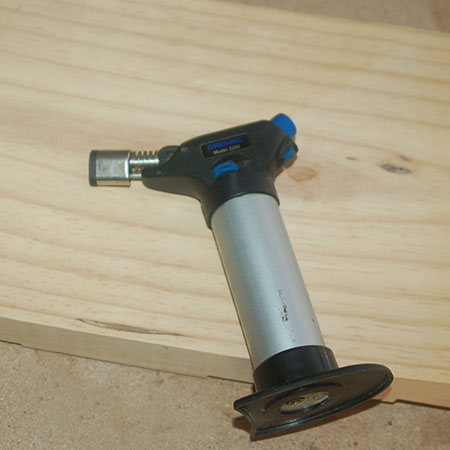
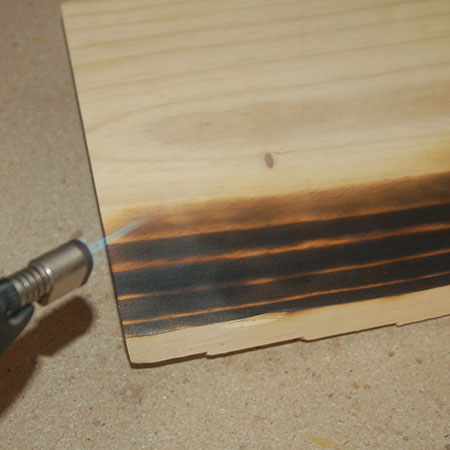
2. You will need a Dremel VersaFlame or blowtorch to apply the Shou Sugi Ban finish to your pine pieces.
GOOD TO KNOW: It is better to do this project outdoors.
3. Hold the VersaFlame approximately 5cm away from the surface, and angle the tool until you can see that the flame burns the wood nicely. The blowtorch only burns the soft wood and leaves the grain a much lighter colour and this gives a nice effect that is almost like Zebrano wood.
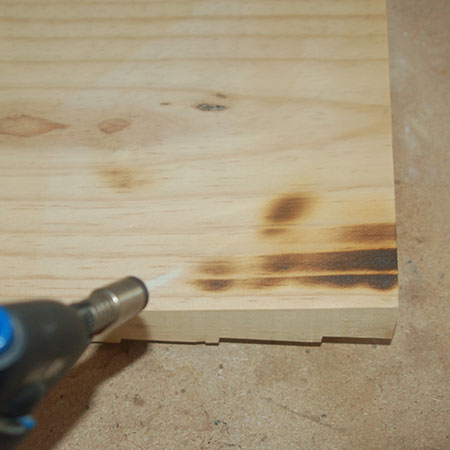
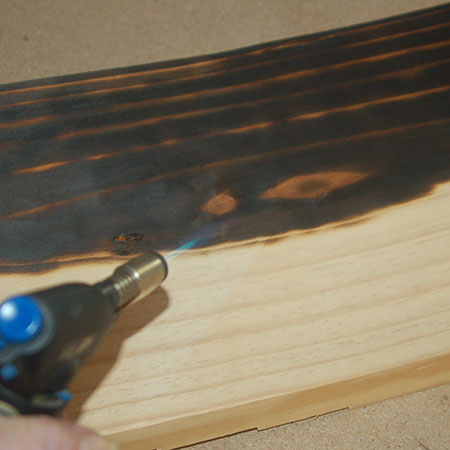
4. Working with the grain of the wood, work from left to right in strips. You can always go back if you miss a spot.
5. You want to achieve a consistent burn across the entire surface of the wood.
GOOD TO KNOW: You may see a flame start to ignite on the wood as you burn. Don't worry, this will die out or you can gently blow out.
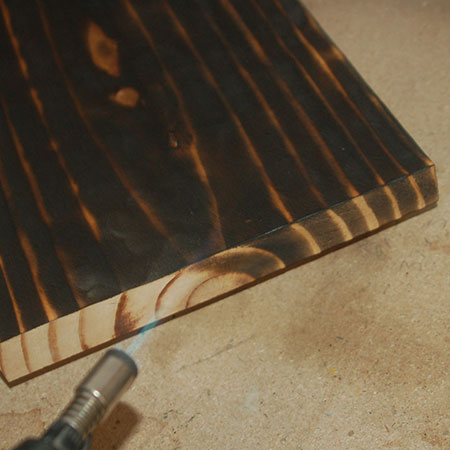
6. Continue to burn the sides and edges of the pine.
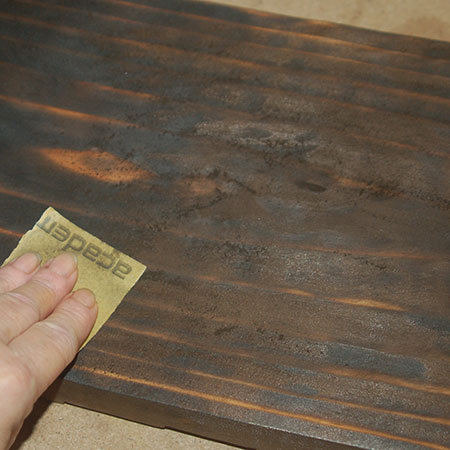
7. Using 180-grit sandpaper, lightly sand the surface of the pine to remove the scorched areas. Use the sandpaper with the grain for a consistent finish.
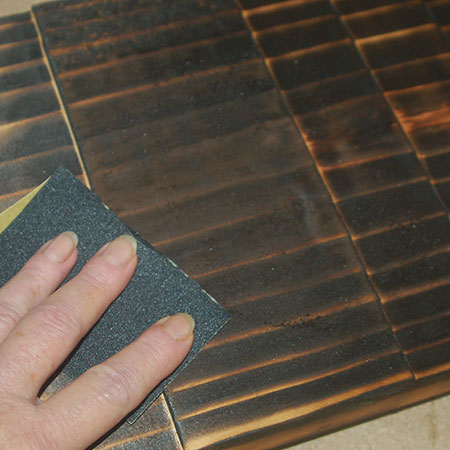
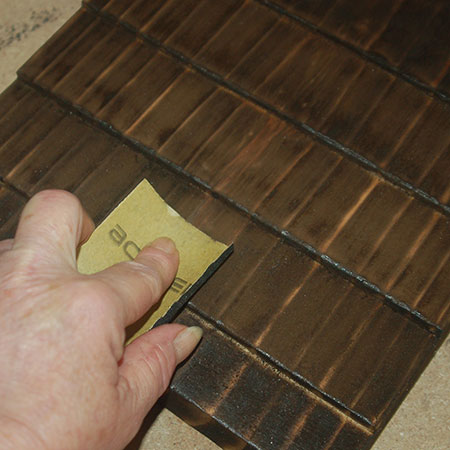
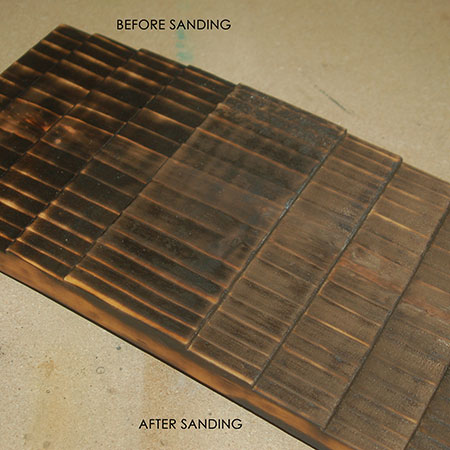
8. Continue sanding the platter until all the scorched areas have been removed.
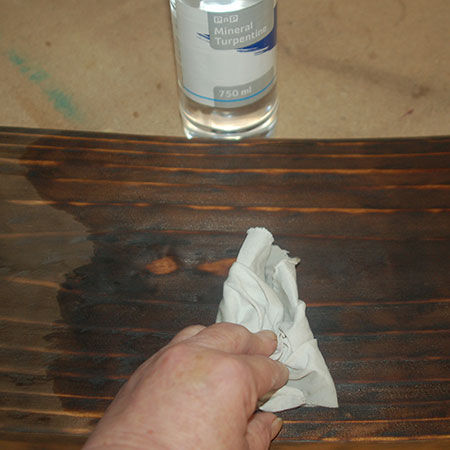
9. Wipe clean with rags and mineral turpentine.
10. To finish the platters, the first one I used Rust-Oleum Ultimate Polyurethane Ultimate Matte, and the second one I applied a sealer. While these are not food safe, if they are only used for decorative purposes this poses no problem.