
Creating a perfect mitre joint
If, like me, you enjoy making picture frames, achieving a perfect mitre joint can be tricky, so we share some tips on creating an almost perfect mitre joint.
02/10/2018
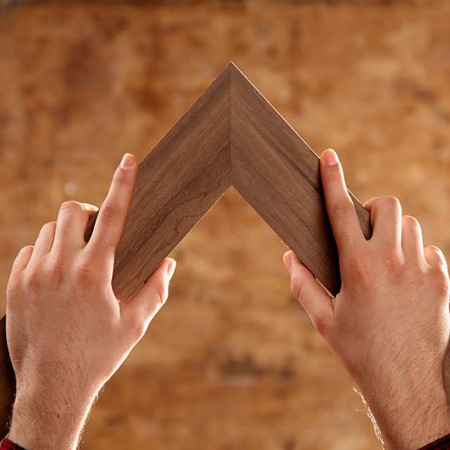
It's almost impossible to achieve a perfect mitre joint. Even a top-end mitre saw can't cut a perfect mitre. If you enjoy making picture frames, or edging a tabletop, we share some tips on making an almost perfect mitre joint.
Match the wood grain
When you are staining or applying a clear varnish or sealer, it's important to line up the wood grain at the corners. Not only does this help to make mitre joints less visible, it also creates a nice finish for all your wood projects.
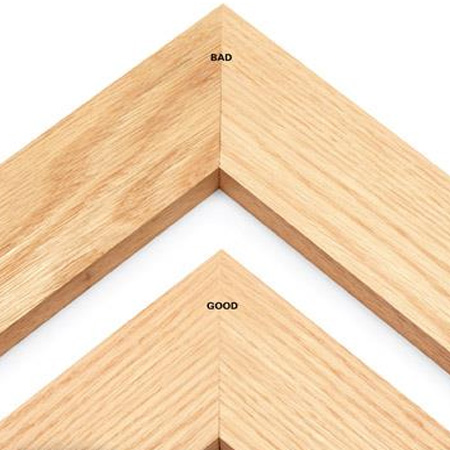
When buying wood for your project at any Builders store, look for PAR pine planks that have similar wood grains to make it easier to align these at the corners.
Use the right tools
There are now two fantastic tools you may want to add to your tool collection. A Biscuit Joiner locks corners perfectly and allows you plenty of time to align the corner edges for a perfect finish, while the Pocket Hole Jig creates tight joints with ease.
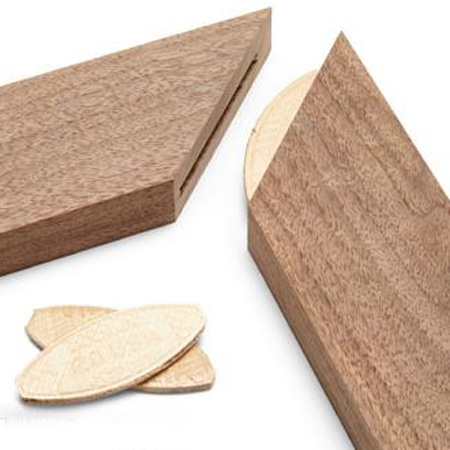
Cut the mitre angles on a mitre saw and set the cutting depth on your biscuit joiner for #0, #10, or Size #20 biscuits, depending on the size of your frame. It's also important that you cut the slots in the same position on both mitre angles. Do a practice run on scrap pieces, especially if using a thickness between 19mm and 22mm, since our local PAR pine is not a standard thickness and the thickness can vary.
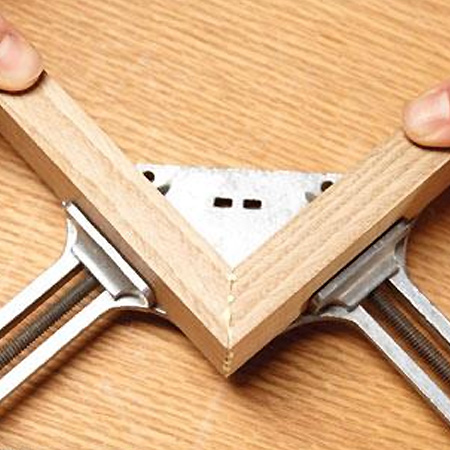
Clamp your corners
Whatever method you use to join your mitres together, it's also important to firmly clamp them while the glue dries. You have the option to use inexpensive corner clamps (as shown below), or invest in an Adjustable Corner Clamp to speed things up and make your job easier.
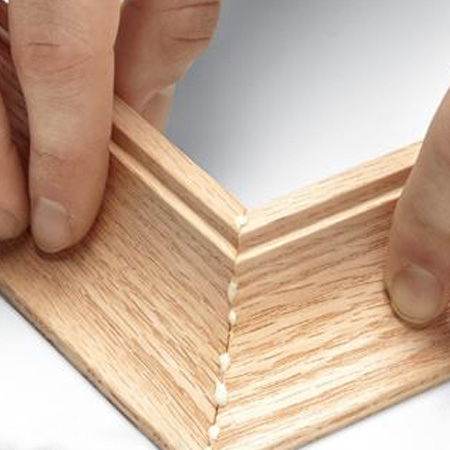
GOOD TO KNOW: Before clamping mitre joints, press firmly together by hand so that you can remove any glue that oozes out. Wood glue can spoil the finish if you plan on staining or using a tinted sealer or varnish.
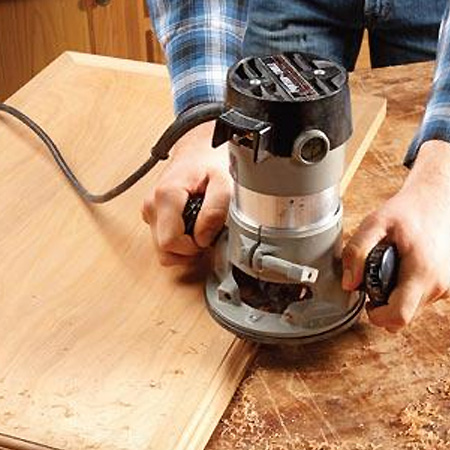
Add detailing
Detailed decorative edges can be tricky to perfectly line up and clamp. You can make life easier by using a router to add any detailing to edges. Assemble and glue your mitre joints and then set up your router to create a decorative edge.
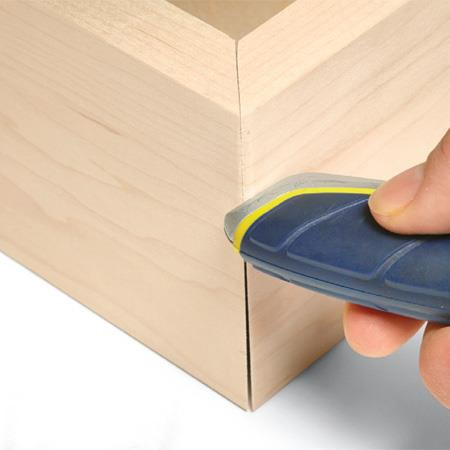
Finishing off
Because it isn't easy to create absolutely perfect mitre joints, there may be times when you need to disguise gaps. Before you grab the wood filler, use a tool like a screwdriver or utility knife and rub over the edge to crush the wood fibres inwards to fill up the gap. If this does not work or your gap is too large, fill with wood filler and sand a sharp edge once dry.
family handyman