
Make your own mitre box
If you need to cut moulding or trim, a mitre box allows you to easily line up and trim sections to size. Here's how to make a simple mitre box for your workshop.
finewoodworking.com
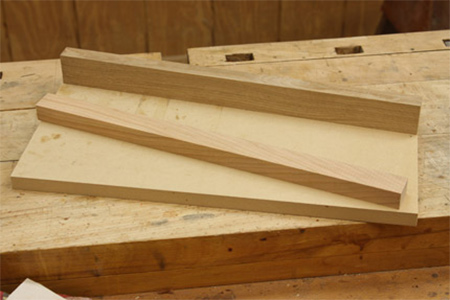
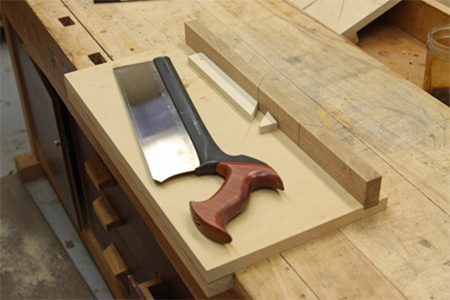
To make your own mitre box you will need an offcut of 16mm or 18mm MDF and a couple of strips of Meranti, Saligna or other hardwood. The hardwood strips serve as the cutting fence and base support.
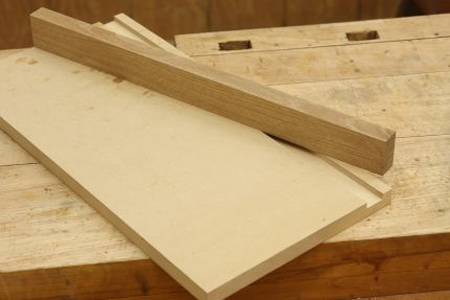
1. You need to cut a slot in the MDF base that is the same width as your strips of hardwood and to half the depth of the board. Use a router or table saw to cut this slot, or a Dremel Trio.
GOOD TO KNOW:
Because the slot is quite deep, do a couple of
runs, each no more than 4 or 5mm deep. The slot
will house the cutting guide.
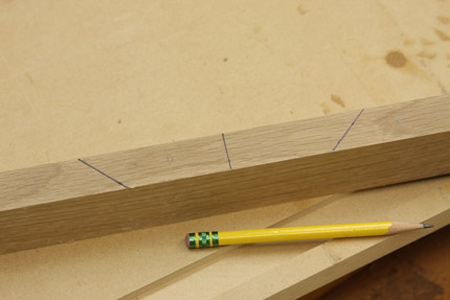
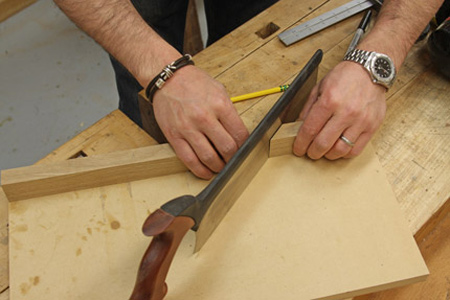
2. Use a protractor to mark the cutting angles on the guide. You need two 45-degree angles and a 90-degree angle in the centre.
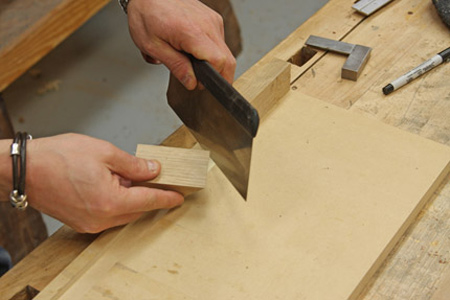
3. Cut on the marked lines with a mitre or backsaw.
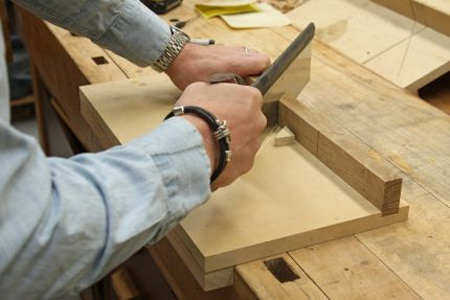
4. You now have 4 blocks that will be glued down to form the saw guide. Start at one end and glue the first block in place, using a mitre or backsaw to set the correct gap between the blocks. Just be sure not to place the guide blocks on either side too close - you want to be able to saw freely. Repeat this for the remaining blocks.
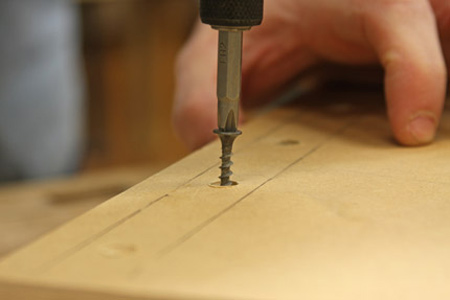
5. Now you can flip over and secure the blocks underneath with 40mm screws and glue on the second hardwood strip to the front of the base to help hold in place while you cut.
Note: The cuts produced are reasonably accurate if you take the time to measure twice and cut once for the 45- and 90-degree angles.