
How to mount framed photos or images
It's all fine and well being able to make your own picture frames but you also need to know how to mount your pictures to best advantage and display them for best effect. Here are some tips on mounting photos or images to make any framed art look good. Digital photo albums are great, but nothing says personal that a collection of beautifully framed photos or images.
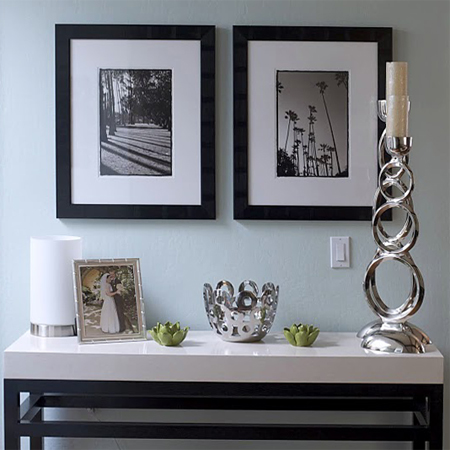
Technology has provided many of us with a wonderful way to save our photos - digital photo albums. But these albums are only viewed on your PC, laptop, pad or tablet. Now and again it's nice to be able to take the time print out your photos on photographic paper and put together a mounted collection of your favourites.
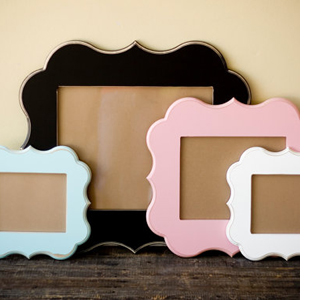
Let's start with the most important element of any framed collection... the frame
Here on Home-Dzine we offer quite a few options for making your own picture frames and this example found on etsy is just another quick and easy way to make attractive and eye-catching frames.
Using 12mm or 16mm SupaWood, you simply cut out the centre rectangle or square with a jigsaw. Edges can be rounded off with a sander, or give a decorative treatment if you own a Dremel Trio or router. To finish off your frame, use one of the many colours in the Rust-Oleum 2X spray paint range.
Of course, you don't have to make your own picture frames. There are many home decor stores that offer a selection of frames at fairly reasonable prices. And if you don't find the finish that you are looking for, at least there's the option of spraying the frame for a metallic finish, or spraying painting in your choice of colour.
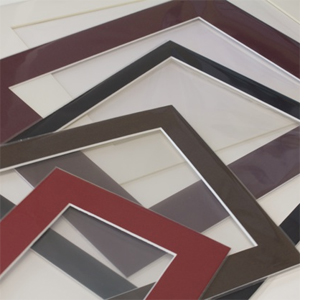
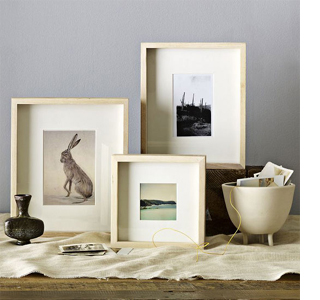
Let's add a border or mat to our frame
For a professional finish your photos, images or artwork need to be given a border - or finished off with a mounting board. This can be as plain as a piece of thick card stock cut to fit, or buy mounting mats from an art supply or framer. A picture framer will use acid-free mounting mats or foamboard to create an illusion of depth.
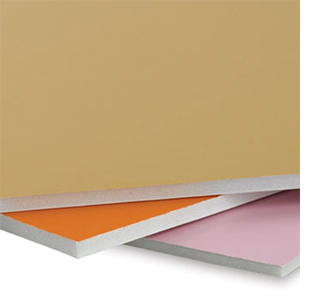
If you need to cut foamboard or mounting boards and mats, invest in a mat cutter that you can buy locally or online.
To show you how to mount your photo or image, I have taken the liberty of using a practical guide from photo.tutsplus.com that explains how you can mount photographs very simply and have a professionally mounted project. In this guide you have the choice of buying acid-free accessories, or substitute with more affordable scrapbooking supplies.
YOU WILL NEED:
Picture frame and glass*
2 pieces of thick card stock, large enough for the size of frame you are using
Craft knife and cutting mat
Masking tape or acid-free tape
Mounting tape
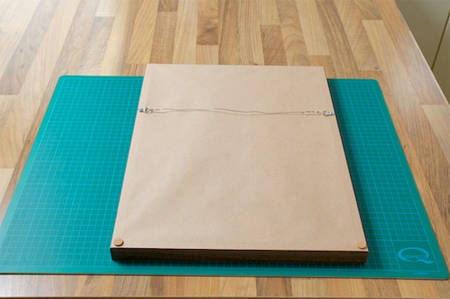
Brown paper and tape
Picture hangers
*You can have 5mm glass cut to size at your local Builders Warehouse.
HERE'S HOW:
You need two sheets of thick card stock of exactly the same size. On the card that will be the over-mount, use a sharp craft knife to cut out a frame opening that is slightly wider - about 5mm - larger than your photo or print.
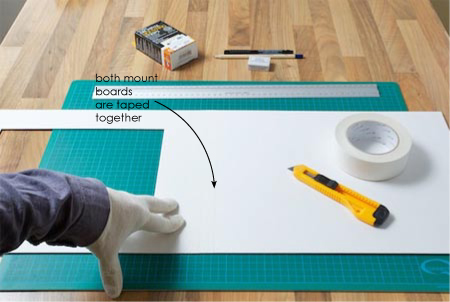
Lay the over- and under-mount side by side. Use a straightedge or steel ruler to ensure they are lined up exactly. Attach the two layers with acid-free paper tape that you can buy at art supply stores. Use a sharp craft knife to trim off the edges and run your gloved finger along the tape to ensure good adhesion.
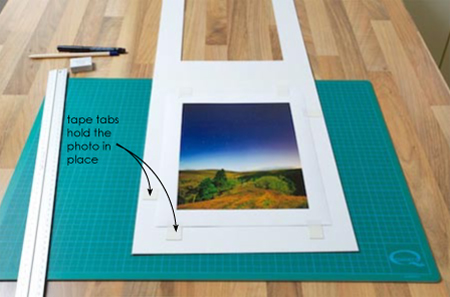
Accurate placement of your photo or image is essential for ensuring that the print is centred in the frame. Place the photo or image flat on the under-mount and, once lined up, apply tabs of tape to the edge of the photo to hold it in position. Make sure to place the tape so that it will not be visible when you place the over-mount on top.
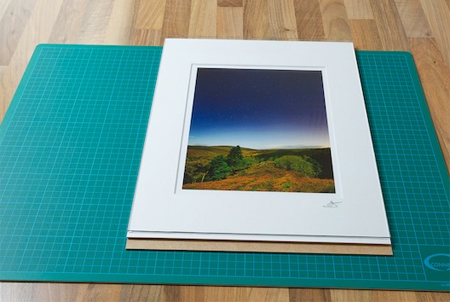
Fold over the over-mount so that is sits nicely on top of the mounted image. Now you are ready to start mounting into the frame.
Make sure the glass in the frame is clean and dust-free before adding the card-mounted image and then, gripping the back of the backing board firmly against the frame, flip the frame. Secure the backing board in place by bending down the brads so the glass, mat and backing board are all tight against the front lip of the frame.
Once secure its time to seal it up. You can use brown paper and brown paper tape (acid-free if you prefer) to tape around the edges of the frame to create a tight dust free seal. Add your choice of hanger and mount your newly framed photo or image on the wall.