Create a Gallery Wall - Even in a Rented Home!
After procrastinating on the topic for too many years, I finally got round to hanging up my wall gallery - and this is a great way to hang art if you rent your home.
10/09/2019
Coming from a generation where to hang a picture on the wall you grabbed a hammer and a nail, I'm not one of those who likes to overload my brain with options. I just want it to be quick and easy and done with!
Put in the search term "how to hang wall art" and the Internet will bombard you with options. The only problem is, you don't have time to browse through all these options when all you really want to do is hang up a couple of pictures and I'm in full agreement with you. There are so many articles that say you must measure blah, blah from the floor, the art must hung at blah, blah, and so and so on ad nauseam.
In this article I'm going to explain my method for hanging art or pictures to create a gallery wall, taking into consideration that I'm doing this up along a staircase. I'm not using any tools fancier than a hammer, a spirit level and a tape measure and the method I am going to use is one that you can also use to hang the occasional picture here and there if you live in a rented home.
YOU WILL NEED:
Picture hangers, large or medium*
Hammer
Spirit level
Tape measure
Pencil and eraser
HERE'S HOW:
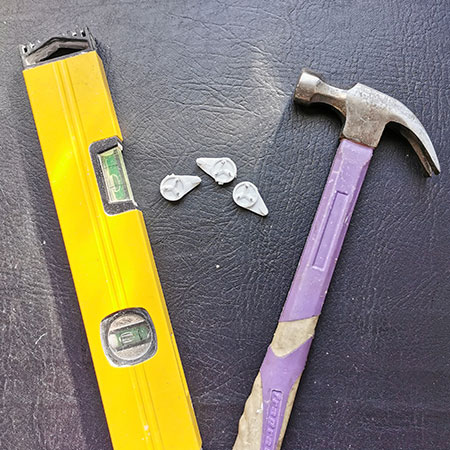
The picture hangers I am using can be found at any Builders store and they cost around R20 for a pack of 3 and are available in medium and large sizes. You will obviously select the size depending on the weight of your art, but it is better to err on the side of caution and just use the large ones.
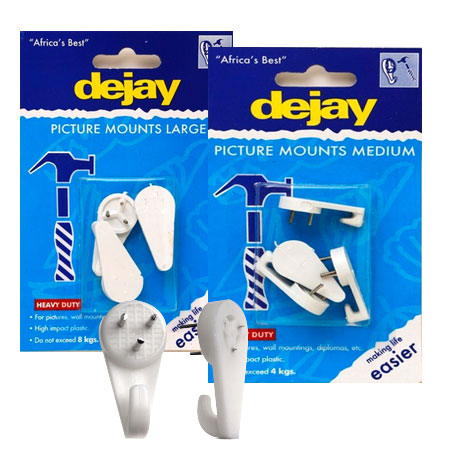
The picture hangers shown above have 3 steel pins that get hammered into the wall. You only need to lightly tap the steel pins to fix them to a wall, and if you are living in a rental home, you can remove them with a small flathead hammer and then fill the holes with white interior crack filler to cover up the small holes.
A previous article done about creating the wall gallery talks about using a Digital Detector to check walls before drilling. That was before I realised we weren't drilling any holes!
Prepare your Art or Photos
Before you even start hammering into the wall, have all your art or pictures prepared for hanging. Check that the frames are solid and the glass is not broken (which it was in my case), and give everything a good dusting and cleaning before you proceed.
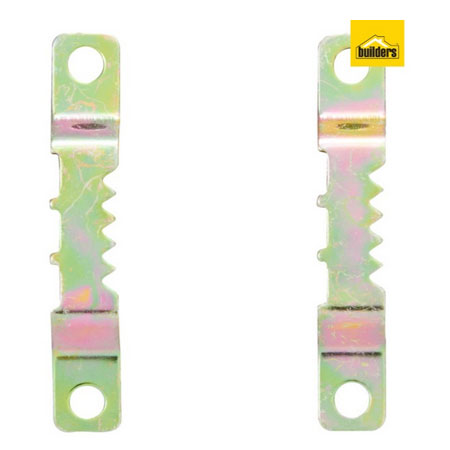
I have found that sawtooth hangers mounted at the back (top) of picture frames are the best if you are displaying large format artworks or photographs. These hangers let you angle art so that it sits perfectly straight - even if it's not fitted in the exact centre of your picture frame. These hangers also sit firmly on the picture hangers we are using and shown above.
Find a Starting Point
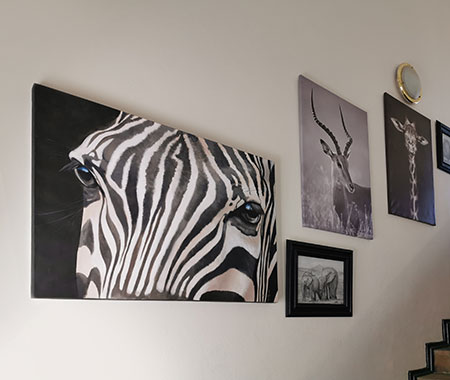
When creating a gallery wall, you're probably doing so to display your artworks, favourite photographs, or want to fill a blank wall. My purpose is for the former and the latter. I have been collecting art, posters and my own collection of art (in collaboration with my hubby) over the last few years.
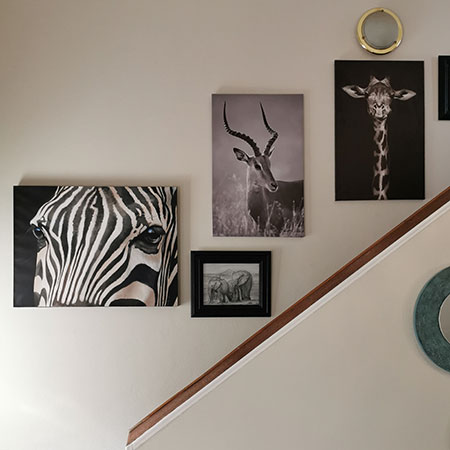
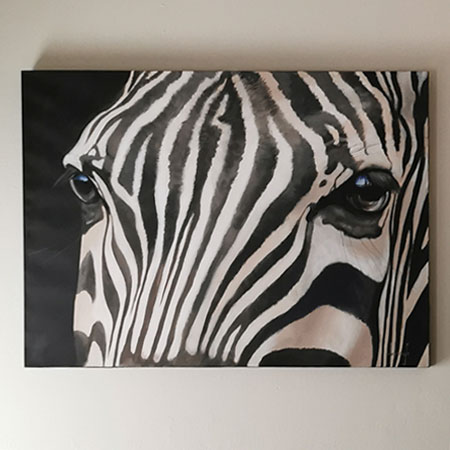
The starting point for my wall gallery is the large zebra oil painting. I want this piece to be the highlight of the gallery, and the rest will flow up the stairs.
A Helping Hand
Don't try and work on your own when creating a wall gallery. You need someone on hand to hold the art in place while you stand back and view the placing for your self. By doing this you can get a good idea of how the art will look from certain areas in a room before you decide on the permanent placing.
While your helper holds the artwork in place, make a light pencil mark at the top of the picture frame for the location of the picture hanger. If you want the picture hanger to be invisible (behind the artwork), lower the mark by subtracting the actual size/height of the hanger.
Hanging More Art
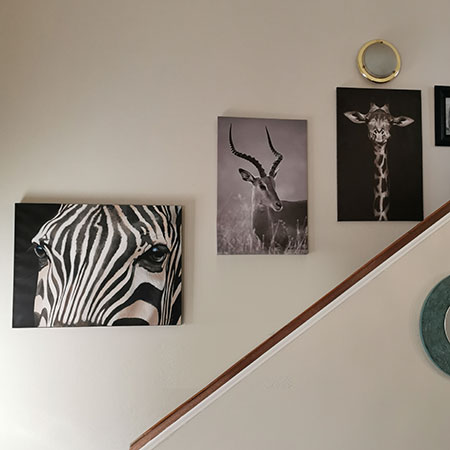
Once the main image has been successfully mounted, you can decide on the spacing you want between the pictures, whether you want a staggered or symmetrical arrangement, or where you need to leave spaces to add more art.
In this case, I still have lots more to add to the gallery wall, but with the main pieces now hung I can decide where I want to hang the remaining pieces.
If you want to accentuate this area more, you can look at the options for art gallery lighting.
Don't stand and argue about whether or not a piece is straight - grab a spirit level to determine if your pieces are hung accurately!