
Recycling Crafts Using Plastic Food Containers
Plastic food containers are just one of the hundreds of plastic items that end up on the dump but with a little creativity, you can turn them into something practical for the home.
21/06/2023
Plastic food containers can be found everywhere. Go out for takeaway and you might just end up with one, go to your local supermarket for fresh salads and you get a plastic dish to store it in. Wherever you go there is plastic in one form or another. I have noticed that over the last couple of years, recycling has taken a back seat and no longer features are the prime topic. There used to be literally thousands of recycling craft projects on social media but these seem to have trickled to nothing. Since plastic waste has not suddenly gone away, I will be posting more recycling crafts that you can do with all types of plastic. Did you see the article on using bubble wrap as window insulation?
Anyways, let's get to recycling plastic takeaway containers courtesy of Dala.co.za. You will find a wide selection of Dala craft and hobby supplies at Builders so be sure to stock up on what you need.
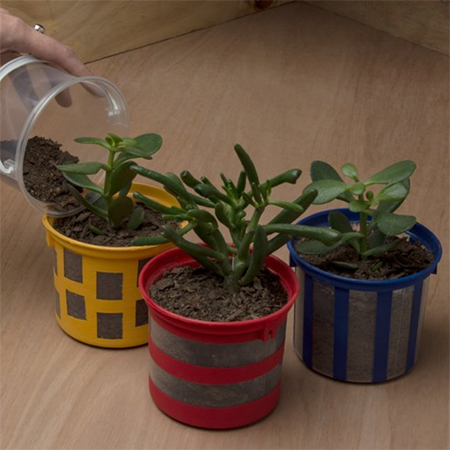
RECYCLING PLASTIC TAKEAWAY CONTAINERS INTO FLOWER POTS
The plastic containers used here are the same as any plastic takeaway containers that you come across but without the lids. The thicker plastic ones are ideal for this project and we will try to come up with some great ideas on how you can use the thinner ones as well.
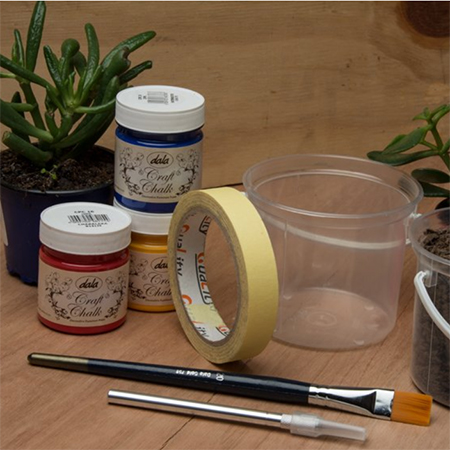
YOU WILL NEED:
Plastic takeaway containers, clean and dry
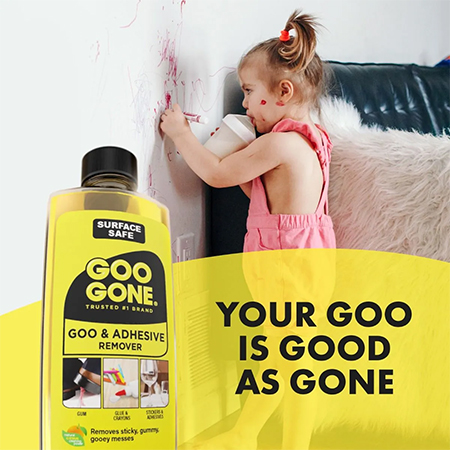
Goo Gone**
Craft chalk paint
Paintbrush, medium artist's
Masking or painter's tape, narrow
Craft or utility knife
Sharp scissors
Air plants or succulents or plants that require minimal watering
Potting soil
**If you have yet discovered Goo Gone, you are missing out on a great product. Goo Gone is a whizz at getting rid of sticky stuff such as adhesive labels, price stickers, candle wax, chewing gum, and more. It literally dissolves the sticky stuff so that it is easy to just wipe off.
HERE'S HOW:
Preparation
Clean and dry the containers before use. If you need to remove any adhesive or sticky labels, tackle these with Goo Gone and then wash with dishwashing liquid. If you want to try another method for removing sticky labels, use your finger to coat the label liberally with cooking oil and leave this for a couple of hours before removing. Unfortunately, this method does not work with foil labels.
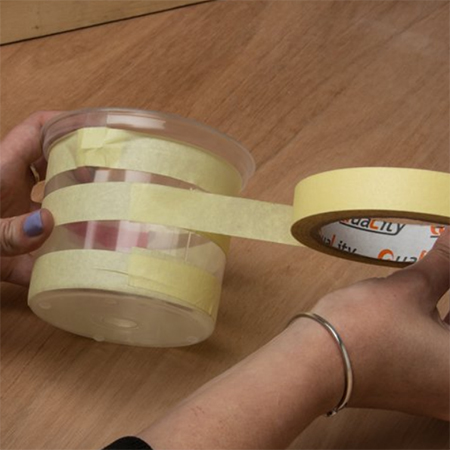
Step 1
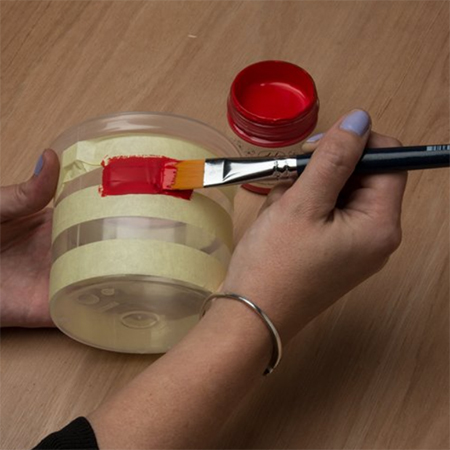
Using masking tape or painter's tape to create the pattern on the outside of the container, apply the tape in vertical or horizontal strips. You don't have the stick to just two designs, you can also use the tape diagonally or create chevron designs. Do ensure that you press down along all the tape edges to prevent any bleeding of the paint. I like to run my fingernail along the edges.
Step 2
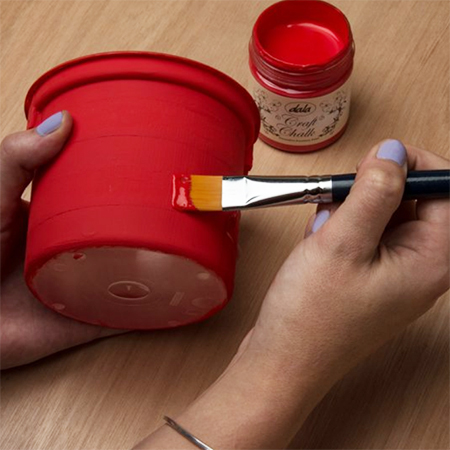
Double-check that the tape is smoothed down before applying your choice of paint. Use the artist's paintbrush to apply paint over all the exposed sections until the entire container is covered. Let the paint dry for approximately 30 minutes or dry to touch. If the container was cleaned well there should be no streaky areas but if there is and it still shows once the paint has dried, apply a light second coat. For a really bold finish, the application of 2 to 3 coats will give you the desired effect but be sure to let each coat dry before applying the next coat.
Step 3
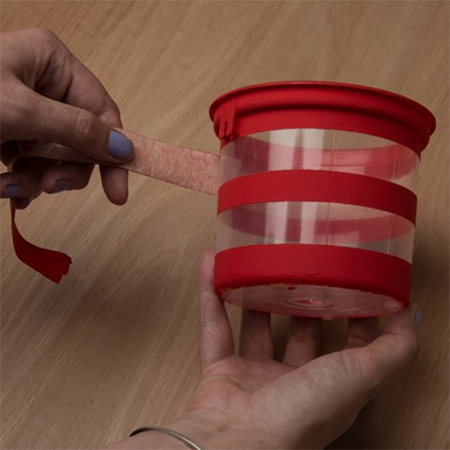
Allow the paint to dry thoroughly before tackling this step. If you don't you run the risk of smudging or smearing any wet paint. Gently lift up the end of the tape and slowly peel this away from the container.
Step 4
A good idea is to use a craft or utility knife to score along the tape edges before you remove the tape. This gives a perfectly clean line once the tape is removed. Should there be any bleeding along the edges, carefully scrape this away with your craft knife.
OPTIONAL
If you want to ensure the lifespan of your upcycled flower planters, you can apply a protective topcoat. This can be ModPodge, clear acrylic sealer, or Dala polyurethane varnish. Apply 1 or 2 coats and allow drying time between coats.
Step 5
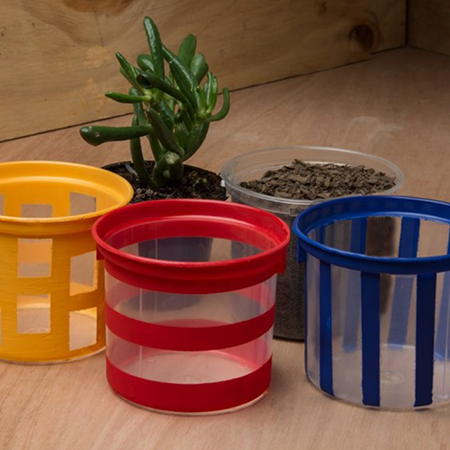
Now all that is left to do is to pot your plants. Remove the plants from their containers and test-fit them into their new pots. This will allow you to judge how much potting soil needs to be added to fill up the pots. You need a layer of soil at the bottom for the plants to flourish and then you can gently add soil around the plants. Press down lightly to pack in the soil and add more if required.
Make sure to add the correct amount of potting soil so that the plant sits at the right height once potted and place them in a sunny spot.
Don't give up on recycling any form of plastic in the home - it definitely isn't going away any time soon and the more we recycle the less plastic will end up on the dumps and in our oceans.