
Build A Storage Headboard
Adding a storage headboard to the top of the bed gives you an amazing amount of extra storage space without taking up hardly any room, so here's how to build a storage headboard.
22/11/2020
pinterest.com/pin/296463587962038316/
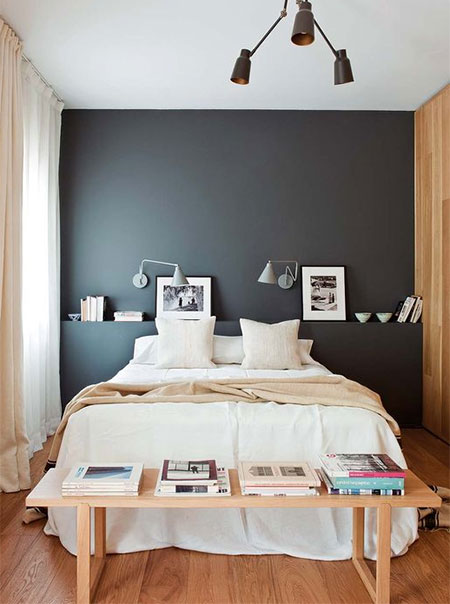
Master bedrooms in most modern homes built these days come in at a size of around 3 x 4 metres, or even smaller if you are in a townhouse or flat. Bedrooms in general are known for not having enough storage space for the average family but how can you add more storage space without taking up too much room. Well you could have a wall of narrow cupboards installed in the bedroom, or why not consider making yourself a storage headboard - one that sits at the top of the bed in place of a headboard and gives you more storage.
pinterest.com/pin/65654107057084142/
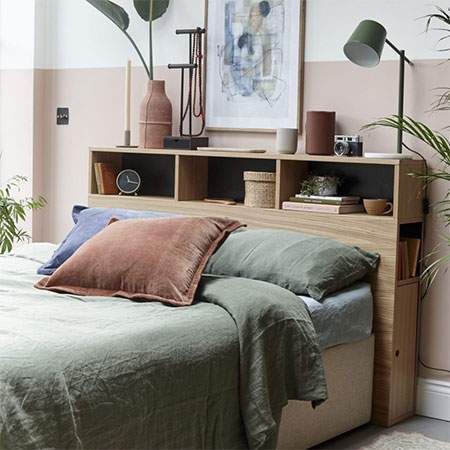
Nowadays, you see all types of designs and styles for making a storage headboard, which gives you plenty of options if you want a storage headboard that fits in with the decor of your bedroom. There is also a wide selection of materials you can choose to make a storage headboard, depending on the finish you want. You can opt for pine or veneered plywood for a rustic or traditional storage headboard design, or you can choose SupaWood (MDF) if you want a painted headboard. Let's take a look at how easy it is to make a storage headboard, as well as provide you with more inspiration at the bottom of this page.
HOW TO MAKE A STORAGE HEADBOARD
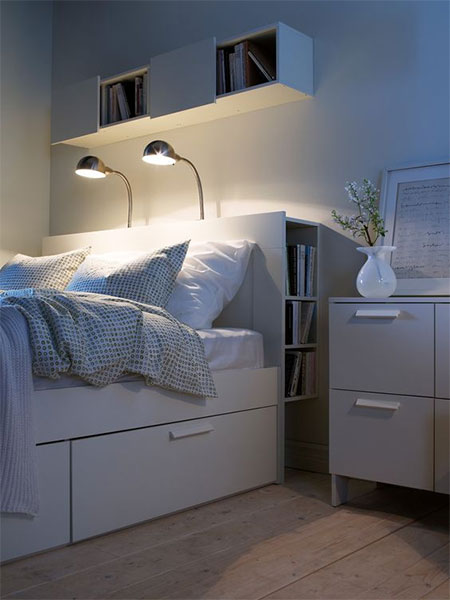
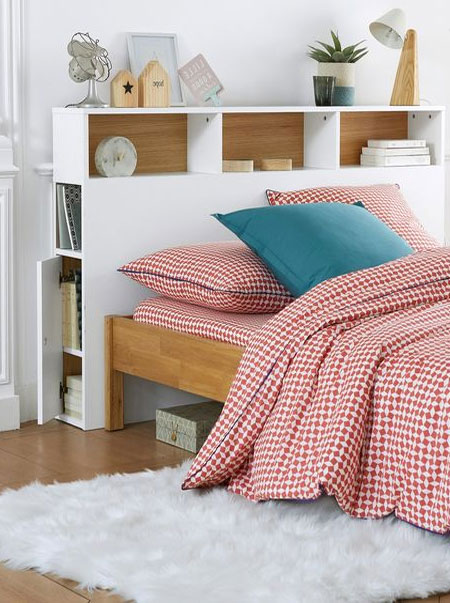
The headboard chosen for this project is a simple one. It has storage shelves at both sides that face outwards and allow for storage of items you would normally keep on a bedside table or in your bedside cabinet. The difference is, a storage headboard takes up hardly any space - only the depth of the frame and you get to decide how wide you need this without the bed intruding on valuable floor space.
YOU WILL NEED:
16mm SupaWood (if being painted) or 15mm pine or veneered plywood (if being stained)
9mm SupaWood or pine / veneered plywood for the decorative strips
Wood glue
Wood filler
40mm cut screws
Pine moulding or skirting
TOOLS:
Drill / Driver plus assorted bits
OPTIONAL: Kreg pocket-hole jig
OPTIONAL: Pneumatic air nailer
Tape measure and pencil
HERE'S HOW:
1. Before you begin, decide on the size you want for the storage headboard. The length of the storage headboard is generally the same as the size of the bed, but there are other considerations. Do you want the height to be in line with the mattress, higher than the mattress to serve as a headboard, or possibly even go all the way up to the ceiling. For the width or depth of the storage headboard, you want to try and make this as wide as possible without taking up valuable floor space. Move the bed out until you are happy with how much space you have and then work out the width / depth for the storage headboard.
2. Draw up a rough sketch using your measurements so that you can pop into your nearest hardware store, Builders or timber merchant to order what you need and have it cut to size.
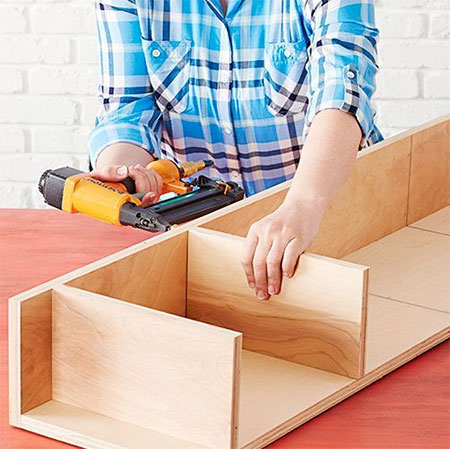
3. The first step in assembling the storage headboard is to make the shelf sections that sit on either end of the headboard. While they are using a pneumatic nailer to join the sections together, you can substitute this with a drill/driver or Kreg pocket-hole jig system.
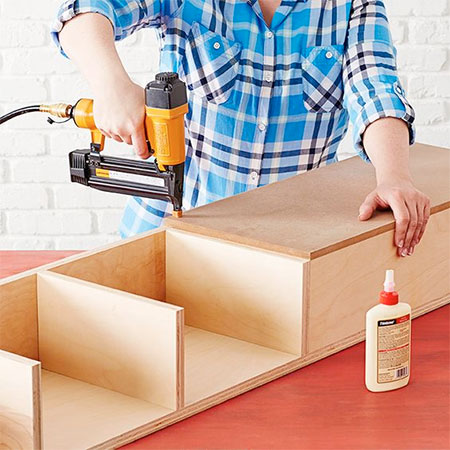
4. With the side shelves assembled, the next step is to cover this up. You only need a board at the front, since no one will be able to see the back. Screw this panel into the side shelves with screws. Cover the holes with wood filler so that they won't be visible after painting.
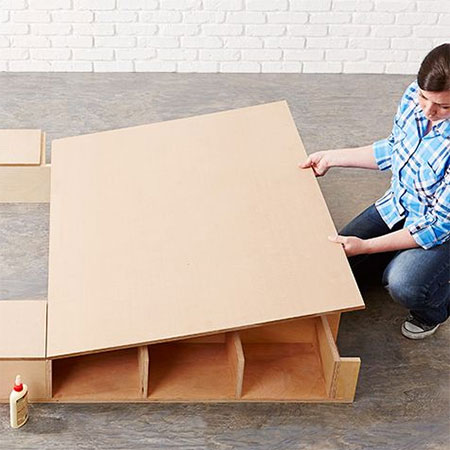
5. Now you can start adding the panelling to the front of the storage headboard. Use 9mm SupaWood (pine or veneered plywood) strips pre-cut for easy assembly. Starting at the top of the headboard, nail or glue onto the front panel. Have a spacer block handy to make adding the panelling easier.
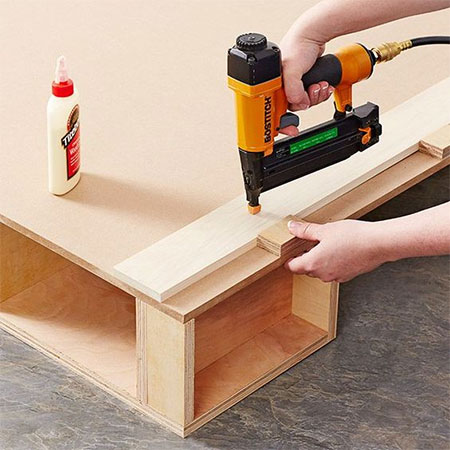
6. Continue adding panelling to complete the headboard. You don't need to apply panelling to the area that sits below mattress height as, again, this won't be seen.

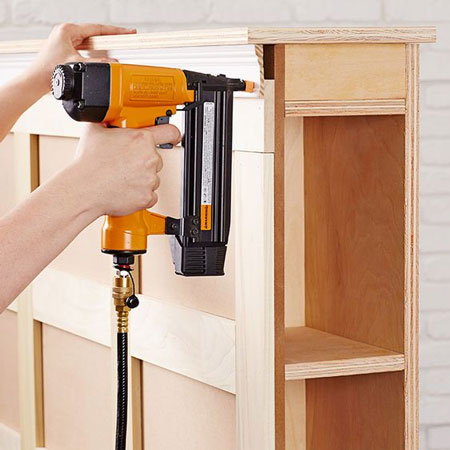
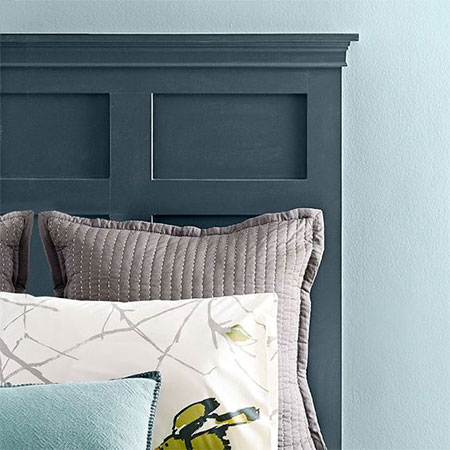
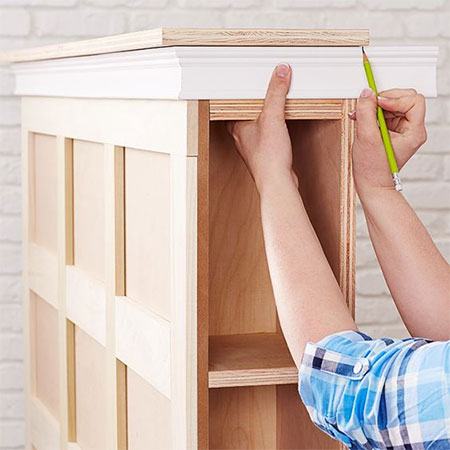
7. Finish off the storage headboard with a decorative trim along the front and around the sides. Once that's done, you can lightly sand and paint the storage headboard with acrylic paint. Choose a washable paint such as Plascon Double Velvet or similar.
MORE IDEAS FOR STORAGE HEADBOARDS
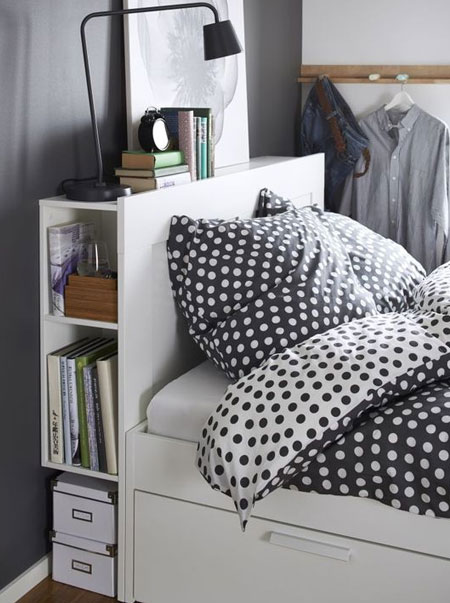
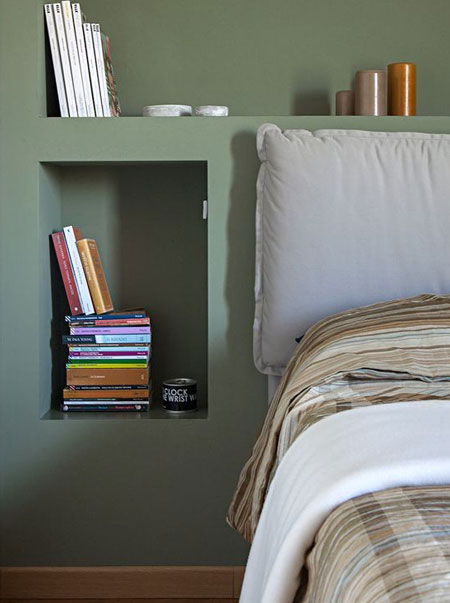
There is also the option of using pine, meranti or hardwood to construct your storage headboard. Decide what would best fit in with your current bedroom design.
pinterest.com/pin/235735361734779640/
pinterest.com/pin/750060512931015330/
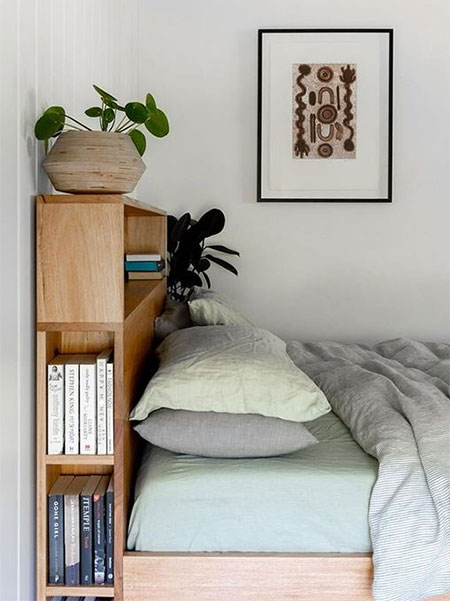
Because you are making a storage headboard from scratch, you get to decide the dimensions for the headboard. You can have it low to serve as a headboard, or as high as you want with even more storage options.
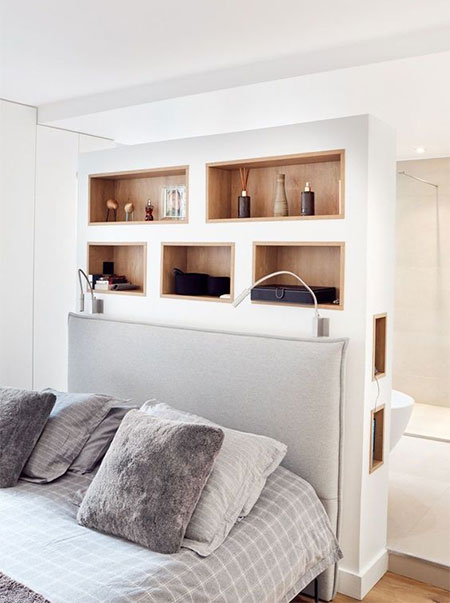
pinterest.com/pin/390757705166762825/
pinterest.com/pin/20125529573747337/
pinterest.com/pin/473089135862312994/
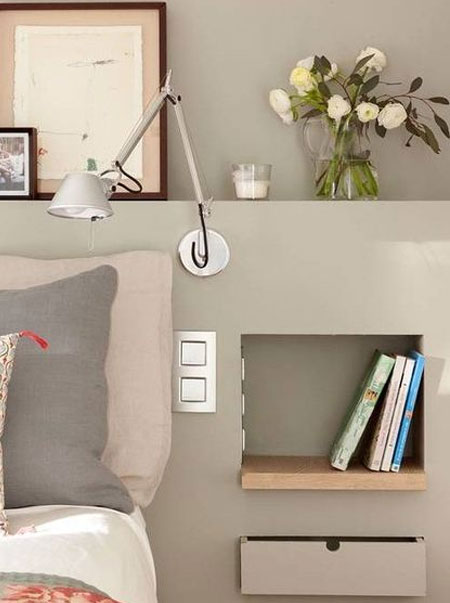
If you're really DIY savvy, you can even go as far as to design a built-in storage headboard that offers a more modern approach to storage options.
pinterest.com/pin/484418503669194570/