Easily Cut Curves on Glass Mosaic or Subway Tiles
Cutting straight lines on tiles is tricky but cutting curves can be difficult - unless you use a tile scriber.
24/05/2023
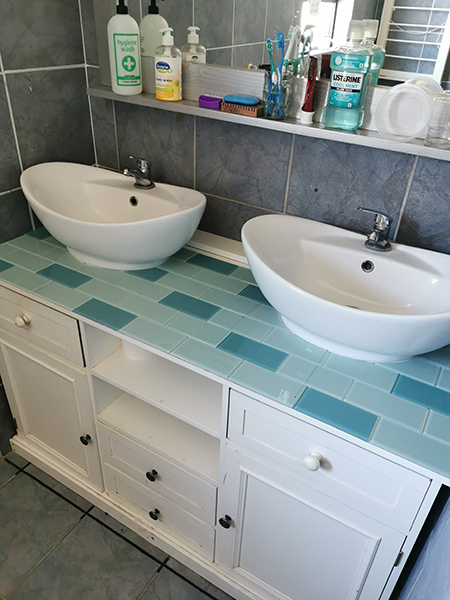
In 2014, I made this his and hers bathroom vanity for the master bathroom suite. It was made using 16mm SupaWood/MDF and designed to fit perfectly in the space and provide separate basins for myself and hubby. Click here for instructions on building or assembling a basic bathroom vanity that you can easily modify and add finishing touches to a particular style.
Despite the many comments that you should not use SupaWood/MDF for bathroom furniture, this bathroom vanity stands in proof that you can since it has been in the bathroom since 2014 - almost 10 years.
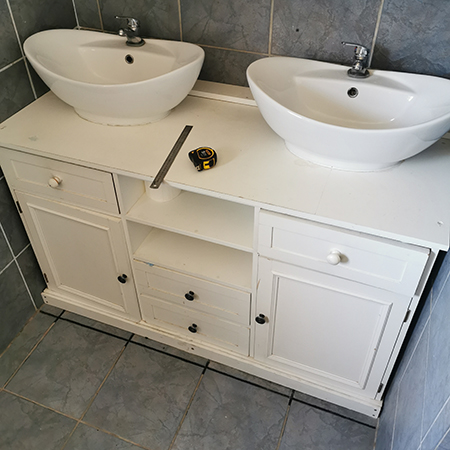
Anways, back to topic! It was finally time to tile the top of the bathroom vanity. Despite being in good condition despite only being painted and sealer applied to the top, I wanted to install a tile top since the vanity was made and installed. There were some spare tiles left over from tiling the kitchen backsplash and this was the ideal project to put them to use.
How to Tile a Bathroom Vanity Top
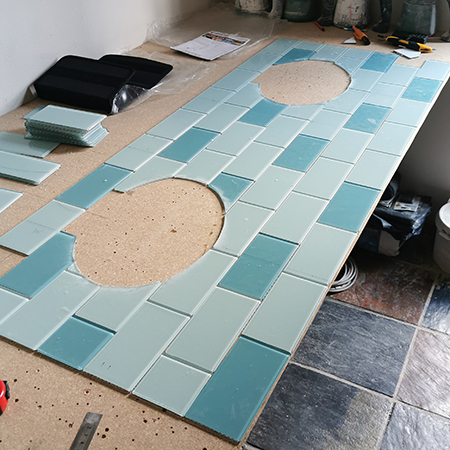
Tiling around fitted items can be difficult and, since the bathroom vanity has two basins it was going to be extra tricky - but not impossible. My son measured the surface area of the vanity and then measuring this out on a surface that could be used to plan the tile layout.
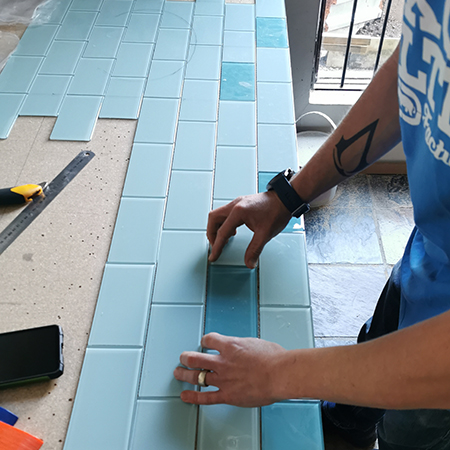
It was also a good plan to do this because we needed to work with two different tile colours in order to tile the entire top of the vanity. Having an area where you can lay out the tiles makes it easier to see the best way to install them later or make any adjustments.
The mock-up tiles were easier to cut in advance to have everything ready for installation in the bathroom.
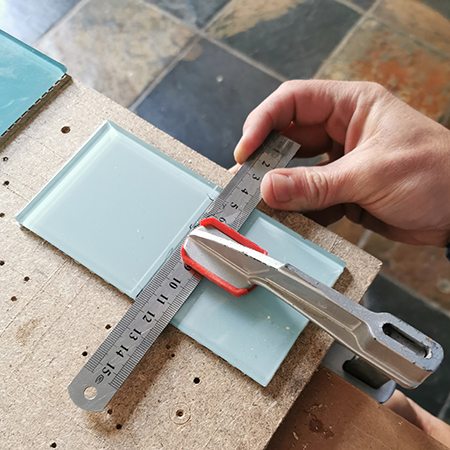
IMPORTANT! Run the tool scribe over cutting line at least 4 to 5 times and apply downward pressure as you do this.
What is a Tile Scribe?
Up until I recently discovered this item in my toolbox - one that I overlooked every time I did a tiling project - I had never heard of a tile scribe or what it is used for and I could have saved myself a lot of wasted time when doing previous tiling projects had I realised the value of this cheap tile cutting tool that is amazing! At a cost of around R40, this has to be the most cost-effective way to cut smaller tiles to fit and it is perfect for cutting curves and circles or awkward angles.
We first tried out the tile scribe on cutting glass tiles along the side edges and back where the tiles needed to be trimmed to fit and it was easier than using a tile cutter, angle grinder, or my Dremel Multitool , and that's saying something!
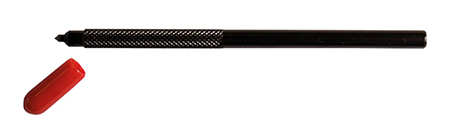
A tile scribe makes cutting tile to fit easier than ever and is the cheapest tile cutter you can find!
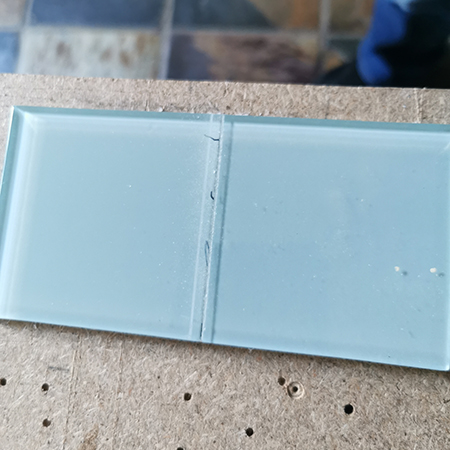
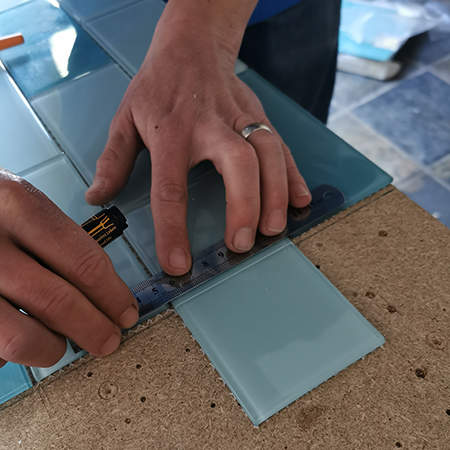
Make a mark where the tile needs to be cut, clamp the tile firmly in place with a steel ruler or guide along the marked line that will ensure you cut straight. Tap away the waste part of the tile to see how cleanly the tile scribe works.

Cutting Curves in Tiles
When you need to determine curves, corners, or shapes, a tile profile as shown below is the easiest and most effective way to do this. Set the profile edges straight and then place against the item to press the shape into the profile. This shape can then be transferred and marked onto the surface to be cut.
A tool profile as shown below costs around R130 at Builders stores around the country.
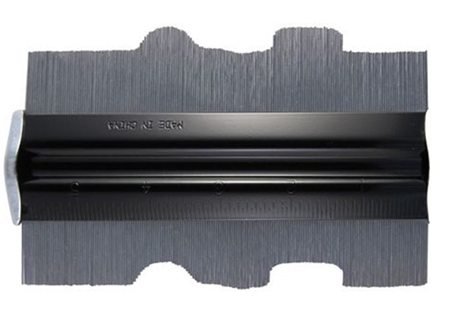
A tool profile was used to get the shape of the basins correct and, by using a tape measure, everything could be cut and prepared in advance of installation.
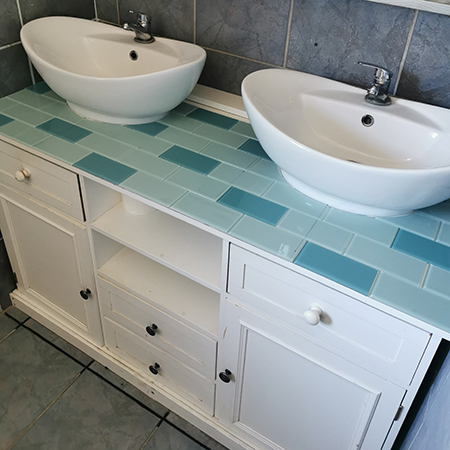
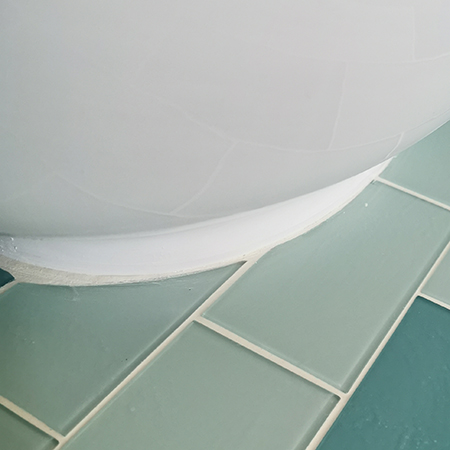
Using the tile scribe, the tiles that will fit around the basins were perfectly cut to fit. Use a round or oval object that can be used as a guide when cutting curves, corners, or circles.
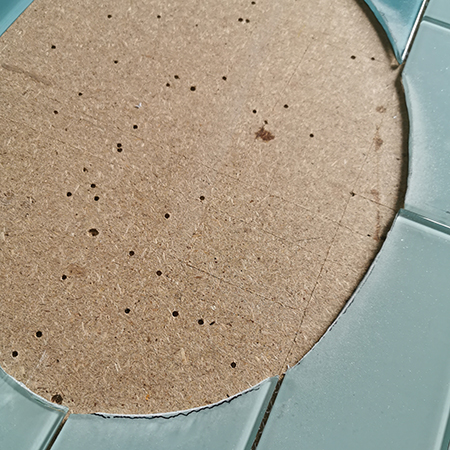
I am amazed at how neat the tile edges came out and it would not be necessary to hide any of the usual boo-boos!

The ultimate satisfaction is when a DIY enthusiast such as myself can only stare in wonder at how easy it was to cut perfect curves!
After grouting and polishing away the remaining haze, I am pleased with how the result looks with the newly tiled countertop.