
Install extendable mirror in bathroom
When you need to get up close and personal, an extendable bathroom mirror is just the thing. It takes up very little space and is easy to install.
22/06/2018
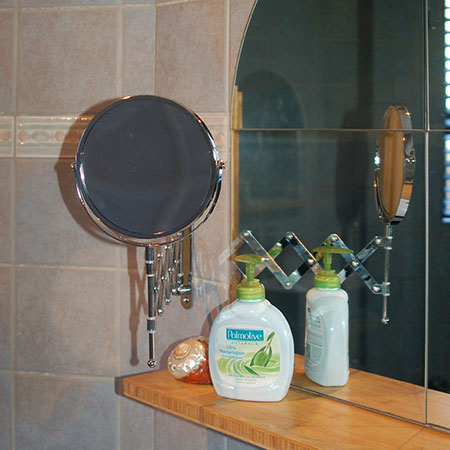
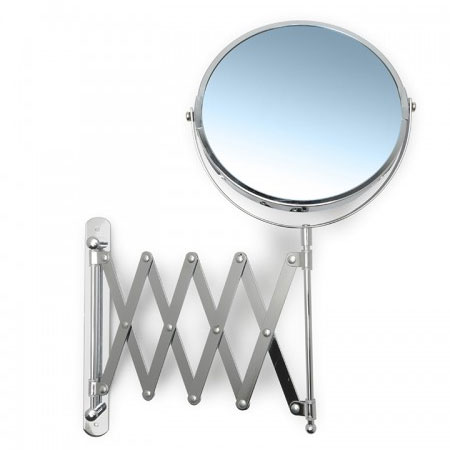
An extendable mirror for the bathroom is easy to install and allows you to get up close and personal - with a magnifying mirror that can be tilted for ease of use.
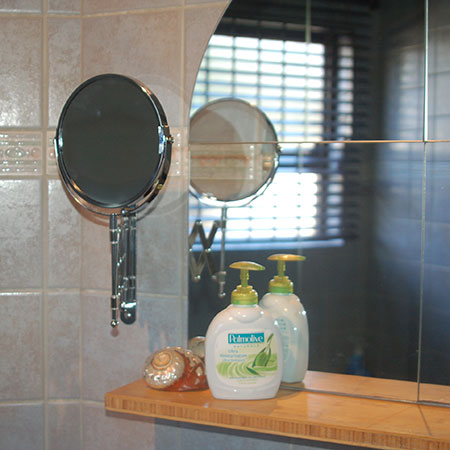
We bought our Extendable Magnifying Bathroom Mirror at Gelmar at a cost of R99. Installation took around 10 minutes and once installed the mirror extends up to 350mm and can be tilted in any direction.
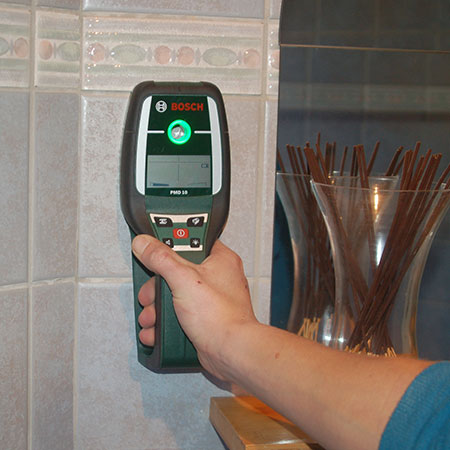
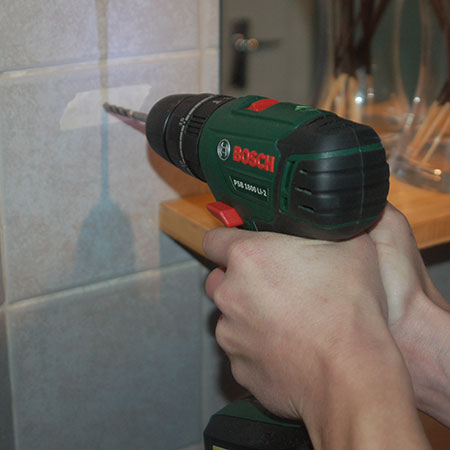
1. Before drilling any holes in walls, and especially in the bathroom, use a Digital Tester to ensure that there are no pipes, conduits or cables hiding behind the tiles. If you accidentally drill into one of these you're up for a nightmare in repairs and a big hole in your wallet!
I've got an older model Bosch UniversalDetect that I pull out every single time I need to drill into walls. The newer Bosch Truvo Digital Detector offers even more features and should be a standard for every home DIY enthusiast's toolbox.
2. Place a couple of strips of masking tape where you need to drill holes to mount the mirror onto the wall. The tape prevents the drill bit from sliding around as you drill.

3. I always use Alpen drill bits for my home projects. I have a pack that contains a full selection of bits and I've been using this for the past 5 or more years. You will need a 6mm masonry bit to drill holes for mounting the mirror.
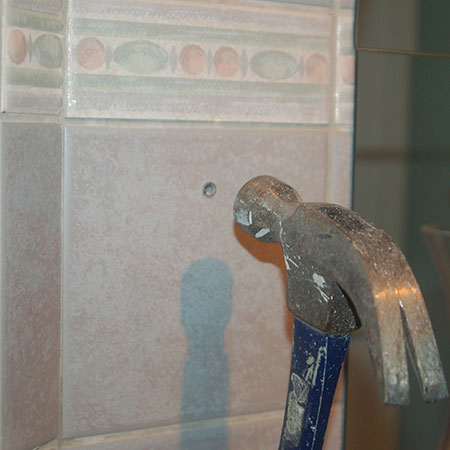
4. When you buy the mirror the wall plugs and screws are included, but I always recommend that you use nylon (fischer) wall plugs for safe mounting. The cheap plastic plugs hardly ever pop open and secure like they should, and your fittings end up coming loose.
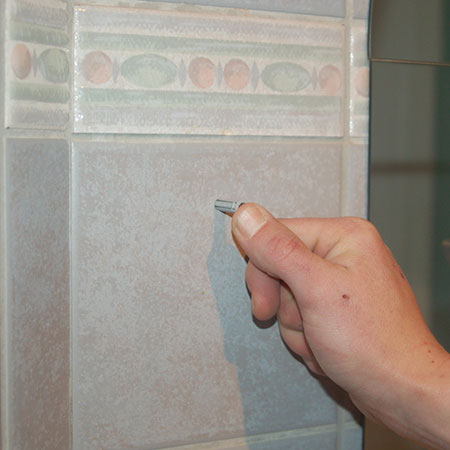
5. If necessary, tap the plug gently with a hammer to ensure it's flush with the tile.
6. Now you can drive in the supplied screws to finish off the installation and your new mirror is ready for use.
