The Return Of Solid Wood Kitchens - Cerused Method
Solid wood kitchens have always been a popular choice with many homeowners but no longer the yellow golden oak kitchens of yesteryear now the cabinets are given a ceruse treatment to lighten them up.
24/06/2021
pinterest.com/pin/483081497513066953/
How many of you have heard of the Ceruse Method? The original method of cerusing involved the use of white lead to apply pigment, but nowadays there are more eco-friendly alternatives to this and you might be interested to learn more about this if you are living with yellowed kitchen cabinets that you just don't want to rip out.
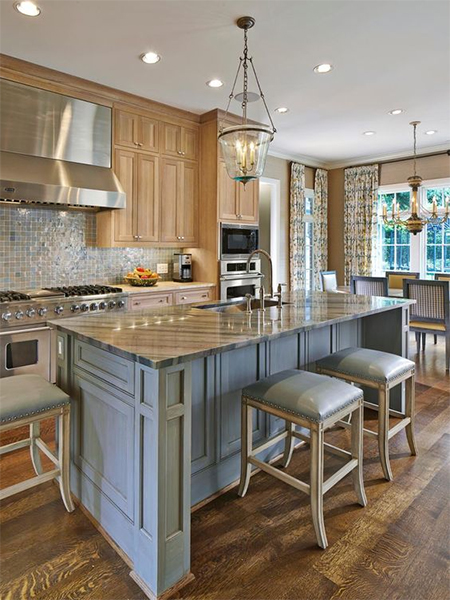
No more yellow! Using the cerusing method lightens and brightens yellowed kitchen cabinets and cupboards.
pinterest.com/pin/300826450099636073/
What is the Ceruse Method?
Cerusing involves the use of a wire brush to raise the grain on a piece of wood to highlight the pattern of the grain and to paint over the surface of the wood and then apply a stain or finish such as lime wash to change the colour of the wood. Many people like to use a lime wash method on wood and the Ceruse method is very similar to this with the difference that a paint and wood stain is applied to give the ceruse effect.
petitehaus.com
How to ceruse kitchen cupboards and cabinets
I have included a video below that provides step-by-step instructions on how to ceruse wood doors, but it is a bit long-winded so I took the essential parts and explain them below. Feel free to watch the video if you want more information.
YOU WILL NEED:
Wire brush
Sanding sponge, medium and fine
Lacquer thinners
White acrylic paint
Wood stain in your choice of colour
Kitchen towels or rags
OPTIONAL: Spray painting system
HERE'S HOW:
Step 1
Wipe down the door with lacquer thinners and a cloth to remove all traces of grease and debris. If your kitchen has been installed for a long time, even a regular cleaning will leave something behind.
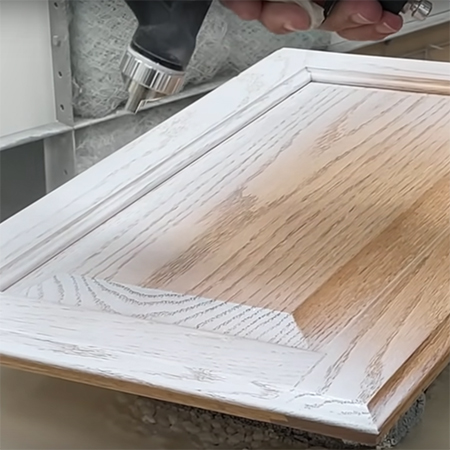
Step 2
Use a wire brush to go over the wooden doors. Start with the crosspieces at the top and bottom and once those are done you can move to the sides of the door. Also, do around the edges of the door. Follow the line of the wood grain with the wire brush.
The reason for doing it this way - crosspieces and then sides - is to ensure that when you do the side sections you go over any scratches left behind when doing the crosspieces at the top and bottom of the door. Once you have finished around the frame, move into the centre panel and work from the outside in.
Wipe away any traces of dust before you move on to the next step.

Step 3
The easiest and fastest way to paint kitchen cupboard or cabinet doors is by using a spray system. These aren't expensive and I use my Bosch PFS 2000 all the time for painting projects. You use white acrylic paint for the first coat of paint and spray this evenly over the entire door, making sure to cover all areas.
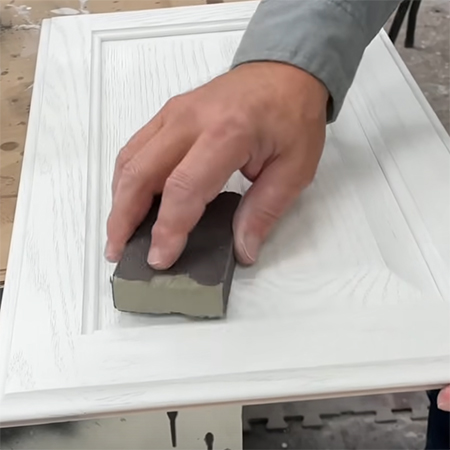
Step 4
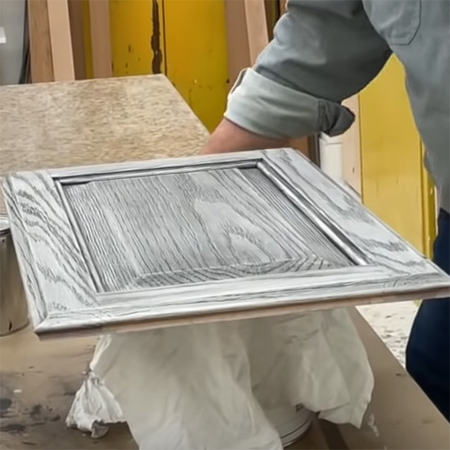
Let the painted finish dry before sanding with a medium sanding sponge. A sanding sponge lets you sand the detailed areas easier than using sandpaper and the idea is to just smooth the finish and not remove any paint other than what sits on top of the wood grain. Once you have finished, wipe to remove all traces of dust.
As you can see in the image below, as you sand the paint remains on the softwood and is only removed from the wood grain.
Step 5
Now it is time to apply solvent-based wood stain such as Rust-Oleum Ultimate Wood Stain. You don't have to use a black wood stain, the colour choice is up to you and how you want the finished doors to look. This black finish looks stunning once done and really provides a high-impact finish.
If you don't want such a high-contrast finish on your wooden doors, opt for a medium to dark grey colour as this will provide a more muted effect.
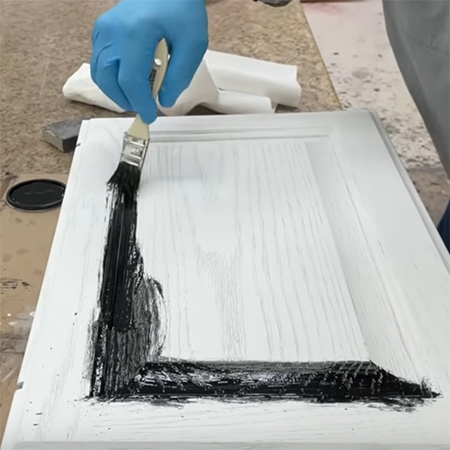
Step 6
Use a paintbrush to smear the stain over the door, once again starting at the outside edge and doing the frame around the centre panel. There's no technique requires here just to cover the painted finish.
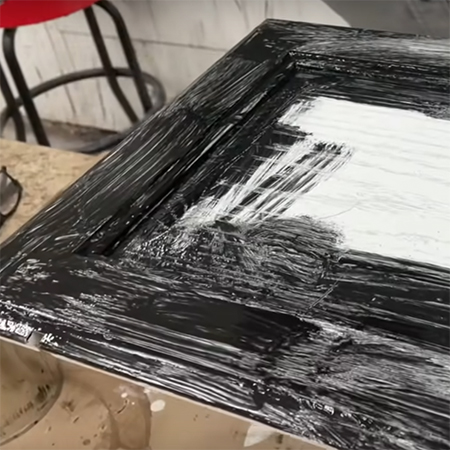
Step 7
After applying the wood stain to the outer frame, use a kitchen towel to wipe over the wet finish. The rubbing helps the wood grain absorb the wood stain and removes excess stain.
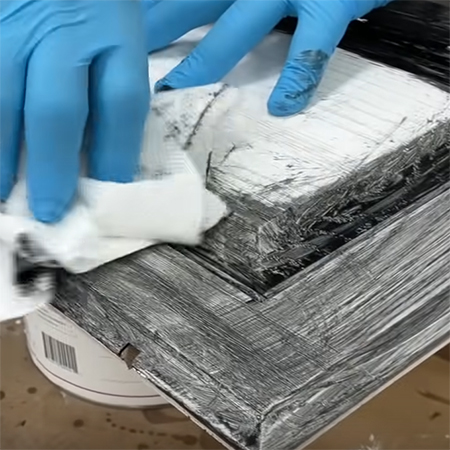
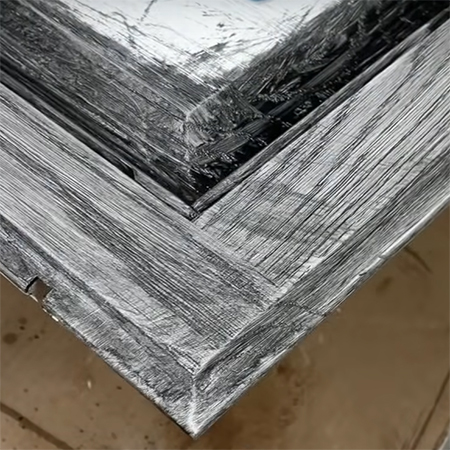
The wood stain is absorbed into the wood grain and, when wiped away, leaves behind a contrasting finish between the softwood and hard grain.
Step 8
The last step in cerusing wooden doors is to lightly sand the doors with a fine sanding sponge that allows you to sand both flat surface and any detailed areas. The more you sand the more white is revealed, so if you want the doors to be lighter, sand until you are happy with the look.

FINISHING
With the cerusing method complete, you can now finish the doors in your choice of finish which can be anything from a wax finish or applying a matt, satin or gloss polyurethane sealer or varnish.