
New Kitchen on a Tight Budget
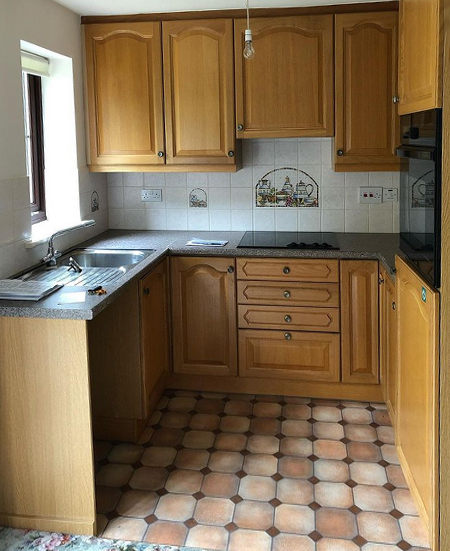
If you are lusting after a new-look kitchen, one that is modern, clean and complements your home, see how this average dated kitchen is transformed on a tight budget.
26/06/2022
instagram @myfirstburrow
There are plenty of ways to give any kitchen a cheap and easy update, but what if you want something better, something that completely transforms a kitchen and gives it a better, newer luck - one that gives it an update and a longer-lasting finish? Painting kitchen cabinets is quick and easy and does give the kitchen a new look, but not that much. It will brighten a dark kitchen and bring a modern touch to an old one. The better alternative and one that doesn't cost that much more is to replace existing kitchen doors with the new painted doors. That way, you get a brand new look and feel for a kitchen.
A sheet of SupaWood (MDF) costs around R800 and the sheet size is 2750 x 1830mm). That's a large sheet and you might even only need one sheet to have all the doors cut to size at your local Builders. Add to that the fact that you can have an edging strip applied and holes drilled for Euro (cup or concealed) hinges and all you need to do is add your choice of trim, sand, paint and install the new doors. Plus, using a spray paint gun to apply the paint gives your a professional-looking finish.
instagram @myfirstburrow
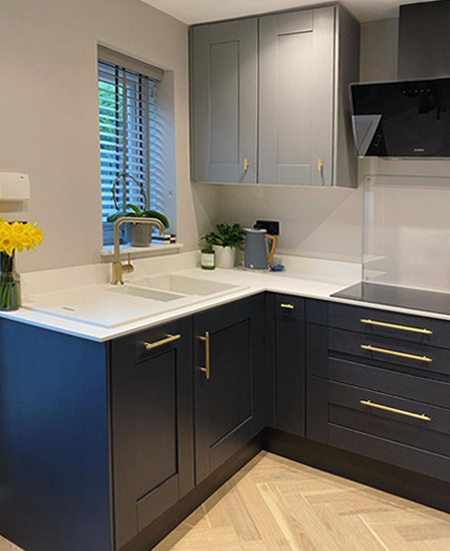
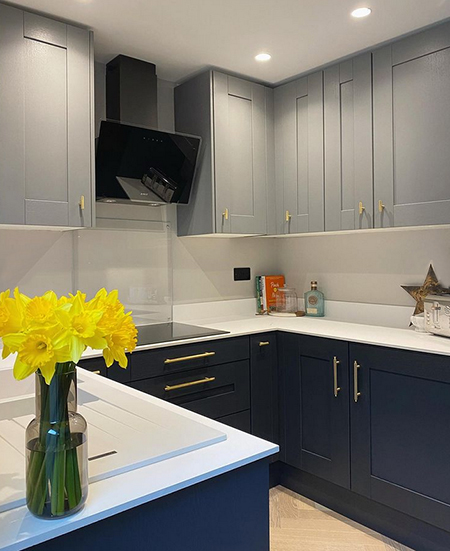
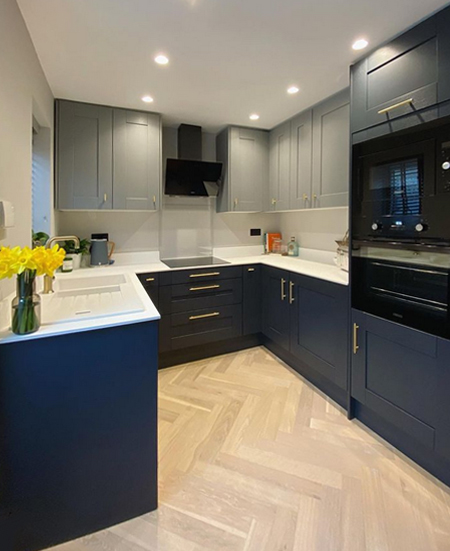
Brand new doors and kick plates, brilliant white countertop and walls and a few new appliances make all the difference in this kitchen transformation.
instagram @myfirstburrow
In this kitchen, with its Shaker-style doors, 16mm SupaWood (MDF) doors are trimmed with 6mm SupaWood (MDF) panels around the edge that are a traditional look for Shaker-style kitchens.
instagram @myfirstburrow
YOU WILL NEED:
Sheet of 16mm SupaWood (MDF) - cut to door and drawer front sizes
Sheet of 6mm SupaWood (MDF) - Cut to 40 or 50mm wide strips
Wood glue
Euro (cup or concealed) hinges and 16mm screws
Handles or knobs and screws
Acrylic paint, matt or flat paint is better
Matt, satin, or gloss clear polyurethane sealer (for topcoat)
TOOLS:
Drill plus assorted bits
Orbital sander plus assorted sanding sheets
Spray gun or compressor spray system
Clamps
Tape measure and pencil
Safety gear
instagram @myfirstburrow
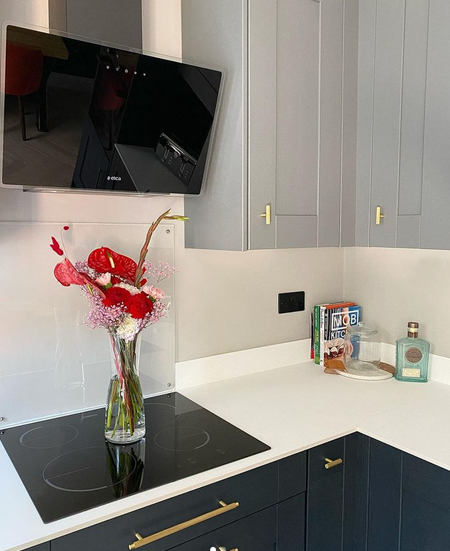
Dated tiles and flooring were replaced with modern alternatives that immediately update the look and feel of this kitchen.
instagram @myfirstburrow
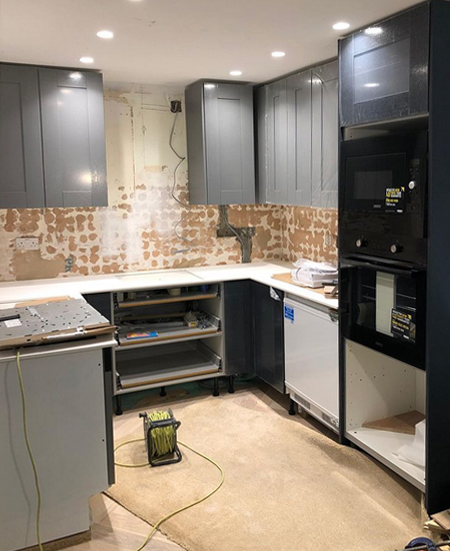
HERE'S HOW:
- Remove the existing doors and use these to measure for the new, replacement doors. Number the doors and cabinets so that you know which door goes where. Even a few millimetres difference can make a difference when putting the new doors on.
- Pop into your nearest Builders store to have the new doors cut to size. Check with the store that they offer edging and hole drilling services so that you can have everything done at the same time. If your store does not offer this, other larger retail hardware stores will do it for you, all you have to do is to arrange to have the sheet board delivered to them.
- Builders won't add the strips around the door, but you can have them cut the 6mm SupaWood (MDF) strips 40 or 50mm wide in long strips that you can then cut to fit on the doors. These strips are then glued and clamped around the front of the door around the edge.
- Once the doors are assembled, pre-drill the holes needed to mount the handles or knobs. Using a Kreg Hardware Jig will make this task easier and ensure that all the handles or knobs are mounted in exactly the same place. Otherwise, do your own accurate measure and marking. Be sure to use a countersink bit on the holes at the back of the door so that the screw heads don't stick out.
- Sand all the door edges with 120-grit and then 240-grit sandpaper until smooth and polished. This will prevent the board from absorbing more paint by blocking the pores of the board. Hand sand around the inner edges of the strips on the door.
- Paint the doors using a paint spray or compressor spray system. Some models require that you thin down the paint slightly, so check this before you begin. Apply a light first coat, let dry and then repeat this for 3 to 4 coats or until you are satisfied with the coverage. I prefer to use matt paint that can be sanded ultra-smooth with 600-grit sandpaper before applying 2 to 3 coats of sealer.
- Now you can add the hinges, handles or knobs and mount the new doors on the existing cupboards.
Enjoy your new kitchen!
instagram @myfirstburrow