
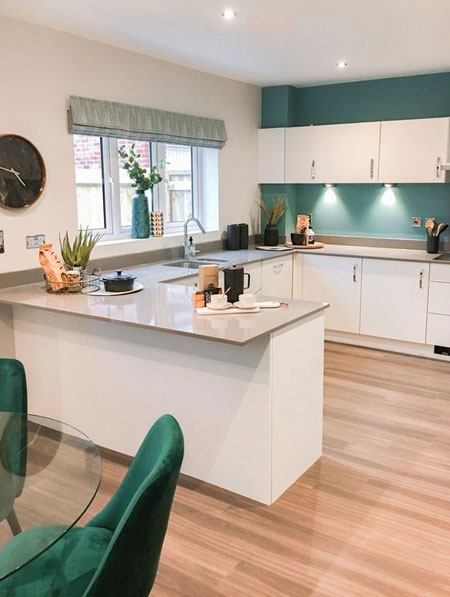
Dulux Provide 5 Easy Steps to Paint Your Kitchen
If you are wanting to refresh your kitchen or give it a new, modern look, Dulux offers 5 easy steps to paint your kitchen.
20/07/2020
https://pinterest.com - 801148221201458304/?nic_v1=1a%2B7KqBKpUsdy5RskpCzz68bet39xTEo%2FDe268X3kf%2B4LjcJrLTdiCX%2FAAib0S33UY
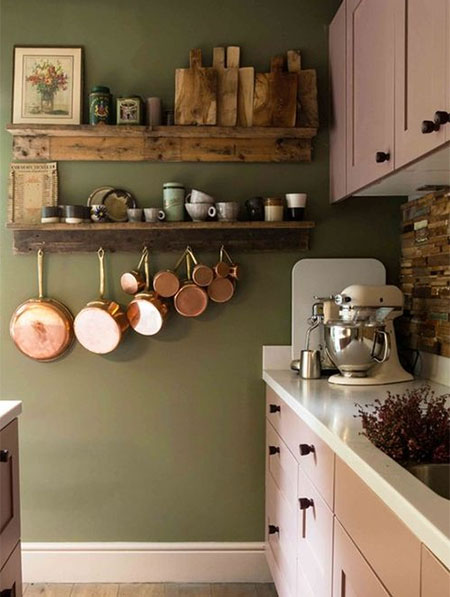
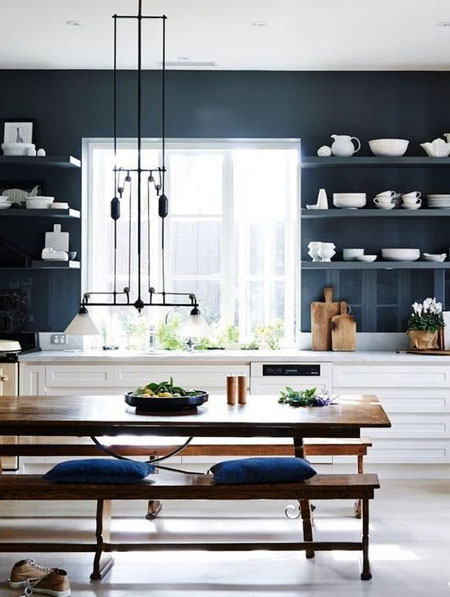
As the heart of the home and the room where every family spends a lot of time, you want to kitchen to look it's very best. Painting a kitchen doesn't have to be a difficult job, and Dulux offers 5 easy steps to paint your kitchen for a fresh, new look.
We asked leading paint experts Dulux, to give us their advice on the best way to go about painting a kitchen, taking into consideration that a kitchen can become greasy over time, even with regular cleaning. Because everyone wants a kitchen that looks good, is clean and is a place where you love spending time preparing meals and treats for the family.
https://pinterest.com - 123215739792875700/?nic_v1=1a9M4yjZhhz3hB4qrWyMDAwaP6GMoe1PPLcMpO1FpPvn2KVtheAeGFJkJmh5SxApxq
Here are the 5 easy steps you need to give your kitchen a new look with paint:
1. Scrub The Walls
We all know that kitchen walls can soon become greasy, even with a regular wipe down. It is essential that before you start any painting project the walls are scrubbed clean to remove all traces of grease. Painting over the top of grease will prevent the painting from bonding to the existing finish and that's why it is important to clean all surfaces thoroughly.
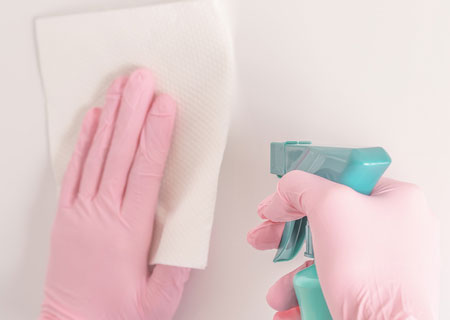
Sugar soap is the easiest way to clean kitchen walls, as the abrasiveness of sugar soap easily removes grease and grime and ensures a clean surface. After cleaning the wall with sugar soap, wipe down the walls to rinse and then to dry. Leave for about an hour to ensure that the wall is properly dry before painting.
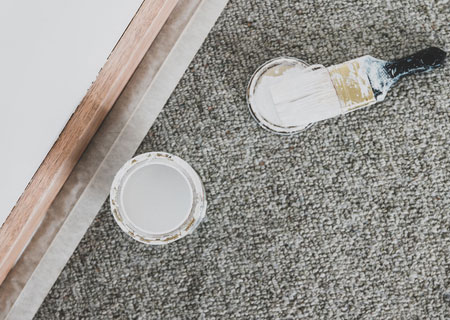
2. Mask Off Fixture And Fittings
Make sure to arm yourself with a couple of rolls of painter's tape that you can use to mask off fixtures and fittings in the kitchen. Apply painter's tape to any fixtures or fittings that you don't want to paint such as tiled areas, fitted kitchen appliances, cornice or trim and kitchen countertops.
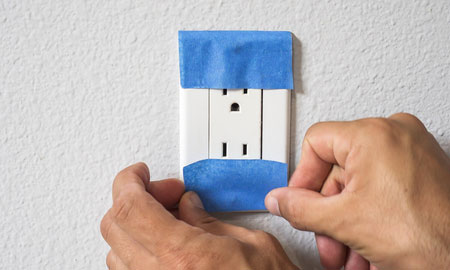
Applying painter's tape will not only protect fixtures and fittings from paint but also let you paint a clean, crisp edge to the walls being painted.
Use a drop cloth or newspaper to cover and protect countertops and fitted appliances, as well as protect flooring from drips and spills.
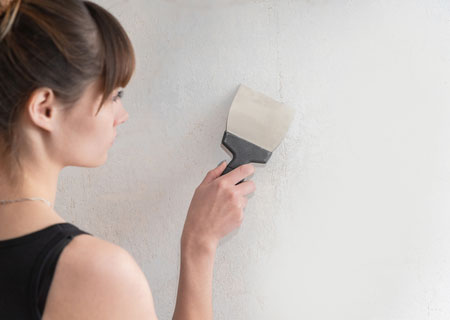
3. Fix Up Cracks and Defects
Any cracks or defects on the walls need to be fixed before you paint. Use an interior crack filler to cover fine hairline cracks and to fill small chips or dents in walls. Once the filler is dry, sand smooth and then it's ready for painting.
4. Start At The Top
When painting any room in a home, it is always better to start with the ceiling and work you way down the walls. The kitchen is no exception so make sure to have a stepladder on hand or use an extension rod in conjunction with a paint roller.
GOOD TO KNOW: If you are going to be using an extension rod with a paint roller, DO cover all surfaces with drop cloths, as the paint can mess over a wide area.
If you are painting cornice around the room, this is usually painted in the same colour as the ceiling. However, if you want a colour contrast between the cornice, ceiling and walls, mask of the ceiling and walls before painting the trim and continuing on the paint the walls.
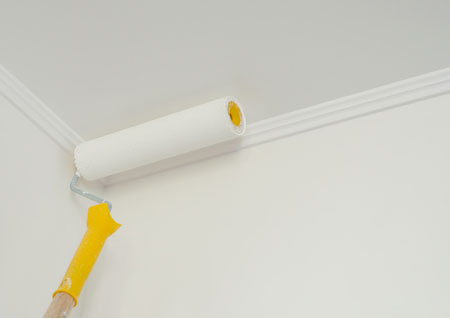
The ceiling in a kitchen has to put up with steam and grease from cooking, so only apply a hard-wearing paint that offers high-hiding and ease of cleaning. The same applies to kitchen walls. Make sure to only apply a paint that can be washed and scrubbed down regularly to ensure a kitchen is hygienically clean.
5. Paint Trim
With the ceiling and walls done, you can move on to painting any trim or wood fittings and fixtures, such as door and window frames, etc. Once again, start at the top of whatever you are painting and work your way down to skirting boards.
Only use a paint designed specifically for trim, as these paints can generally withstand the knocks and bumps of everyday living, especially in a kitchen.
https://pinterest.com - 39617671711192448/?nic_v1=1aFSm91GGC6fXcon%2BIpk4IFljU5CD2D0sUp%2BvGTdyiV7evyUXZnsQ5cd0aY6aBW1LN