
An Organic Kitchen for an Organic Home
When you are renovating a home that is over 175 years old, you don't want a kitchen that is modern or contemporary, but rather a kitchen that looks as good as the rest of the house.
13/10/2020
On a blog that I love to pop on over to now and again, they are featuring a series on the renovation of a 175-year old barn house converted to a home. You will find the full series here if you want more information. The series follows the progress of the renovation of this vintage barn house, from 3 major bathroom renovations to finishing off the home during the lockdown. It's an impressive makeover and for anyone interested in restoring old homes or looking for a more natural way of living, it's worth a look.
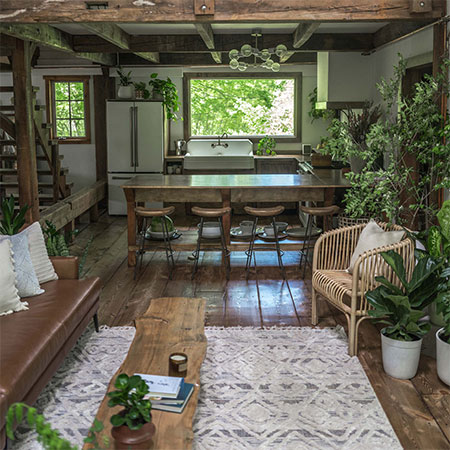
The project that I found most interesting was the kitchen renovation. The kitchen in this soon-to-be fully restored home is not just a kitchen, it's also a workspace and gathering place as well as a place to sit down and enjoy meals.
In this article, we look at how the old kitchen components were removed and replaced using organic materials found in areas close to the home, as well as all the appliances and accessories to kit out the kitchen for a family home. The result - a kitchen that is functional yet simple, beautiful yet organic.
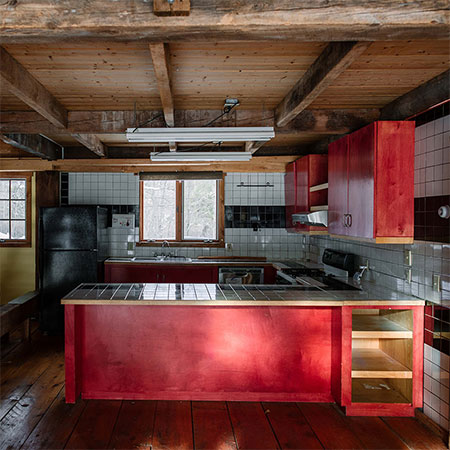
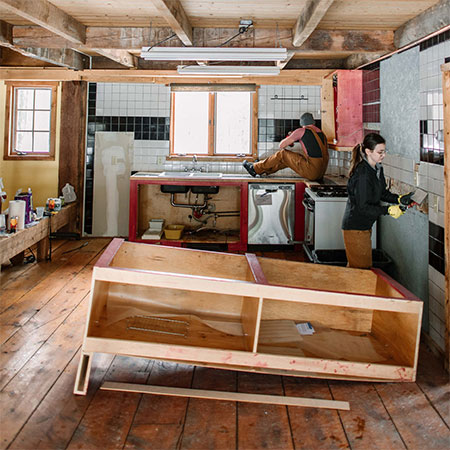
The original kitchen wasn't much to look at; a tiled countertop, some kitchen cupboards in various stages of disrepair, and an overall look of decline. The young couple responsible for the renovation as a do-it-yourself project wanted the entire house to remain as undisturbed as possible. No drywall here folks!
To DIY or not to DIY!
They carefully considered all the options for the new kitchen, from flat pack designs from big-name stores to having a kitchen installer come in and do everything. At some stage of the discussions, it was realised that the kitchen they ultimately wanted wasn't something that could be bought - more something they would have to do themselves. With some trepidation they took the first step, after which there was just no going back, to remove the existing kitchen and look at the space available and what could be done.
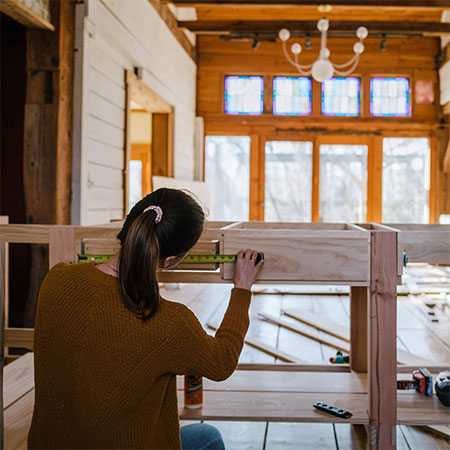
Take precise measurements - twice!
Knowing that there wasn't much in the original kitchen that could be recycled or reused, everything, including the wall tiles, was ripped out. Once everything was removed, measurements could be taken to judge the size of the available space and determine what could fit where. If you are planning a renovation of this type and need to keep costs as low as possible, keeping appliances like a dishwasher that needs to be plumbed in, or a stove that is connected to gas or electrical supply, in the same place. As soon as you start moving these around, you end up adding costs for contractors to come in and install new water, sewer or electrical lines, which can add a huge amount to the overall cost.

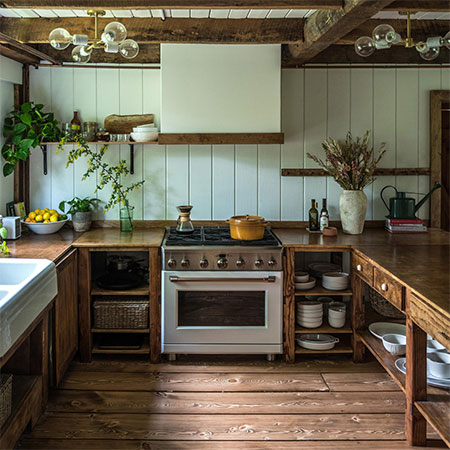
The first two items on the shopping list was a chef's stove and a Belfast sink. Since this is a kitchen, and it would end up being a kitchen for a family, it was important to make sure the kitchen had the right appliances in place, since the rest of the room would be built around these two priority items.
The couple also wanted to make sure that there would be plenty of space in the kitchen for more than one person at a time. When both husband and wife enjoy cooking and working together there needs to be enough space for two people to move around without bumping into each other.
Know your limitations
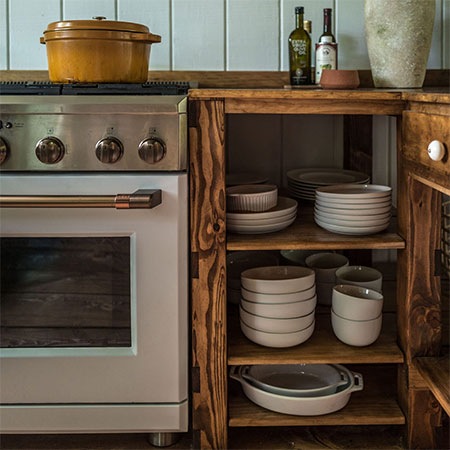
While admitting that they had basic DIY skills for the project, they weren't anything close to professionals. On these cabinets, you won't find tenon or dovetail joints, but they would be put together well and finished nicely. All the frame construction for the kitchen cabinets was done using ordinary PAR pine planks sanded down to perfection. Everything was measured - twice - to ensure that cupboards fit perfectly in the space and next to each other.
Pine is a great material for this type of project. It's reasonably affordable, readily available, easy to cut, a pleasure to sand, and can be tinted in a wide range of wood tints or colours.

Choose your finishing
After ensuring all the open cupboards were kitted out with shelves, the stove was in place and the sink fitted, the veneered plywood tops were cut to fit. These would be stained to match the finish on the cupboards and shelves and finished off with a high-gloss polyurethane sealer. A walnut tint was chosen for the cupboards and countertop, to give it that rustic, lived-in look that the couple wanted for the kitchen.
The beadboard panel backing on the walls was painted white to tie in with the chef's stove and the Belfast sink, with a few wall accessories to break up the stark white look.
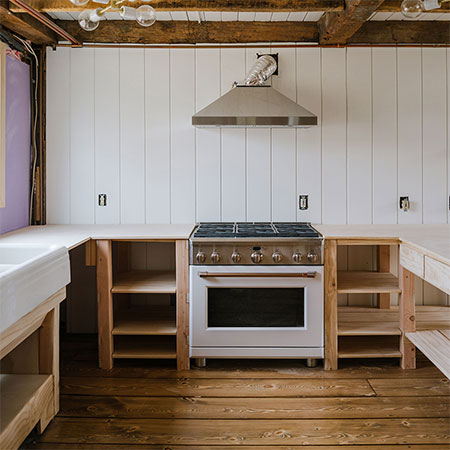
Quite a change from the previous kitchen, this design looks light and airy, allows plenty of space to move around and move than enough storage for a family.
