
Mosaic tile for a kitchen splashback
Some years back I added a Perspex splashback - bad idea since Perspex can't take the heat ! In this project I remove the Perspex backsplash and replace with glass mosaic tiles.
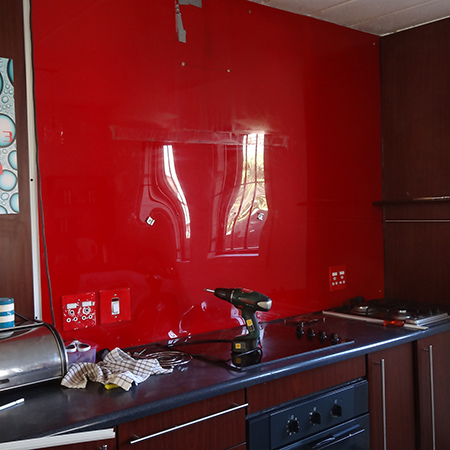
The Perspex backsplash added bold colour to the kitchen and it has been installed now for almost 10 years, but it was necessary to fit a tempered glass plate over the Perspex to protect the Perspex from heat and it didn't look great. At the beginning of the year I decided it was time to remove the Perspex and install a mosaic tile splashback.
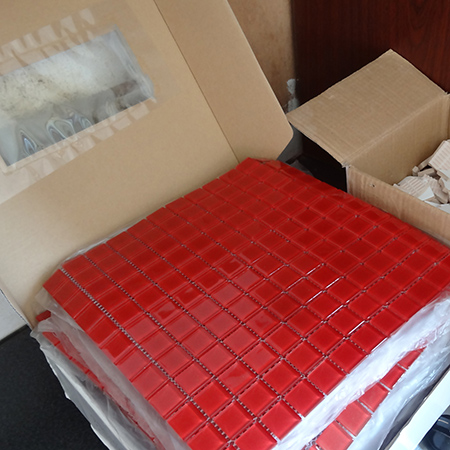
Tile Africa stock a range of glass mosaic tiles and have a beautiful bright red that is perfect. I want to keep the red wall in the kitchen, but I ended up adding a new twist to the wall.
There used to be tiles behind the Perspex backsplash, so there wasn't much that needed to be done to prepare the wall for tiling.
If you are removing old tiles to add a new tile splashback you need to remove the old tiles. Depending on how the tiles were applied your task will be fairly easy or time consuming. A shoddy tiler will simply apply a few blobs of tile adhesive to the back of the tiles before slapping them onto the wall. A more conscientious tiler will spread tile adhesive over the wall with a notched trowel, or butter the back of the tile.
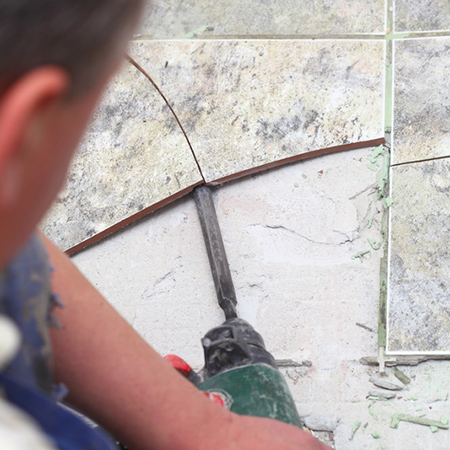
If the former procedure was done, when you tap on the tile with a screwdriver it will sound hollow and these tiles will be easy to remove with a hammer and chisel. Where tiles are firmly bedded onto the wall it takes a bit longer to remove the old tiles you can use a hammer and chisel, but a hammer drill and chisel will cut down on the amount of time it takes to remove the tiles.
You can hire a hammer drill by the day, or invest in your own hammer drill if you plan of doing extensive renovations. You can pick up a Bosch Blue GBH Rotary Hammer for around R3000.
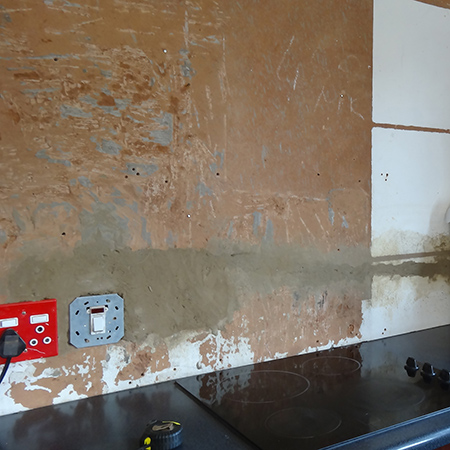
The wall needs to be as smooth as possible when applying mosaic tile. Only a thin layer of mosaic tile adhesive is needed and any raised areas on the surface of the wall will result in tiles being uneven,
Planning is important before you start on the project.
If there are power points on the wall being tiled you need to switch off the main power and remove the covers to allow for tiling around these. This is where labelling a main Distribution Board comes in handy, because you can switch off only those power points on the wall, or in the room. If you are working on a large-scale tiling project as long as the wires in the power outlet are securely wired and there is no possibility of the wires touching you can switch on the power when not working in that particular area.
Wall mounted cupboards will need to be removed and put aside - if you plan to keep them - if there are no tiles already behind the cupboards. If you ever plan to renovate a kitchen and possibly remove and replace wall cabinets, it's good to know that you have already fully tiled the walls and will not have to go through the expense and effort all over again.
In my case I want to make sure I can remove the countertops later on if I need to, so I used a strip of board to ensure the mosaic tiles would not sit on top of the countertop, but slightly higher to allow for the countertop to be removed if necessary. This gap can be covered up by adding a strip of beading or applying a thick layer of silicone sealer.
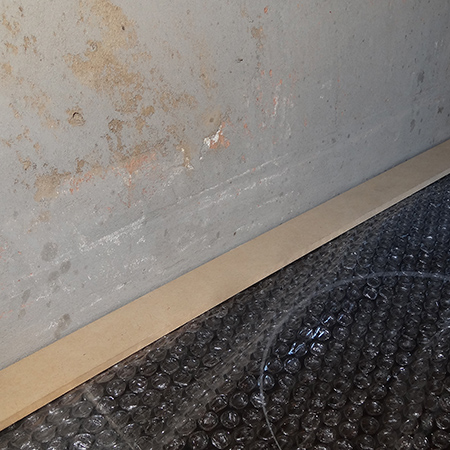
To protect the kitchen countertops, even though I will be replacing these later on, a layer of bubble wrap or a drop cloth will also help to contain the mess, because there will be mess, even though the mosaic adhesive is easier to clean up than cement-based tile adhesive.
The floor was covered up with an old bed sheet to make clean up easier. When you are working in a kitchen chances are you still want to use the space for cooking, so if you can make cleaning up less time consuming you will still have full use of the kitchen once you clean up after each project.
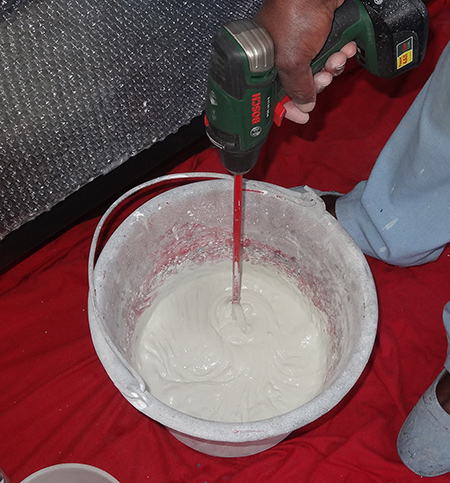
An all-in-one adhesive and grout, such as that offered by Tal, cuts down on the tiling process, but you will still need to fill in a few gaps at the end of the project. You also need to mix this product according to the instructions. Only mix enough adhesive to work with in a specified period of time - you don't want the product to start to cure as you use. A paint mixer on the end of your drill will ensure that the mix is nice and smooth - no lumps !
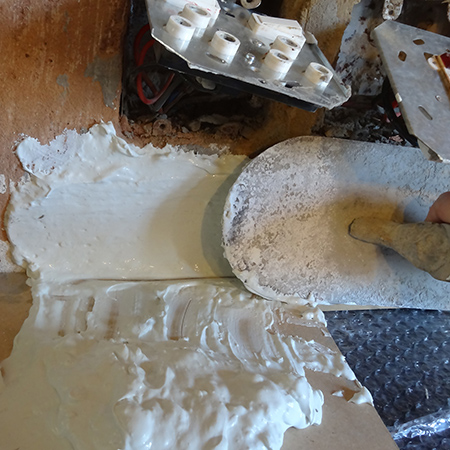
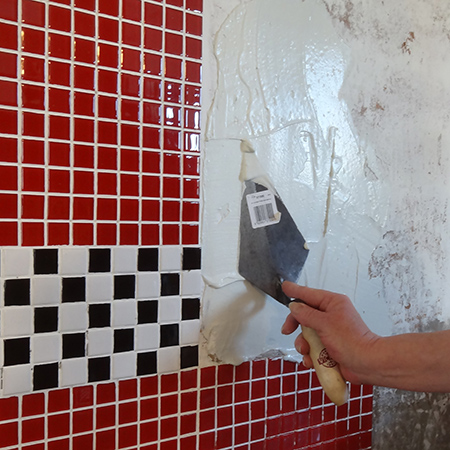
Have two trowels on hand - one for covering larger areas and one from small areas. You must spread an even layer of adhesive over the wall that is about 5mm thick, so that when you press the tile onto the wall it fills up the gaps between the mosaic tile segments.
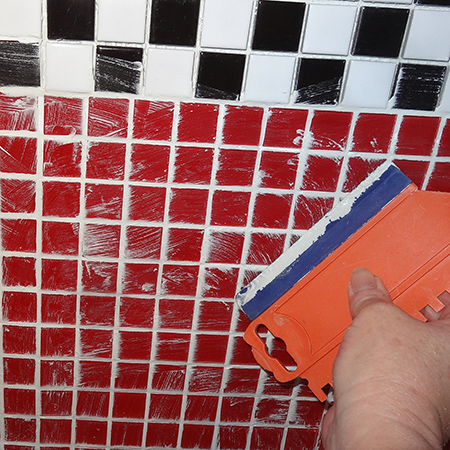
Once you have finished tiling follow the same process that you would when using other tile types: using a damp sponge to wipe away excess grout to easily identify any areas where additional grout needs to be added. Use a squeegee to apply the adhesive/grout to fill any gaps. Allow the grout to set for about and hour.
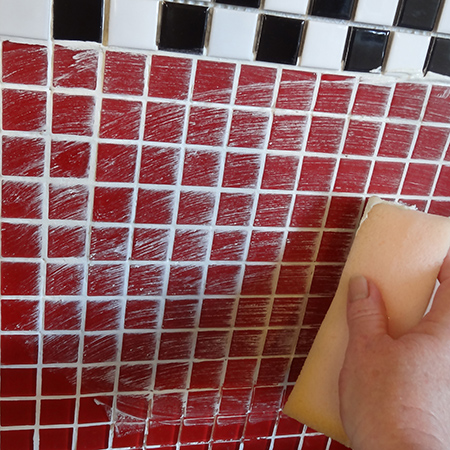
Finish off with a damp sponge to wipe away excess grout. Continuously rinse the sponge clean in a bucket of water to clean the surface of the tiles. Don't dispose of the bucket water down the drain. Rather wait until the grout settles to the bottom of the bucket, pour away the water and wrap the adhesive sediment at the bottom in a sheet of newspaper and toss into the dustbin.
The next day you can use a soft cloth to wipe away any remaining haze and then apply grout sealer, especially if you are tiling a backsplash or area where the grout easily stains. The grout sealer will not offer guaranteed results, but if you apply according to the manufacturer's instructions and do any re-application as suggested, it will keep the grout cleaner for longer.
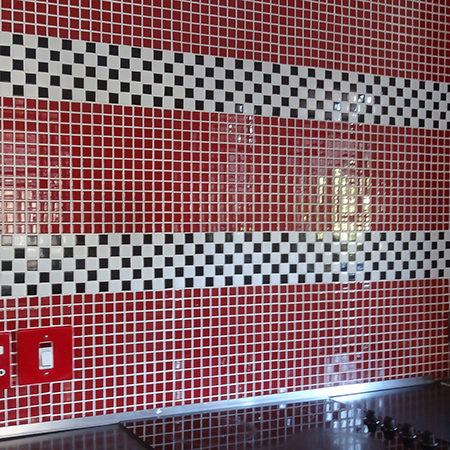
As you can see, rather than go for a solid red wall, this time I added a black and white checkered pattern to add interest.