DIY Corner Bench Dining Seating Area
For anyone needing a dining area in a small room, or a dine-in area in the kitchen, this floating corner bench is the perfect seating arrangement you can make.
29/09/2022
all about diy
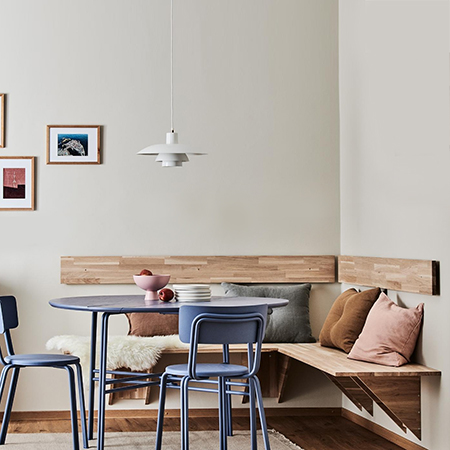
This floating, wall-mounted corner bench seat is perfect if you are looking to set up a casual dining area. You can install the seating bench in the corner of a small dining area or a kitchen for a dine-in experience. It is also a great idea for outdoors on a patio as a place to sit for morning coffee or breakfast. You can team the floating bench with almost any style of dining table and chairs, and it will look good.
The hardest decision in making this floating bench is the type of wood you want to use to make it. Pine is obviously the most affordable option, but you can also consider meranti or saligna if you want a harder wood. And then there is the option to go for hardwood where the cost is more, but the finish and durability are unbeatable.

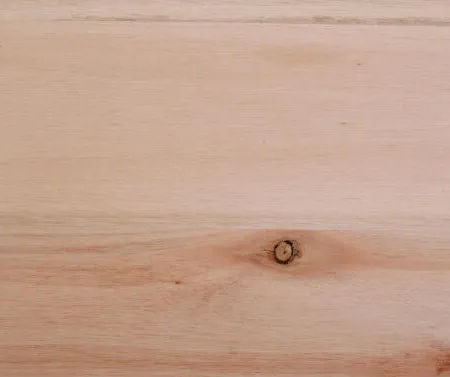
Pine for the Floating Bench
Pine is a readily available wood that can be purchased at Builders and is reasonably priced. Pine is a softwood and that means that it isn't as durable as other woods but, if protective treatment is applied regularly, pine serves well for a variety of projects. With pine, you can use a tinted sealer to give the pine a different look, as well as using a host of techniques to transform the look of pine such as whitewashing or distressing.
Meranti for the Floating Bench
Meranti is considered a medium hardwood, but it is also one of the best woods to work with for DIY enthusiasts as it has very little grain and it is the grain that wears cutting blades and sanding discs. Meranti is commonly used for skirtings, moulding and trim and various furniture projects. Doors, windows, and frames are most often made using meranti. It can be used for indoor and outdoor projects with the application of a protective sealer and is not subject to warping, bowing, or cupping as is the case with pine.
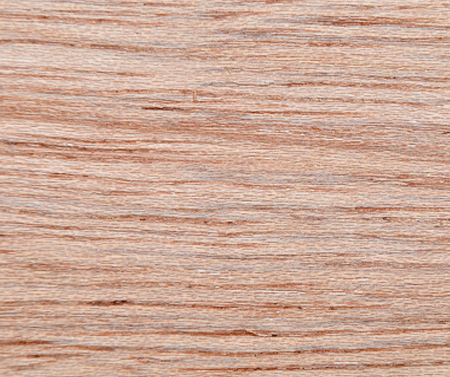
Saligna for the Floating Bench
Saligna (eucalyptus) is a hardwood that can be used for interior or exterior projects, but unlike meranti, this wood has a lovely grain and is used for doors and frames as well as an affordable decking material. The most expensive option of the three, however, but it is still reasonably priced when compared to other hardwoods. Most of the saligna on the market is grown locally but this tree species originates from Australia.
Make the Floating Bench
Now that we have looked at the wood options available for the bench, here is how to make the bench:
YOU WILL NEED:
Your choice of wood for the bench - see above
(Quantity will be determined by the area where you want to mount the bench)
Wood glue
Wood screws
Wall plugs
2 of Steel plates to join seats together plus screws
TOOLS:
Drill plus assorted bits
Countersink bit
Orbital sander
Power saw if not having the wood cut to size
Spirit level or laser level
Clamps
Tape measure and pencil
Safety gear
HERE'S HOW:
Step 1
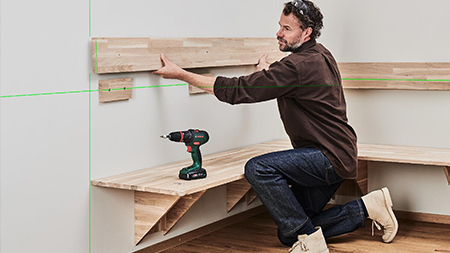
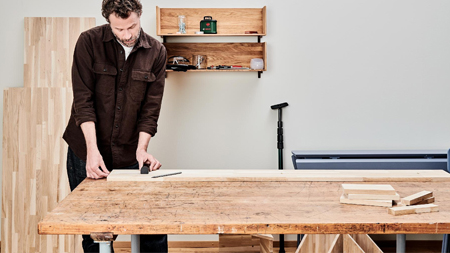
Measure up the area where the floating bench is to be mounted. It is also essential to check that the corner is square as this will affect how you mount the bench. Make a note of all the measurements so that you know the length of wood required for the seat backrest and bench seat. Finally, transfer all the measurements onto the walls. Mark the height for the backrest and height for the bench seat and use a spirit level to ensure everything is straight.
Step 2
Cut [6] pieces to support the long backrests. These pieces will be mounted directly onto the wall and will support the [2] backrest section. They should be around 200mm in length and there are [3] per backrest. If the bench you are making is a short one, you can reduce the number of supports to [2] per backrest.
Step 3
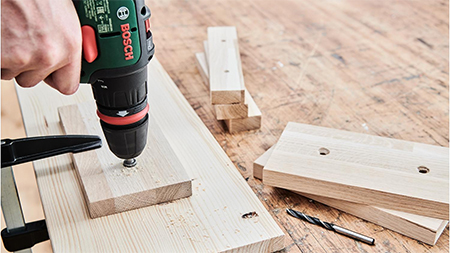
Drill [2] countersunk pilot holes in all [6] supports. Also, drill [1] countersunk pilot hole for each support along the length of each backrest. This will allow for easy installation of the backrest once the supports are mounted onto the wall.
Step 4
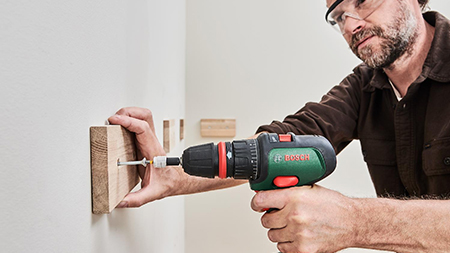
Drill the holes and insert wall plugs for the supports. The wall plugs should be the same diameter as the screws you are using and preferably Fischer or Rawlplug. Secure the supports in place.
Step 5
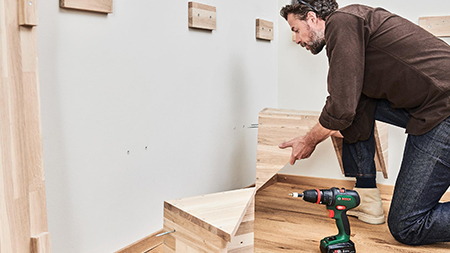
The bench seat supports are easy to make. Cut [4] of 250 x 350mm pieces of wood along the diagonal to create triangles for the [2] sides of each support. Insert a top piece and secure with wood glue and screws. Position the seat supports in the centre of the spaces between the wall supports and secure with wall plugs and screws.
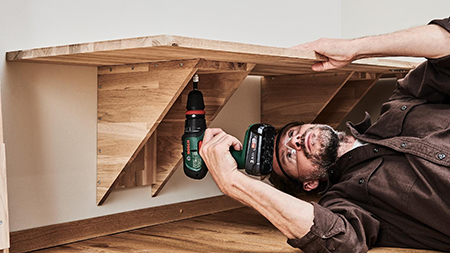
Step 6
Secure the bench seat on top of the seat supports using screws, as shown below. Use [2] screws per support spaced evenly along the width of the support.
Step 7
Use the [2] steel brackets to secure the seat bench where the two pieces come together.

Step 8
The last step is to fasten the backrest onto the supports using screws and your new seating bench is now ready for use.