How To Add Glass Panel To Kitchen Cupboards
Here's a step-by-step tutorial on how to add a glass panel to your kitchen cupboards and it's easy if you have the right tools.
11/07/2021
pinterest.com/pin/56787645285999798/
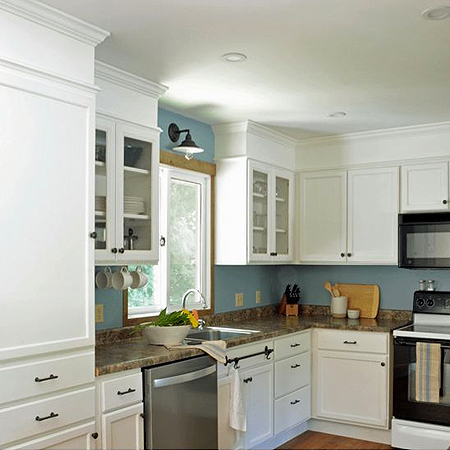
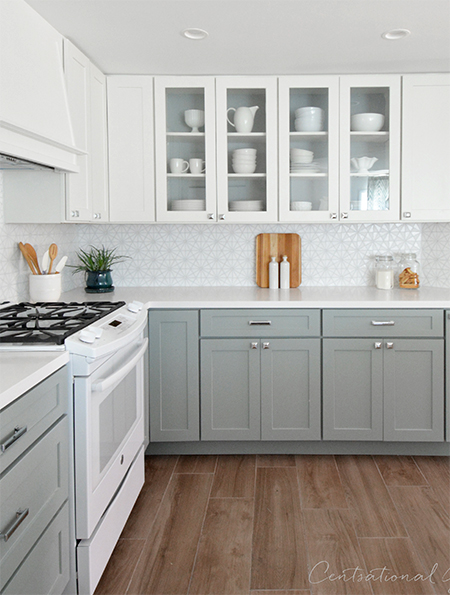
There is just something about glass panel kitchen cupboards that breaks up the monotony of a row of kitchen cupboards. When placed in the centre or on either side of a stove, or even in a corner, glass panel doors make a kitchen feel open and let you add personality and style by filling the cupboards with your favourite accessories or collected pieces to have them on display.
pinterest.com/pin/480055641503331269/
Many tend to think that adding a glass panel to a kitchen cupboard door is a difficult project, but the opposite is true. All you need is a drill and a jigsaw and a few supplies, plus glass panes cut to size, and you are ready to updated blank cabinets with a beautiful glass panel feature.
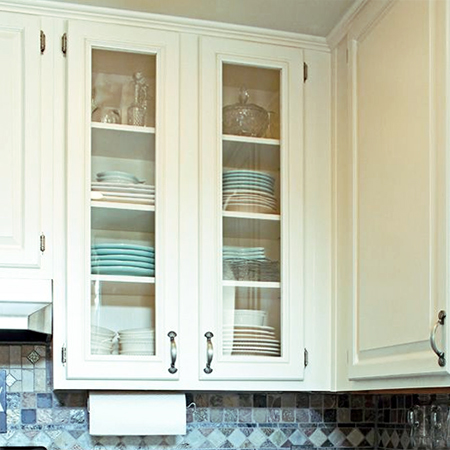
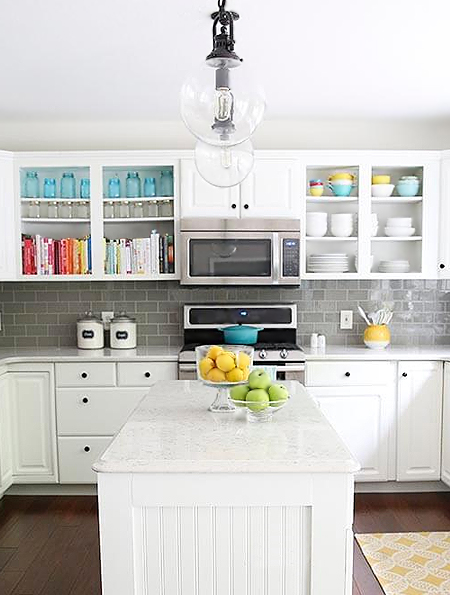
No matter the style of a kitchen, glass panel cupboard doors blend with almost every style out there, from a cottage kitchen to a full-on contemporary style. The only consideration to keep in mind is that whatever be placed in the cupboard be kept organised and not cluttered.
centsationalstyle.com
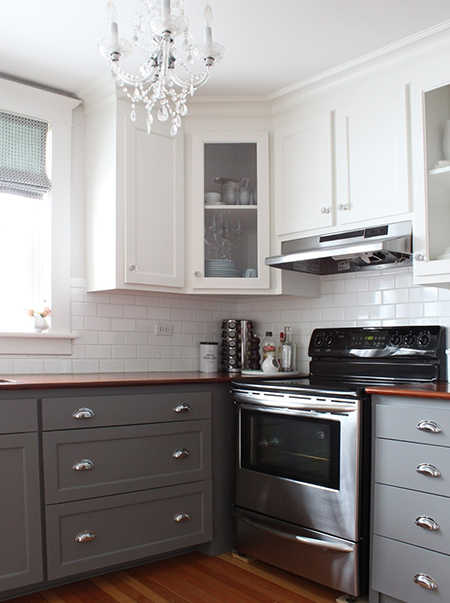
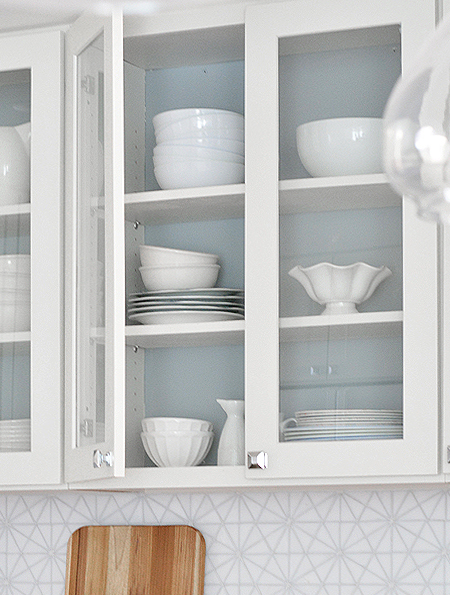
With glass panel cabinet doors you have the option to introduce a splash of colour if the kitchen in neutral or painted in a single colour. Use a bright or bold colour to paint the back of the cabinet and let the contents shine.
centsationalstyle.com
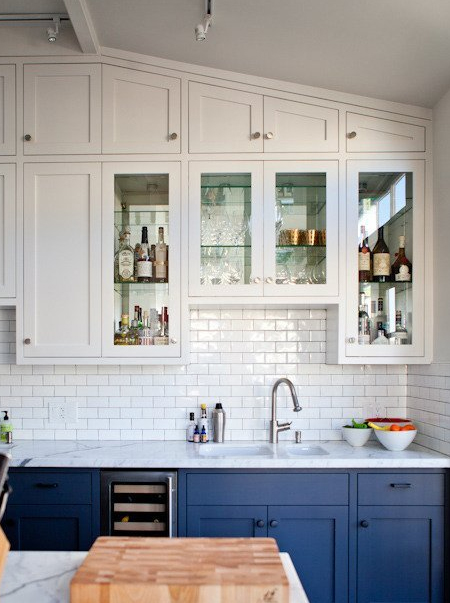
Not only are glass panel cupboards visually pleasing, but they also serve to brighten up a dull kitchen by reflecting light around the room. Add a strip of LED lighting and you have an eye-catching feature for very little cost.
iheartnaptime.net
Add glass panel to wood or foil-wrapped door
You might think that adding glass panels to existing or older kitchen cupboard doors is a difficult process, but it's not. It is actually fairly simple to cut out a panel in a door and fit a piece of glass that is cut to size to fit into the opening
YOU WILL NEED:
Drill plus 10mm drill bit
Jigsaw and clean-cut jigsaw blade
MultiSander and 120- plus 240-grit sanding pads
Acrylic sealer, white
Glass, cut to size
Pine moulding strip
Mitre box and tenon saw (saw with reinforced ridge)
HERE'S HOW:
Step 1
The first step in the process is to cut out the centre panel of the door. To do this, you will need to drill a 10mm hole in the panel in order to insert the jigsaw blade to cut out the opening.
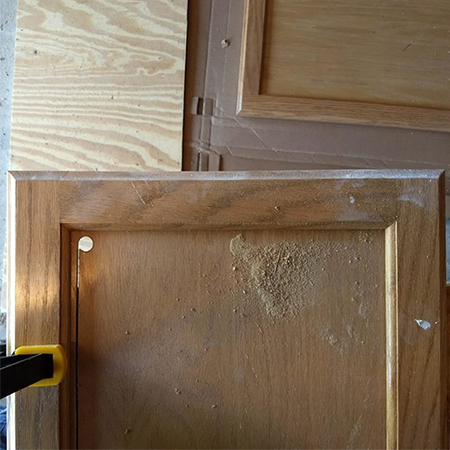
Step 2
Cut out a rough opening using the jigsaw and then repeat this to neaten the cut edge as much as possible.

Step 3
Measure the exact dimensions of the opening and subtract 2mm for the height and width iso that you can have glass panels cut to size at Builders or your nearest glass supplier.
Step 4
Flip the door over and apply a thin bead of acrylic sealer over the lip left inside the opening. This is the ledge that will hold the glass panel in place. Carefully place the glass panel on top of the acrylic sealer and wipe away any excess sealer that oozes out before letting it cure overnight.

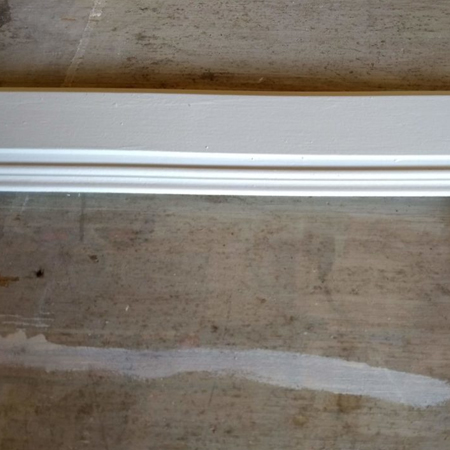
Step 5
Flip over the frame to work on the face. Measure and cut the pine moulding strip to fit around the inside of the frame. Apply a bead of sealer all the way around before placing the cut moulding strip in position. Wipe away any excess sealer before leaving the sealer to cure overnight.
Now that you know how easy it is, what's to stop you for giving your kitchen cupboards a makeover and fit some glass panels.
The above images are courtesy bitterrootdiy.com. Visit the website for more great DIY projects.