
Giving you our Top 3 Tiling Tips
Having to recently re-tile a bedroom we discovered a few handy tiling tips we would like to share.
26/10/2018
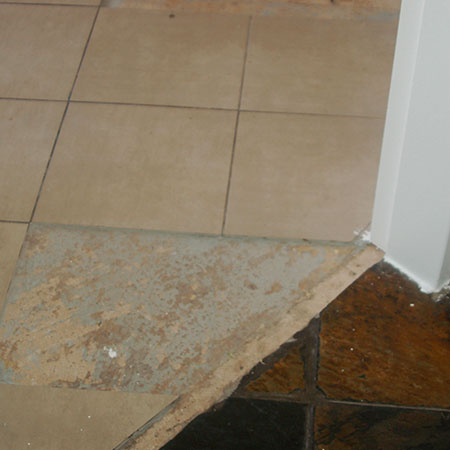
Having recently cracked a couple of tiles at the entrance of one bedroom, it was necessary to replace the broken tiles. However, this simple exercise turned into a full-on tile replace and install situation. Here are our top tiling tips that you will find useful...
1. Order Extra Tiles
When tiling any space it's important to order extra tiles, not only in case of breakage during installation, but also to have extra tiles on hand should you need to replace a cracked or badly chipped tile. While I know this and did order extra tiles, I used them at one of my DIY Divas workshops - not a good idea in this particular instance!
I popped back into Builders to buy more of the same tiles only to find they were no long available. That meant I had to re-tile the entire room, and I will share more on this in a future post.
2. Use The Right Tools
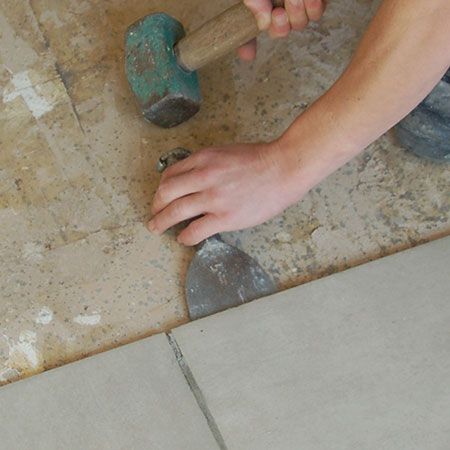
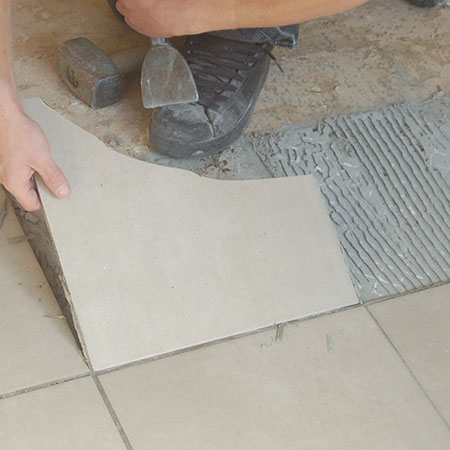
You can cut down on the time spent removing tiles by buying the right tools for the job. A cold chisel, 100mm wide, inserted at the edge of the tiles, can be tapped with a club hammer to lift the entire tile off the adhesive.
GOOD TO KNOW: Always wear safety glasses for this type of project, and safety gloves are also recommended.
Insert the cold chisel at the edge of the tile and gently tap with a hammer. As you move along the edge you should feel the tile start to release from the hardened adhesive, making it easy to lift out the entire tile. This means less work and less mess.

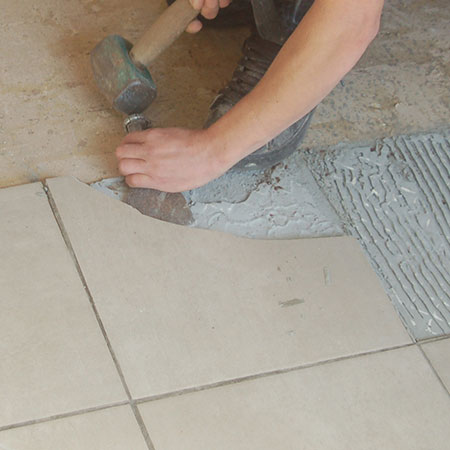
Of course, there will be the odd tile that may break, but you can still use the hammer and chisel to remove the remaining section.
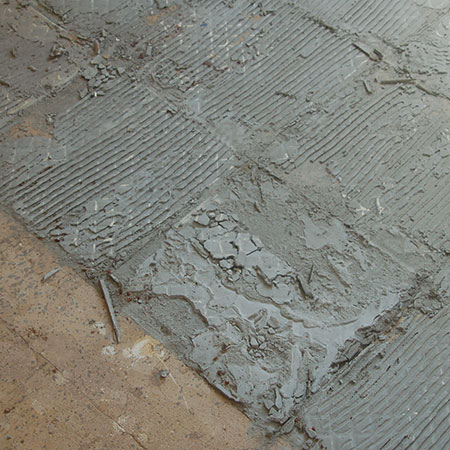
3. Remove Tile Adhesive
After removing the tiles you will be left with a floor covered in tile adhesive. This is by far the messiest part of removing tiles and it's a good idea to close doors and windows while you work, or to cover open entranceways with a piece of plastic taped in place to keep in the dust.
GOOD TO KNOW: Wear a dust mask when removing tile adhesive.
An easy way to remove stubborn tile adhesive, or to use around fittings to prevent damage, is to use a multifunction tool. We used a Dremel MultiMax, but Bosch also have a fantastic Multifunction Tool that does the job even better.
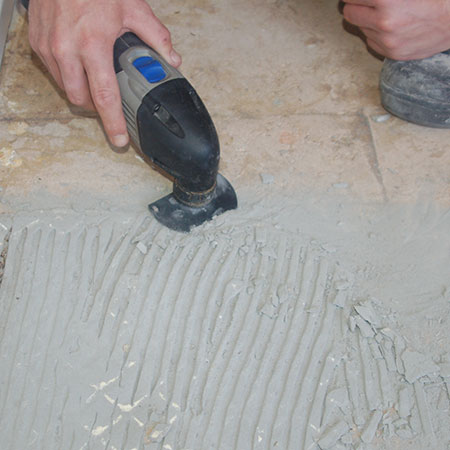
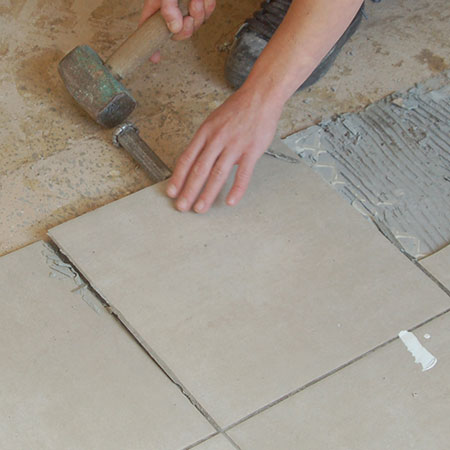
Attach the BIM segment saw blade and use on medium power to help lift and remove stubborn tile adhesive.
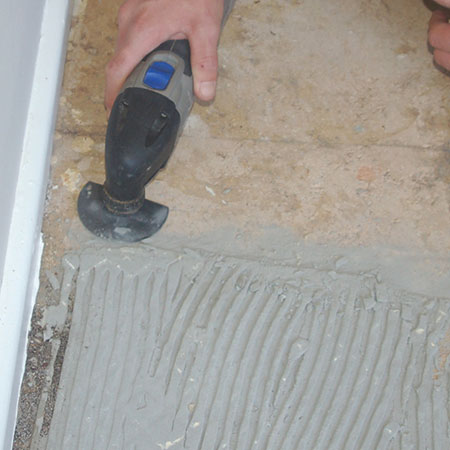
Finished! All the tile adhesive has been removed and the floor is now ready to receive new tiles. I will keep you updated on this project.
