
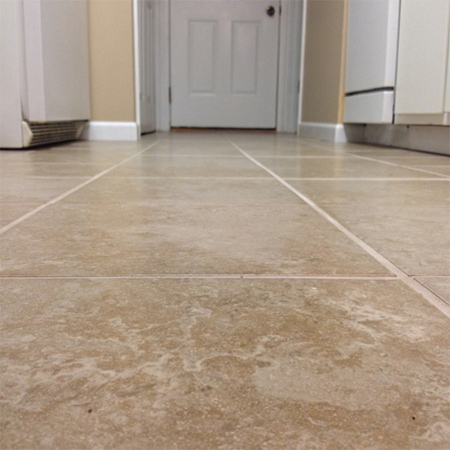
Tiling a kitchen floor
Tiling a floor, any floor, is not that difficult if you have the right tools at hand and a bit of DIY savvy when it comes to laying tile. In this article we show you how to remove vinyl tile from a kitchen floor - two layers of vinyl tile in fact - and lay a ceramic tile floor.
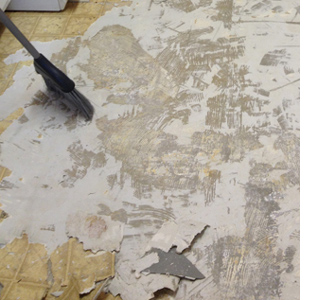
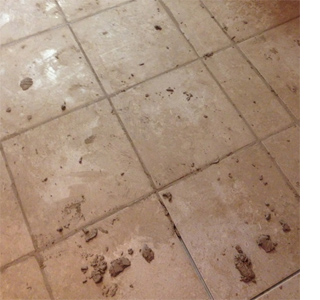
Removing the old vinyl tile is probably the hardest and most time-consuming part of this project. Upon removing the first layer of vinyl tile, a second layer for found. Both layers needed to be scraped off before tiling could begging. Use a paint scraper to remove as much vinyl tile as possible. If there are still stubborn bits, grab a hairdryer to heat up the old glue to make scraping easier. You will also find Bitumen & Glue Remover at your local Builders Warehouse.
YOU WILL NEED:
Enough tiles for your project*
Tile adhesive
Grout
Notched trowel
Rubber grout float
Tile spacers
Tile cutter
Tile nipper - if there are any curves or small areas that need to be cut
Rubber mallet
Bucket
Rags
Rubber knee guards
Rubber gloves
*When calculating how many tiles you need for your project - buy extra just in case. There's nothing more frustrating than almost completing a project and running out of one or two tiles, only to find that the tiles are no longer in stock. You should also keep a few tiles in hand for any breakages, either during the project or later on.
HERE'S HOW:
- After removing all the old vinyl and cleaning away and debris you are ready to start with the tiling.
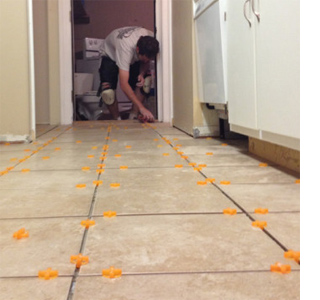
- In this narrow, galley kitchen the best place to start laying tiles was at the farthest end of the room. Think logically when tiling a space - you want to be able to get in and out easily as you work, so starting at the far end makes sense.
- Start by dry laying a few tiles to determine the best layout for the size of tile, design or pattern that you will be using. You ideally want complete tiles in the centre and cut tiles around the edges.
- Having determined the best spacing, work from the centre outwards.
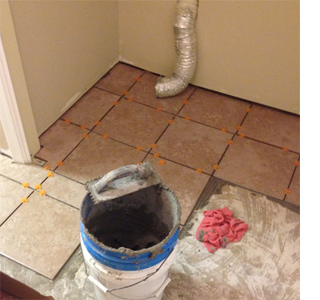
Mix up a batch of tile adhesive, just enough to cover 1 or 2 square metres at a time. Working in a small area at a time, about one square metre, apply a 2 to 3mm layer of tile adhesive to the floor with your notched trowel.
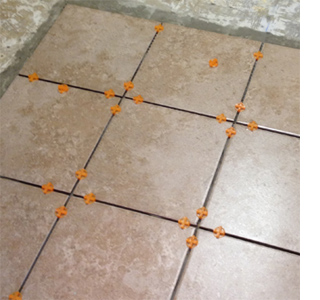
As you lay tiles onto the tile adhesive, add tile spacers to ensure even alignment of the tiles as you work. Because walls and floors are not always straight it's always a good idea to take a step back and examine how the layout looks before the tile adhesive has time to set. Use a rubber mallet to tap tiles gently into the tile adhesive and also to make any adjustments to the alignment as you work.
GOOD TO KNOW
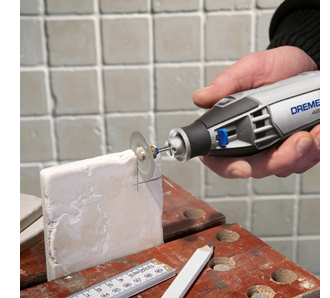
Leave the surrounding edges until last, so that you can cut tiles exactly to fit. You can use a tile cutter to cut ceramic or porcelain tiles but will need an angle grinder if you are laying natural stone tiles.
A Dremel MultiTool and cutting disk makes cutting curves, corners and small indents a breeze.
Continue to lay in sections, placing tiles in the centre and then around the edges, working from the farthest end. Let the tile adhesive dry overnight without any foot traffic.
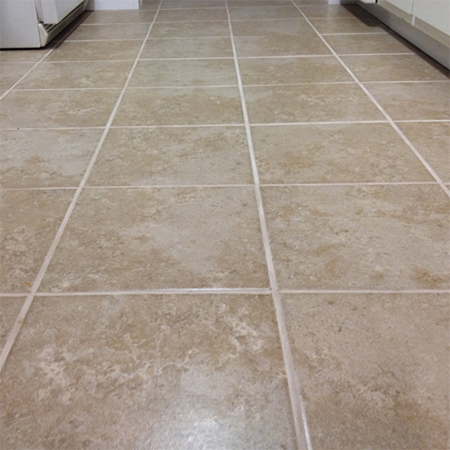
Apply the grout the next day, using a rubber float to ensure all gaps are filled. Again, start at the farthest end. Leave the grout for about 30 minutes before using a sponge to wipe the surface clean. You will need to wipe a couple of times, using a sponge and bucket of clean water, but after letting the tiles dry, wipe with a soft cloth to remove any remaining haze (dust).
Apply grout sealer to the finished tiles, as this helps prevent stains on the grout and keeps the grout looking good for longer.
planitdiy.com