Best Way to Remove and Replace a Cracked Floor Tile
Cracks in tiles can happen at any time, whether due to movement in the foundation or poor installation, but there is a way to remove and replace a cracked or broken floor tile.
24/06/2020
Cracks in tiles can occur at any time, whether they are due to movement in the sub-flooring or foundation or by poor installation. If you have tried to patch or cover the crack without success, the next step is to remove the cracked or broken tile/s. Here is an easy to follow guide to removing and replacing any cracked or broken tiles.
YOU WILL NEED:
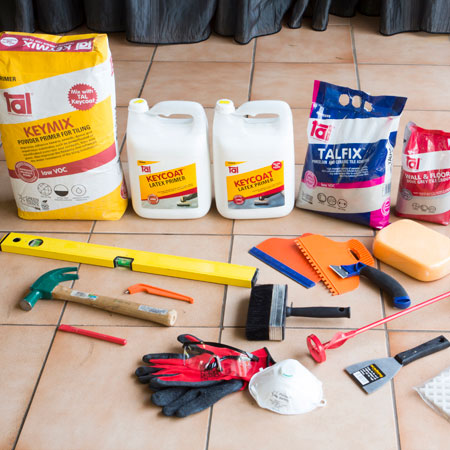
Plastic drop cloth or plastic sheet
TAL Keycoat and handy 5kg TALFIX / TAL Keymix
TAL Bond
TOOLS:
Grout rake
Hammer
Cold chisel
Paint scraper
Bucket and clean water
Paint stirrer
Safety gear
Rubber knee guards
Paintbrushes
Vacuum cleaner
Spirit level
Notched trowel
Rubber mallet
HERE'S HOW:
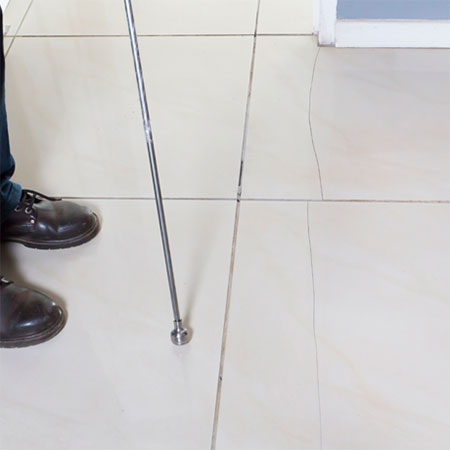
Before removing the cracked or broken tiles, it's a good idea to check any surrounding tiles to find out if they also need to be removed. If the cracks are caused by poor installation normally from not bedding the tiles properly in tile adhesive, you may find other tiles that have the same problem. Use a metal tool or rod to tap the surrounding tiles. If the tiles sound hollow, it is an indication that the tiles were not properly bedded into the adhesive. Even if these tiles are not broken now, they may break in the future.
GOOD TO KNOW:
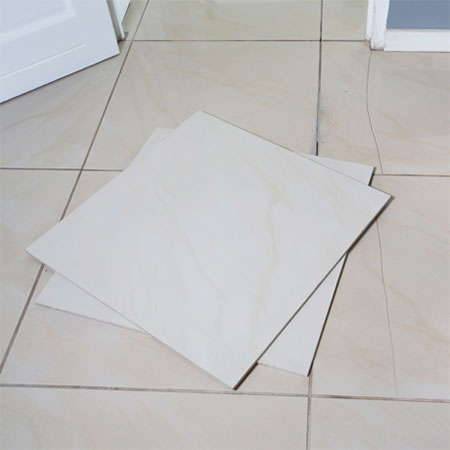
When having new tiles installed on floors or walls, it is extremely advantageous to order extra tiles and put these away in case you need them in the future. This can save you thousands on having all the tiles removed and replaced just for the sake of one of two broken, chipped or cracked tiles.
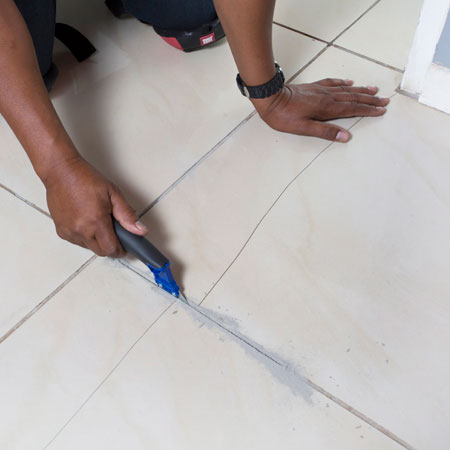
1. To remove the grout around the cracked or broken tiles, use a grout rake and run this back and forth along the grout lines. Do be careful to avoid scratching the tiles on either side. The grout rake will quickly remove the grout from around the tile.
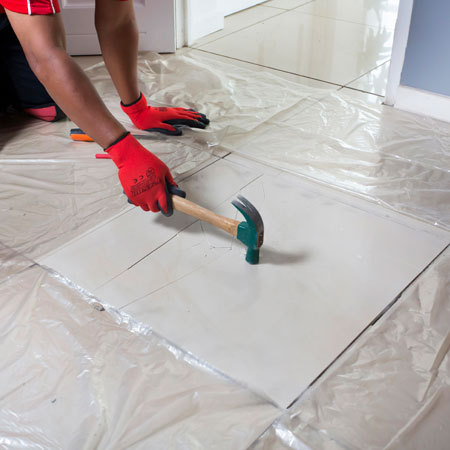
2. With the grout removed, use a plastic drop cloth or plastic sheets to protect the surrounding tiles from damage.
3. Use a hammer to break the centre of damaged tile to make it easier to remove. Remove any remaining fragments with a chisel or paint scraper.
4. Use a chisel to remove any remaining adhesive that might interfere with laying the new tile.
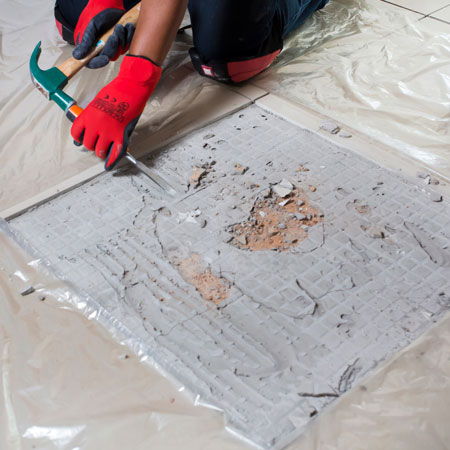
5. The area should be clean and free from debris before you can install a replacement tile. Use your vacuum cleaner to ensure the tile bed is clean and ready.

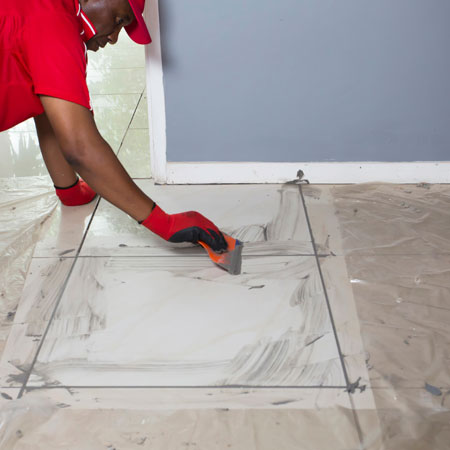
6. Now you can apply a slurry (wet mixture) of TAL Keycoat and TALFIX or TAL Keymix.
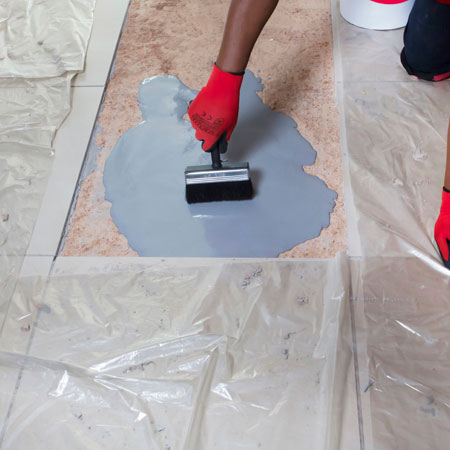
7. The slurry is ready when it is dry to touch.
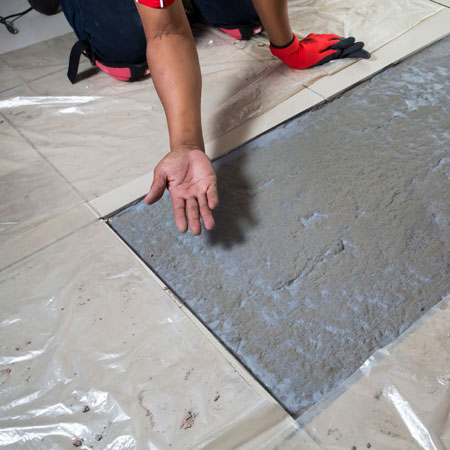
8. Pour 1.25 L of TAL Bond into a bucket and slowly add a 5kg bag of TALFIX. Mix with a mechanical mixer to a lump-free consistency. Allow 3 to 5 before mixing again.

9. Use a notched trowel to butter the back of the tile with adhesive, ensuring complete coverage.
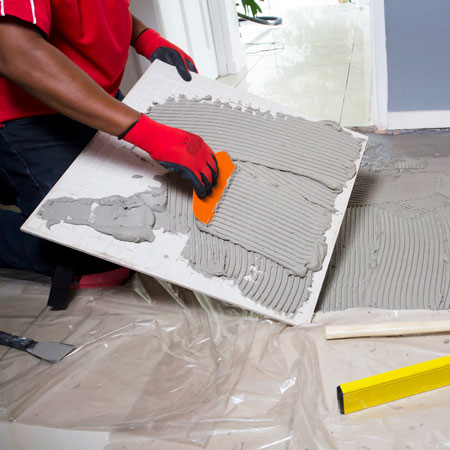
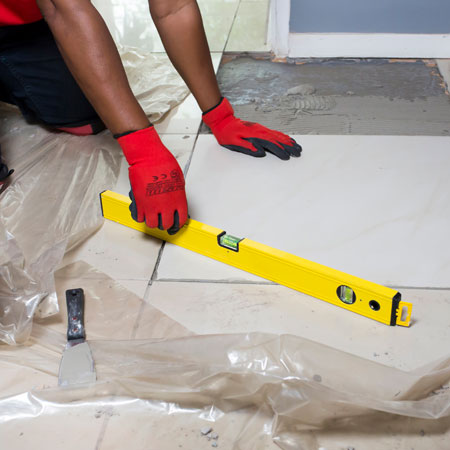
10. Press the tile firmly into place and check the level on all sides with a spirit level. Tap any raised areas with a rubber mallet until level.
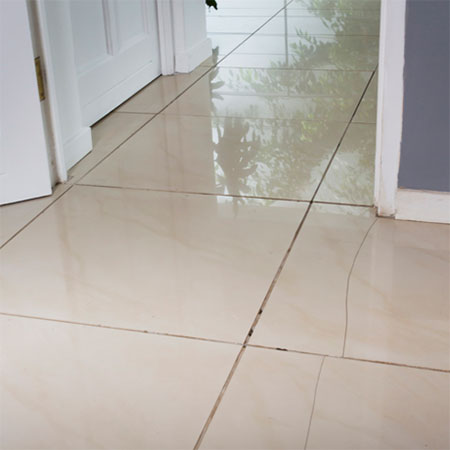
11. Immediately wipe away any excess adhesive that oozes out of the tile joints. Leave overnight before grouting and finishing off the installation.