
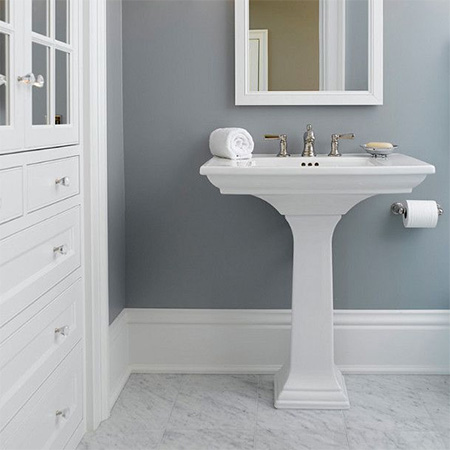
Remove and replace old skirtings
In an older home you may find that skirting boards need to be replaced either due to rotting, damage over time, or simply to update a home. In this do-it-yourself project we show you how to remove and replace skirting boards.

YOU WILL NEED:
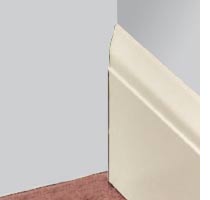
Skirting
Tape measure
Pencil
Hammer
Chisel
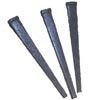
Cut masonry nails
Sander and 180-grit sanding pads (optional for repairing walls)
Line level and chalk line (optional)
Wood filler
Silicone sealer
HERE'S HOW:
1. The first step is to remove the old skirting board. You will need a hammer and chisel to gentle ease the skirting away from the wall at the top. As the skirting pulls away let the chisel go deeper down until eventually the board can be pulled away from the wall.
2. Make good any repairs before installing the new skirting. Sand down the walls to remove excess paint and uneven paint lines.
DIY Tip:
In instances where the original skirting was not level you may want to snap a level line for the new skirting. Attach a line level to a chalk line, level the line, and then remove the level before snapping a level chalk line on each wall.
3. Measure the length of the first piece. When you're measuring between two walls, put the tape measure tight against each wall and read the measurement to the millimetre. Write the measurement on the wall and add in the length of the tape measure body - 8cm in this case.
4. Cut the first moulding to length. You will need the mitre both ends at a 45-degree angle. You can use a Compound Mitre Saw or a Mitre Box and saw to do this.
5. Put the first moulding into place flush against the wall. Put an end in its corner and flex the moulding until it fits against the other corner. Once both ends are in place, push the centre of the moulding against the wall.
6. Nail the baseboard to the wall. Drive cut masonry nails into the centre of the skirting board every 20cm. Angling the nails at a 30-degree downwards angle ensures that the boards will not easily pull away from the wall.
The moulding installed on the first wall was cut square on both ends. The moulding for the second and third walls will have to be mitred before installation.
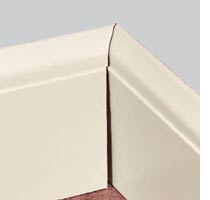
7. Begin with a full length of moulding and mitre one end. This is the first step in cutting the nesting corner joint (image left), called a cope joint. Cut the mitre so that the point of the moulding aligns with the mitred edge on the first wall. For now, don't worry about the overall length of the piece.
8. Mark where the end of the moulding meets the end of the wall and then mark the required length on the moulding. If the obstruction is an inside corner or piece of moulding, measure from the obstruction to the third wall.
9. Cut and install any remaining mouldings in the same way.
10. Use silicone sealer to caulk any open seams. If you're staining and sealing the skirting board, fill any holes with wood filler matching the stain. If you're painting, fill all the nail holes with wood filler, and caulk any open seams.