
Install and dress up a fireplace
Home-Dzine reader, Hilton Kinnear, installed a new fireplace in his home. Once installed, the next step was to add wall cladding to finish off the total look. The finished result is amazing!
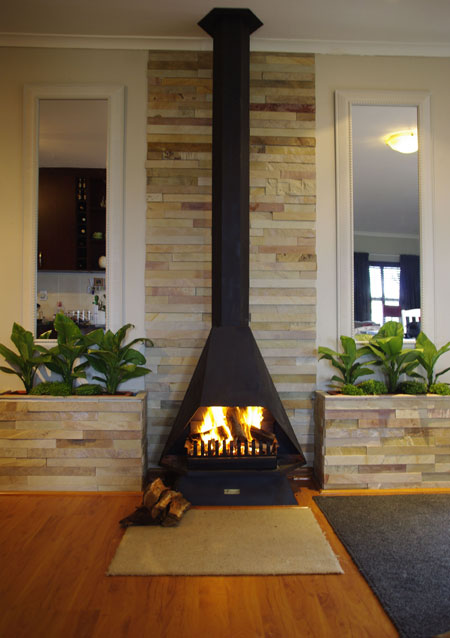
Here is my fireplace feature wall DIY project.
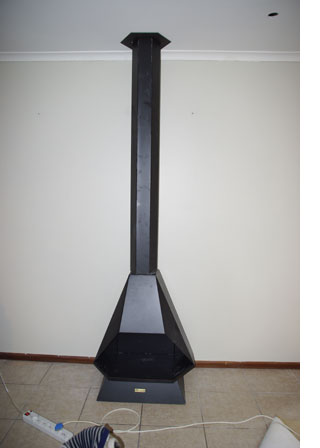
First of all, I had the fireplace installed by professionals, as I did not have the 'know how' with regards to the waterproofing part of the flue, etc.
Once done, I tackled the rest by myself and my always willing to help wife!
Step 1:
Designed the visual idea using the 'before fireplace pic' and a bit of copying and pasting via Photoshop to create the idea.
Step 2:
Drove Cape Town flat looking for the 'right' sandstone cladding and of course the right price. Needed about 6 square metres for the project.
Step 3:
Chalk lined the area behind the chimney that I wanted to clad.
Step 4:
Washed the cladding (remove all the dust), chipped the wall behind the fireplace and prepared the surface with a good adhesive/tile bonder.
Step 5:
Mixed only 2.5 kg's of tile adhesive at a time due to work life of the adhesive.
Step 6:
Started the cladding with the thickest and heaviest pieces from floor level working upwards.
Step 7:
Each end piece of the cladding needed to be cut and also cut to different lengths as I did not want a 'brick wall' effect, but rather the staggered effect. I used a light duty angle grinder for this job.
Cutting was done in my garage mostly, due to the inclement weather we have in Cape Town. I used safety glasses and a mask because believe me after the first few cuts it resembled a dust storm inside the garage!
Step 8:
Once the cladding behind the flu was complete, I then built the 2 flower boxes for the sides using 16mm chipboard. Here I used my Skil circular saw, Skil screw driver and Bosch drill.
Step 9:
Waterproofed the inside of the flower boxes with waterproof paint. At this point I'd like to add that I built a hidden shelf in the flower boxes for the plastic flower box containers that I had purchased from a nursery. Here I am referring to the 'window- type' flower boxes. In this way I can contain the potting soil in the plastic flower box thus reducing the risk of the chipboard getting wet and eventually rotting, ruining all my hard work.
Step 10:
Mounted the chipboard boxes in place where I wanted them against the wall.
Step 11:
Prepared the surface with a special bond for the chip, ensuring the tile adhesive will do it's job for years to come.
Step 12:
Went through the same process of measuring and cutting the cladding. This was a bit trickier than the flat wall as I now had sides and corners to contend with. Completed the cladding, again starting at floor level working up.
Step 13:
Completed cutting the stones for the top edges of the boxes just giving it that nice detailed finish.
Step 14:
Planted the plants in the window flower boxes and lowered these into place inside the chipboard flower boxes.
Step 15:
Lastly hung the mirrors, stood back and enjoyed the project. I then decided to tackle the flooring, but that's another story. Cladding project time frame: about 2 weeks - this was the odd week night but mainly weekends!