Painting wall panelling
Panelling, wainscoting, board and batten - it's been a part of home decor for a long time. There are various design styles that can be applied to walls in a home, whether it's for a lounge, dining room, bathroom or bedroom. Here are some tips on how to install or add panelling to your home.
Here are some of the do-it-yourself panelling projects that you can easily do in a home.
You will need:
MDF cut to sizes as required
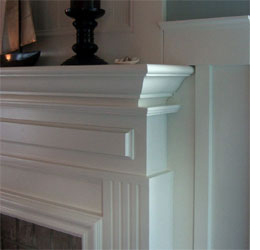
Moulding and trim
Tape measure and pencil
Spirit level
Pattex No More Nails adhesive
Rubber mallet
Mitre box and saw, Jigsaw with adjustable base or mitre saw (for corners)
Carpenter’s square
Coloured chalk
Caulking gun
How to install panelling
Installing panelling onto walls requires no preliminary preparation other than sanding any defects and high spots with 120-grit sandpaper.
1. Paint the wall before you start by applying two coats of a washable paint such as Plascon Velvaglo waterbased enamel paint in your choice of colour. It's also a good idea to paint all the individual sections before affixing to the wall. You can always touch up once installed for the final finish.
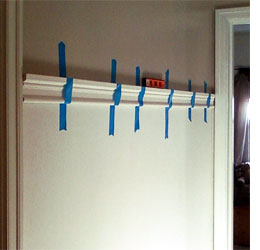
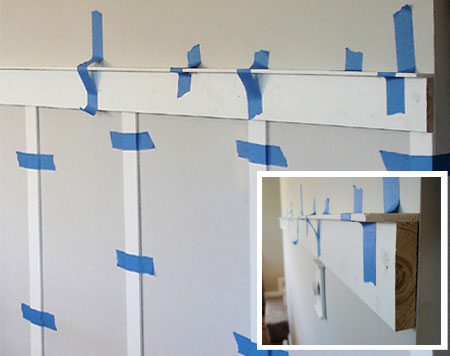
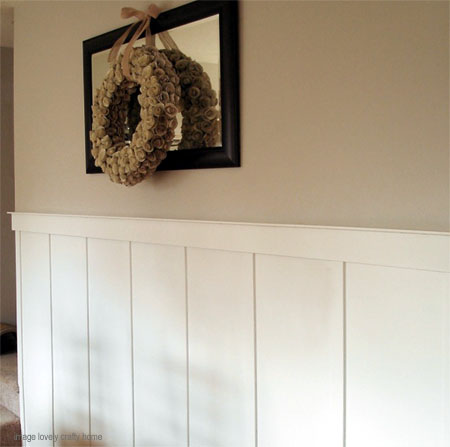
2. Measure up to the height that you want for your panelling and mount the top trim section. Trim can be as plain or detailed as you like. You will find a wide selection of options at your local Builders Warehouse.
Attaching panels
Pattex No More Nails can be used to apply panels directly to walls as long as the surface is level, sound and clean. Once the panel is fitted, apply beads of adhesive with a caulking gun in a continuous strip along the top, bottom and both sides of the panel to seal the edges.
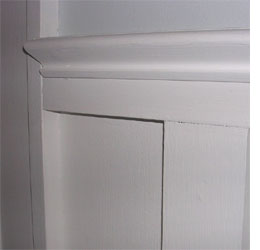
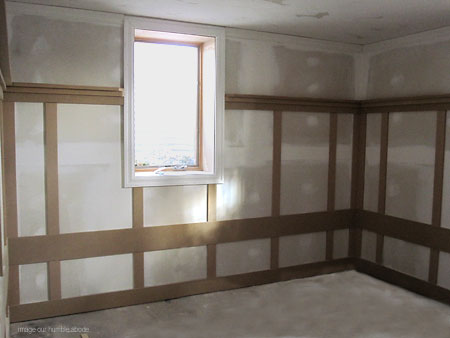
3. With the top on you can start adding any surrounding boards at the top, bottom and sides. The boards can be any width that you prefer - it's all a matter of personal choice. All sections can be glued using Pattex No More Nails. Let the glue dry overnight before adding additional sections. A light tap with a rubber mallet will ensure that the boards are firmly pressed against the wall.
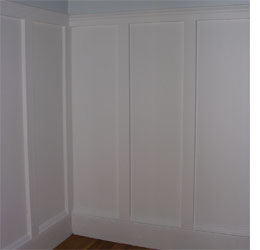
4. Upright battens are then glued in place between the top and bottom boards. Be sure to check with a spirit level. A gap of at least 30cm should be left between uprights.
DIY Tip:
If you need to do cut-outs for door and window sections, plug outlets and light switches - take careful measurements. Many a good panelling job has been ruined by inaccurate cutting for these fittings. One method is to mark the outlet box with brightly coloured chalk. Then, place the cut panel on the wall and tap at the outlet location. This will transfer an image to the back of the panel and indicate the area for cutting. A 5mm gap around this area will provide room for spacing and adjustment and the faceplate will cover up the extra space.
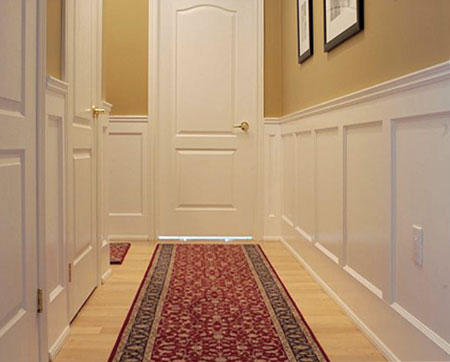
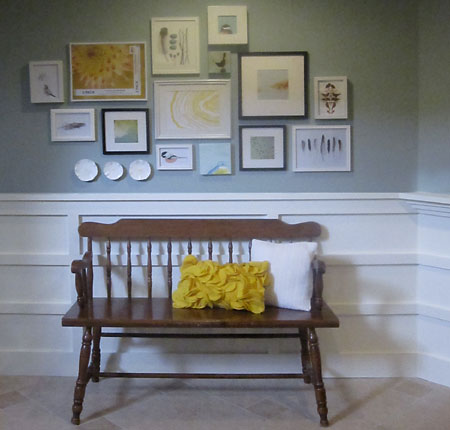
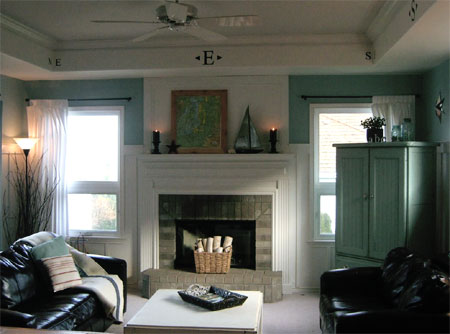
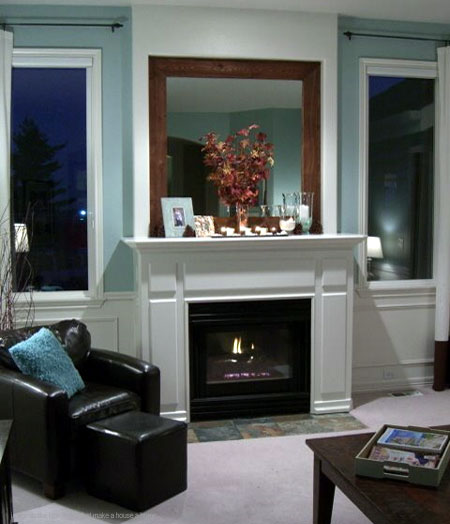
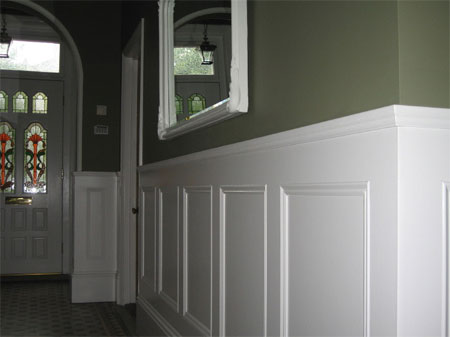
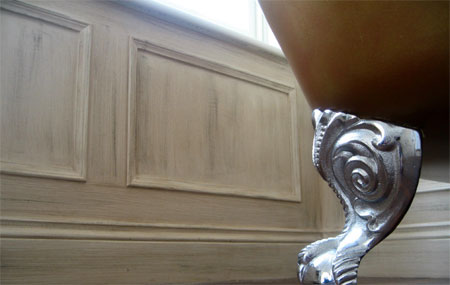
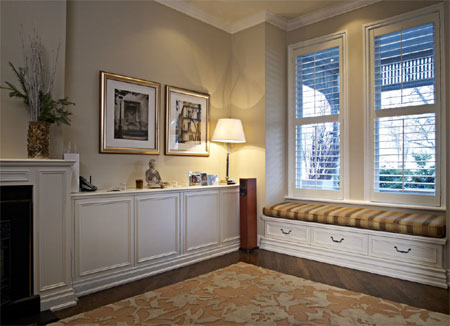
Panelling ideas