
Create a Feature Wall with Laminate Flooring
While laminate floor planks are intended as a durable floor covering, there are other ways to use laminate floor planks, such as to create an accent or feature wall.
24/04/2019
Laminate flooring planks can be installed as a decorative covering on a wall that is clean, dry and secure. Make your own plank or shiplap wall effect for a modern or rustic look. Before installation, make sure that the wall substrate has been properly primed or painted.
GOOD TO KNOW: Do not install laminate wood flooring planks over existing wall panelling or wallpaper.
Using laminate flooring for wall panels is only recommended for horizontal installations and should not be used on ceilings, countertops or as any type of structural material.
You can install laminate flooring on an accent wall for indoor installations only and it is not recommended for applications in bathroom, laundry room or other high humidity environment.

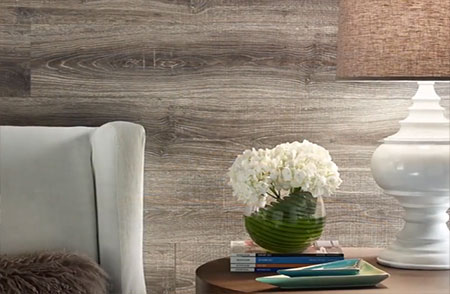
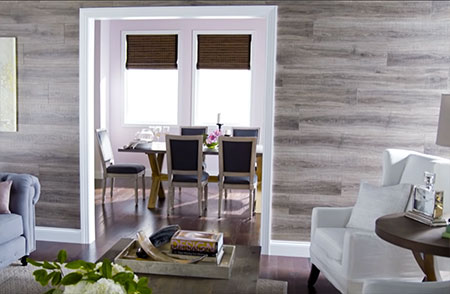
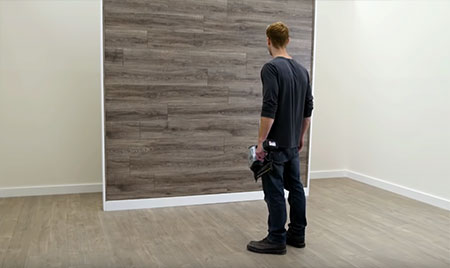
Laminate flooring planks are an easy way to add unique interest to a wall in any room in a home, and you can easily complete the installation within a weekend. Select your choice of Pergo or other laminate flooring product - one that will add interest to your existing decorating scheme.
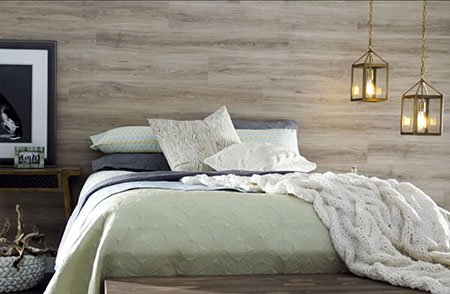
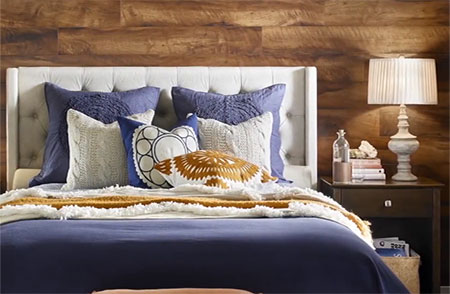
Laminate floor should only be installed as a horizontal application and can be used to add a feature wall in a bedroom or living room. Click here for more information on this wall installation.
YOU WILL NEED:
Laminate flooring planks
Quarter-round moulding
Brad nails
Caulk gun
Craft or utility knife
Masking tape
No More Nails adhesive
TOOLS:
Drill/Driver plus assorted bits
Mitre saw or jigsaw
Pneumatic brad nail gun and brad nails
Spirit level
Hammer and block of wood
Safety glasses
Dust mask
Digital detector
Tape measure and pencil
Stepladder
HERE'S HOW:
Preparing for installation
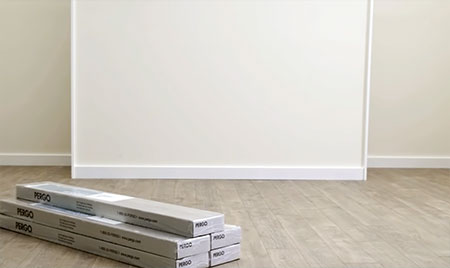
Let the product acclimate and off-gas in the room where it will be installed for at least 48 hours. Once opened combine laminate planks from different packs to provide a natural appearance.
Before installation, check the wall for any damp or visible water stains. You should not install on a wall that has any problems.
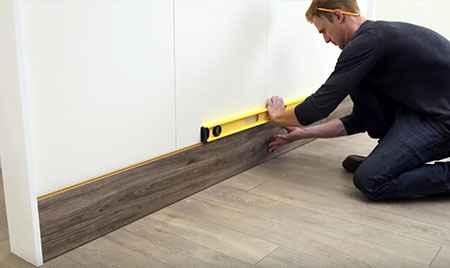
Use a spirit level to check the wall for flatness or correct any unevenness before installing.
The manufacturer offers no guarantee for incorrect installation or installations done without checking beforehand.
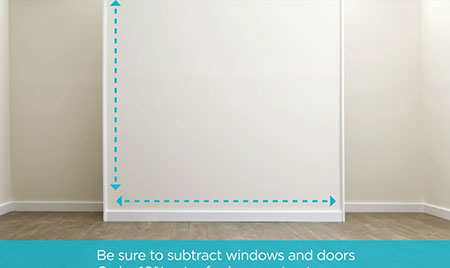
1. To determine the quantity of laminate flooring planks needed for your wall installation, Measure the height and length of the wall area to determine the total area. Order that amount of flooring plus an additional 10% for incorrect cuts.
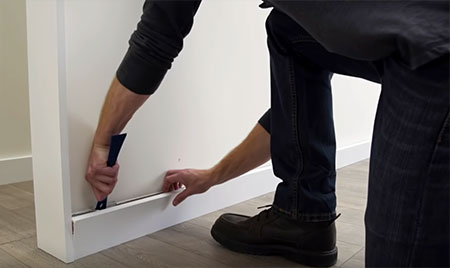
2. Remove skirting boards from the wall to allow for floor-to-ceiling installation.
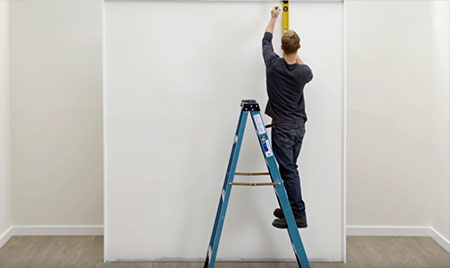
3. Use a spirit level to draw vertical lines as a guide for installing. If you are applying onto a stud wall or drywall, use masking tape to denote the stud location.


4. Lay individual planks on the floor - face up and the groove side toward the wall - Click together and then measure the length to fit the first / bottom row. Trim to fit, allowing a 5mm gap at both sides for an expansion joint.
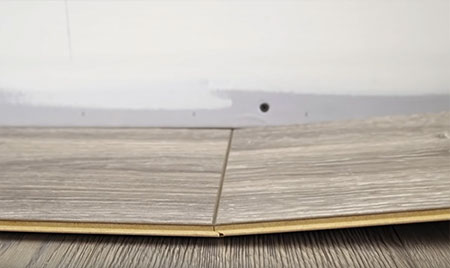
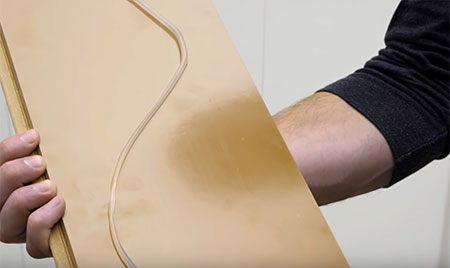
5. Carefully flip the connected planks over - face down. Make sure that the first row is perfectly straight and the aligned joints remain square and tight before applying No More Nails adhesive to the back of first row.
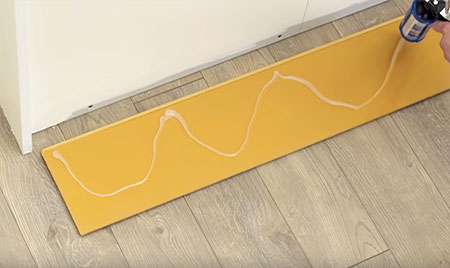
6. With the planks face down, tilt and press to the wall.
GOOD TO KNOW: Use a brad nailed or hammer in brad nails along the bottom edge of the first row. This will be covered by the re-installation of the skirting boards later on.
7. For the second row, start from the opposite side of the wall and cut to fit. Apply adhesive the first plank and insert into the top edge of the tongue and groove of the first row. You may need to wiggle in place or use a tapping block and hammer.
8. Remove the tongue at the end of each row by scoring with a utility knife.
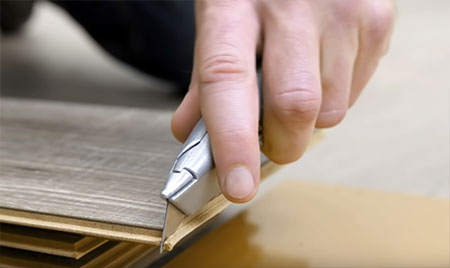
GOOD TO KNOW: Remember to allow a 5mm expansion gap at the beginning and end of each row.

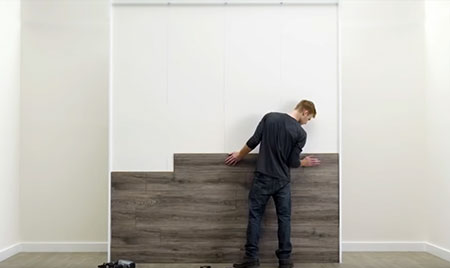
9. Continue adding rows of planks in this way until the wall is finished. Cut the planks in the last row to the required width to complete the installation.
GOOD TO KNOW: Make sure that the planks click together firmly along joints and where new planks are added on top of the previous row.

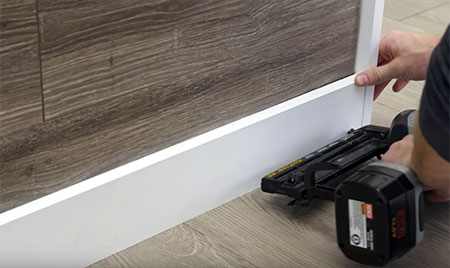
10. Re-install the skirting board using a brad nailer or hammer and brad nails. Fill in any holes with wood filler, let dry and then sand smooth.
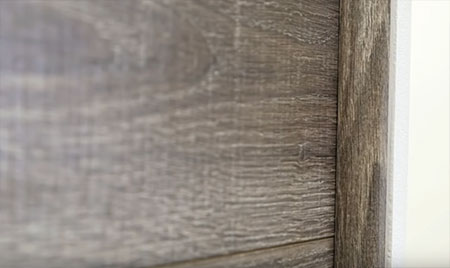
11. Use a suitable wood stain to stain the quarter-round trim to match the planks. Glue this around the edge of the wall to cover up the expansion gaps and provide security to the finished wall.
Finishing
Use a brad nailer or hammer and brad nails along the top edge of the last row. Finish off the top row of your plank wall by installing cornice or crown moulding to cover up the nails.
https://na.pergo.com