How to install laminate flooring
Laminate wood flooring is still a popular options for many homeowners as an alternative to other flooring types. We show you step-by-step how to install laminate wood flooring.
11/2024

YOU WILL NEED:
Laminate flooring of your choice
Moisture barrier underlay
Carpet tape
Wood glue
TOOLS:
Spirit level
Rubber mallet and hammer
Chisel
Tape measure and pencil
Jigsaw
Crowbar
HERE'S HOW:
When you get tired of your existing flooring and want to look at alternatives, laminate flooring is an option that many homeowners consider. It offers an easy way to add the look of wood to a home, and is a home improvement project you can DIY if you want to save some money on the installation.
You will find plenty of suppliers for DIY laminate wood flooring on the Internet, but it's always a good idea to ask for references from family or friends if in any doubt.
1. Before installing laminate flooring you need to acclimatise your new flooring in the room/s where it will be fitted. Remove any wrapping and leave for 48 hours. Humidity and the temperature in a house can affect all types of laminate flooring, so best to do this to ensure you don't have any problems later on.
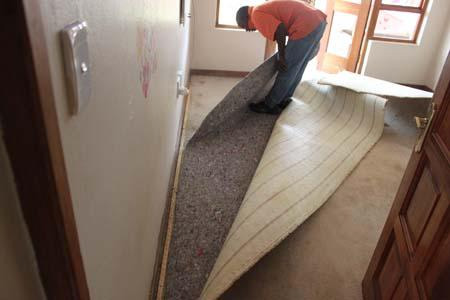
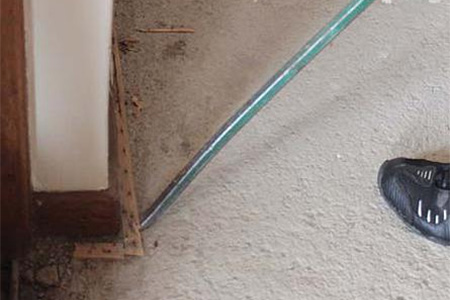
2. You will also need to remove carpets and undercarpet. Any clumps of carpet stuck to the floor can be removed with Genkem glue remover (at your local Builders store). Use a hammer and chisel or crowbar to remove the carpet strips from the floor.
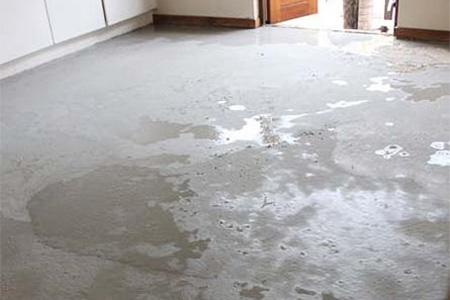
3. The floor should be clean and level. If the floor is not you will experience problems later on. Applying a self-levelling screed will sort out the problem. A screed is a thin layer of cement mix laid over a floor to create a smooth, even surface. Laying screed over a large area can be quite a mission but the use of a self-levelling compound makes this process easier.
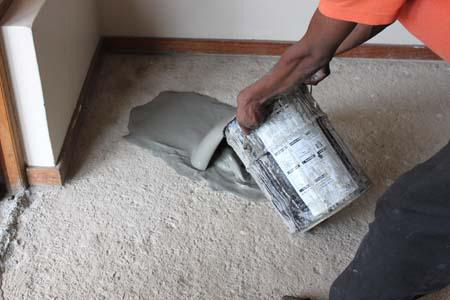
4. Mix the self-levelling screed as per the instructions listed on the package. The mix starts to set after about 15 minutes, so if you have a larger floor area, divide it into sections and only mix enough for one section at a time. Spread the self-levelling compound over the floor, starting from the corner furthest from the door.
Leave to cure in accordance with the manufacturer's guidelines before walking on the floor or applying any additional floor coverings. Leaving over a weekend is a good period of time for a thin floor screed.
5. After allowing sufficient time for the screed to cure you can lay the plastic moisture barrier. This should cover the entire floor without any gaps, right up to the edge of the walls. You can cut the underlay to fit using a craft knife.

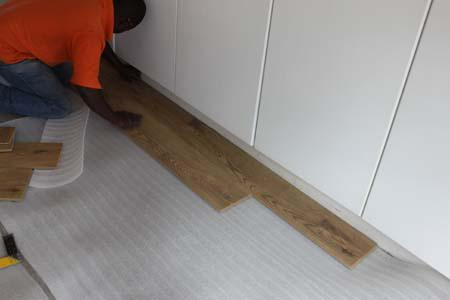
6. Now you are ready to lay the laminate flooring. It is important to note the direction in which you start laying the laminate flooring. In this instance the boards be installed in rows that are perpendicular to the garden door and side windows. However, that doesn't mean that you cannot install laminate planks starting with the longest wall of the room, or install laminate flooring for a continuous flow from room to room.
Start the first row with a full board and work from this point. Position the laminate board with the tongue pointing towards the wall, using a 10mm space along the edge of the wall. This gap allows for contraction and expansion that naturally occurs. Leave out the gap and eventually the boards may start to lift or bow across the floor.
The most important element when laying laminate flooring is to get the first row extremely straight. If this doesn’t happen, then the installation of the laminate flooring will be compromised. Make sure the first rows are properly aligned, the joints are connected perfectly and there is no gap between the laminate boards.
GOOD TO KNOW
Leave a 10mm clearance
along each wall, door or any other obstacle to
allow for contraction and expansion of the
flooring over time. You can use offcuts of
boards as spacers.
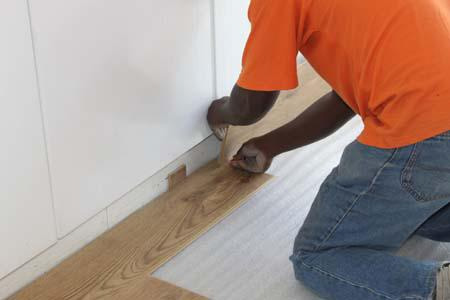
7. As you add more boards you will need to cut some boards to fit. The distance between the last row of laminate flooring and the wall, minus the spacer, should be greater than 50mm.
GOOD TO KNOW
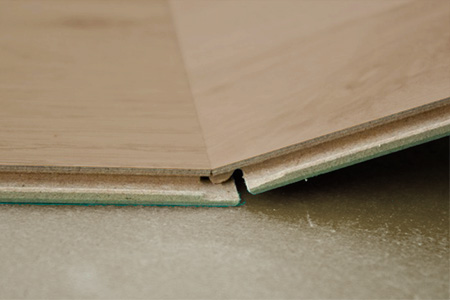
- Do not apply too much force when clicking the laminate boards into place. When properly seated against each other the boards should easily join together. Make sure there are no gap between the planks, otherwise tap them gently to close it. Unlock any joints that do not fit properly and repeat the procedure until you get the correct fit.
- Connect the rows together with great care. Tilt the row at about 45º and connect it to the flooring. Next, the laminate flooring requires a light tap with a mallet in order to secure the connections.
- When installing the last row of laminate flooring, slide the last planks at an angle, and then use a pry bar to lay them into place. Make sure there’s a 10mm space between the last row and your wall for your expansion gap.

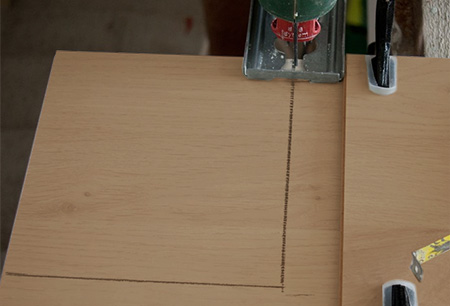
8. When laying around fittings, door frames or other irregularities you may need to cut boards to fit. The general rule of thumb is 'measure twice - cut once' to eliminate any cutting errors. You can use a jigsaw and laminate or blade that cuts on the back-stroke (BR) to trim boards to fit. These special blades reduce chipping on top of the board.
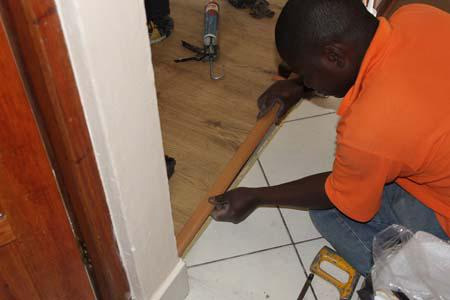
9. After installing all the measured and trimmed boards around the door opening, you can fit a height reducer - find this at your local Builders Warehouse or flooring supplier. Use a construction adhesive to fasten this in place.
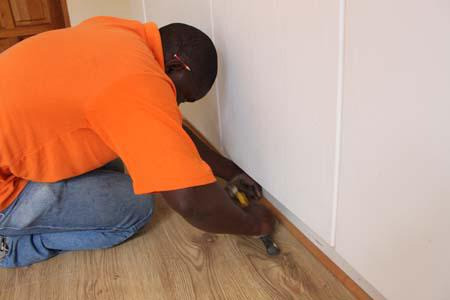
10. To hide the gap around the perimeter of the room and finish off the project install a quarter round onto the existing skirting. If this doesn't match the laminate flooring you can use a tinted wood sealer or varnish before installation.
NOTE: Always refer to the instructions provided for your specific brand of flooring. While the above are the general steps for installing laminate flooring, some brands may have special instructions for installation.
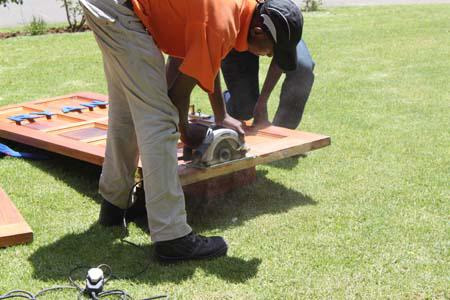
If necessary, use a circular saw or jigsaw to trim the height of any doors if the level of the floor has been raised. Slight height adjustment can be done using a planer or an orbital sander and 80-grit sanding pads.