
Insulate Your Home Against Climate Change
The high temperatures this year are a sure indication that climate change is about to heat up our lives - now is the time to look at home insulation for comfortable living.
27/12/2018

This year the country has experienced heat waves during the summer months, and a drop in temperatures during the winter season. If you are starting to feel uncomfortable in your home, it's time to look at home insulation for comfortable living in summer or winter.
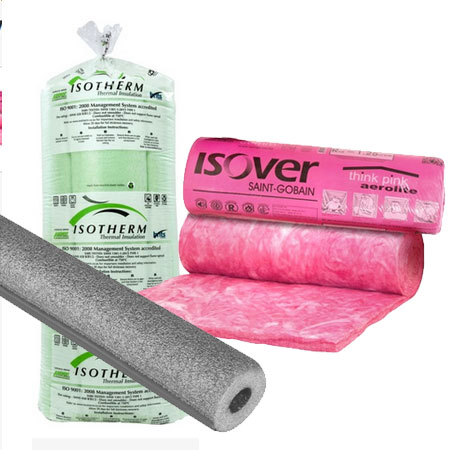
Ceiling insulation is not expensive to have installed - or to install as a do-it-yourself project, has a lifespan of about 40 years, and will quickly pay for itself by reducing costs of heating and cooling a home. Priced at around R320 per 10 metre pack of Aerolite Think Pink Insulation, or R270 for Isotherm Thermal Insulation, you can insulate an average-size 3 bedroom home for less than you think.
Install Ceiling Insulation
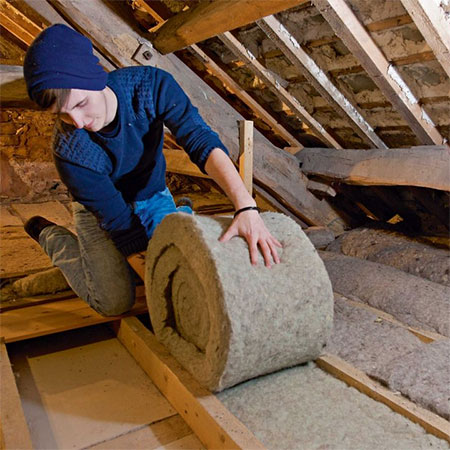
The easiest home insulation product to install in a home is ceiling insulation. This product can be installed for you by professionals, or you can buy the product at Builders Warehouse and fit it yourself. It's not that difficult to install ceiling insulation and by doing it yourself you will save money over having someone do it for you.
Follow these instructions for a properly insulated ceiling:
1. Take accurate measurements - Measure the distance between the roof beams or roof trusses and then trim to size. It's best to do this before entering the roof space and is easily done with a sharp craft knife or pair of industrial scissors or shears.
GOOD TO KNOW: Tread carefully and take care to only walk on crossbeams, truss ties or balancing boards. In a tricky space you can put down a sheet or two of shutterply (on top of beams) to make a temporary platform to walk on.
2. Position the insulation correctly by fitting snugly between the roof beams and trusses. The ceiling insulation needs to be in close contact with the ceiling;
3. Wherever possible, try to ensure continuous insulation. When you reach the ends of a roll, carefully butt these around the edge to ensure maximum effectiveness. Continue this installation process until the ceiling is completely insulated. Use off-cuts to fill gaps, crevices and corners.
GOOD TO KNOW: Allow a 150mm gap around flue pipes, ceiling fans and recessed lights. Do not put ISOTHERM in direct contact with metal chimney fabrications or flues passing through the loft space. Do not forget to insulate under the geyser and above the trap door.
GOOD TO KNOW: Do not block ventilation points with insulation. This includes eaves gaps and air bricks at gable ends. Keep clear to ensure that the airflow is maintained.
images: real homes