
Tips to Install Laminate Flooring
If you are thinking of installing laminate flooring you will find these helpful tips useful when tackling the installation as a DIY project.
11/04/2019

https://pinterest.com - 544513411196075967/
If you're tired of the flooring in your home, installing laminate flooring is now easier than ever. And what makes installing laminate flooring a quick project to tackle is that you can buy a variety of laminate flooring styles at your nearest Builders Warehouse and have it delivered to your front door!

When deciding to install laminate flooring planks, measure up the space and buy these in advance of starting the project. You should ideally unpack the boxes and let the planks acclimate for a week or two before you install them.
YOU WILL NEED:
Your choice of laminate flooring planks
Vapour barrier
Scrap pieces of wood
Rubber knee pads
Tape measure and pencil
TOOLS:
Chalk line
Pry bar
Rubber mallet
Jigsaw or table saw for cutting to length
HERE'S HOW:
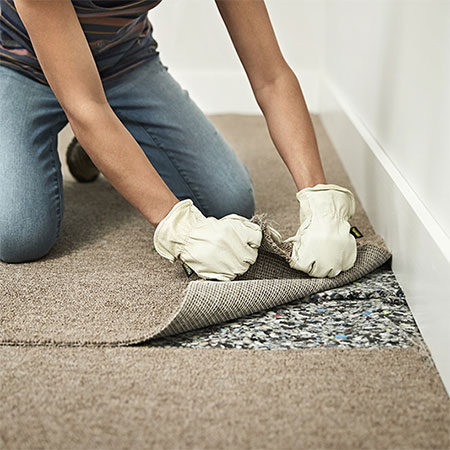
1. Remove the existing floor covering so that you have a nice clean surface to work on. If you need to remove skirting boards, use a pry bar or hammer and chisel to pull these away from the walls. Put aside if you plan to put these back.
GOOD TO KNOW: Use your vacuum cleaner to remove any dust or debris from the floors.
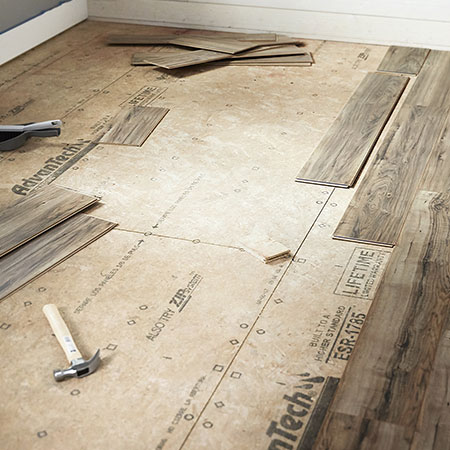
2. Mix up the laminate floor planks so that you have an even distribution of pattern across the project.
3. With the old flooring remove, double-check your measurements. You want your row of planks straight, so measure the width of the plank, then add 10mm to allow for expansion. The expansion joint will be covered when you put the skirting boards back in place around the perimeter of the room.
GOOD TO KNOW: Snap a chalk line from one corner to the other so that you have a true straight line to follow.
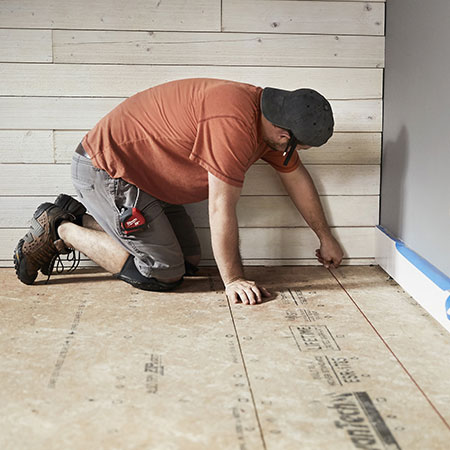
4. Although not shown in this project, it is recommended that you put down a vapour barrier before laying the laminate planks over the floor. Some newer laminate flooring planks already have a vapour or moisture barrier on the back of the planks, so check beforehand.
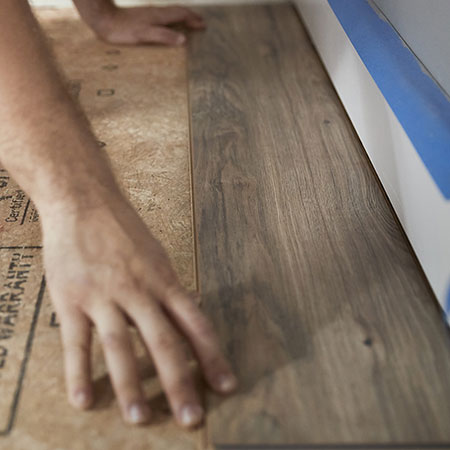
5. Starting the first row in one corner, stagger the arrangement of the planks for a more natural look and click these together as you complete the rows. Have a rubber mallet close at hand if planks need an extra tap or two for a snug fit. Align the first row of planks against the chalk line with the tongue side facing the wall. Don't forget to leave a 10mm gap between the wall and the edge of the plank to allow for expansion.
GOOD TO KNOW: If you need to determine how many planks need to be cut, measure the total length of the room and divide that number by the length of your planks.
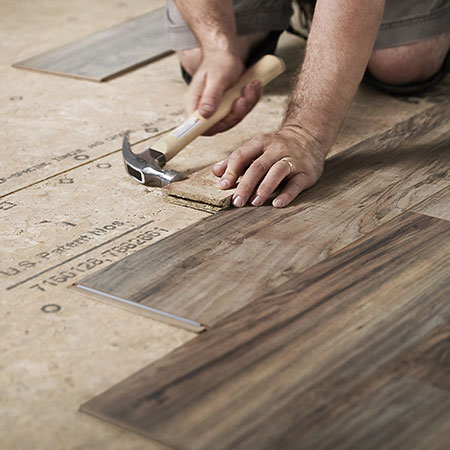
6. Once the first row is in place you can continue adding planks. As you work, use a scrap block of wood and hammer - or rubber mallet - to make sure the planks fit together snugly - both horizontally and vertically.
GOOD TO KNOW: Trim planks to length as needed, remembering to allow a 10mm expansion gap along all walls.
home depot