
Installing a Residential Gas Hot Water System: Can You DIY it?
Here’s a basic explanation of the steps to take to install a residential gas water heater.
25/07/2019
If a water heater has insufficient water or no water, this can usually be fixed. Yet, once the tank leaks in a water heater, consider that the end and it must be replaced. A slow water drip underneath comes out as rusty water because the tank has rusted, which indicates that you need a new water heater.
Any gas water heater will come with its own installation instructions that must be carried out to the word, since during installation, you will be handling natural gas which can be hazardous if handled wrongly.
Like thousands of other people, you might be a DIY sort of person, so here’s a basic explanation of the steps to take to install a residential gas water heater.
Drain the old heater and shut off the gas and water: Any water left in an old tank is going to be scalding hot so be careful! Use a garden hose and connect it to the drainage valve, usually located towards the bottom of the heater to drain the water. Locate where the tank’s gas supply is and shut it off. After the water is drained, close the drain valve and remove the hose. This will have removed any deposits or water-scaling debris in pipes that is commonly found among older water heaters.
Inspect the plumbing: It is a must to guarantee the functioning of the existing water supplies. There are two lines that feed water into a water tank. One carries cold water into the tank and the other delivers the hot water. Both these lines need to be inspected.
Ready the pipes: If you currently have an electric water heater and natural gas is available in your area, and you are thinking of upgrading to a gas hot water system, this could be a very good option for you; not only is it good for the environment due to its energy-saving scheme, it will also save you a lot of money. It will require new pieces and you or a professional will need to assemble the pieces together. Test the assembly in place to check the measurements and solder all the joints together.
Add expansion tank: A water heater can stress your plumbing pipes because of the normal thermal expansion that happens during heating. A safety device known as a water heater expansion tank can help minimize the risk of pressure damage to the plumbing system. The expansion tank connects onto the cold-water supply line near/above your water heater. The expansion tank pressure must match the main water pressure to work effectively. Tank style heaters are often subject to this matter.
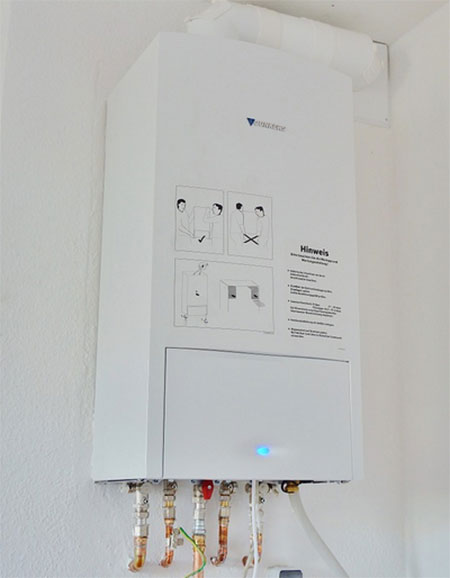
Mount the new heater: Position the new water heater in such a manner that the vent shaft can reach the tank. The vent pipe must be connected to the chimney (inlet valve) of the heater. This pipe must be mounted on top of the heater. Connect the color-coded fittings using a wrench. Your heater should be mounted at least 25 inches away from the ground.
Reconnect the gas line: Follow these four steps to fill the tank: 1) Close the drain valve; 2) turn the water back on at the main shutoff and open the cold water valve to the water heater (leave it open); 3) turn on a hot water tap until water comes out; and (4) inspect all the joints and fittings for water leaks.
Enjoy hot water and save money
Storage water heaters are by far the most common type of water heater in use today. They can be installed in a DIY way, but if you have a very limited idea on what you’re dealing with, a professional technician will do it quicker, and guarantee safety. A gas water heater is often the best type of heating for a family, a single person, or commercial use because it’s so cost-effective in comparison to other types of water heaters. Most gas water heaters have a lifespan of 10 to 15 years. If yours is within this range, it’s best to start seriously thinking of replacing it before it completely conks out on you.