
Cover ugly skirtings - fit over-skirtings
No more ripping out skirtings boards! Now you can fit and install over-skirtings to add a decorative finish to a home. Over-skirtings are manufactured to fit over the top of most standard skirtings and are easily cut, glued and installed. Available in a decorative profile, you can dress up a plain room instantly.
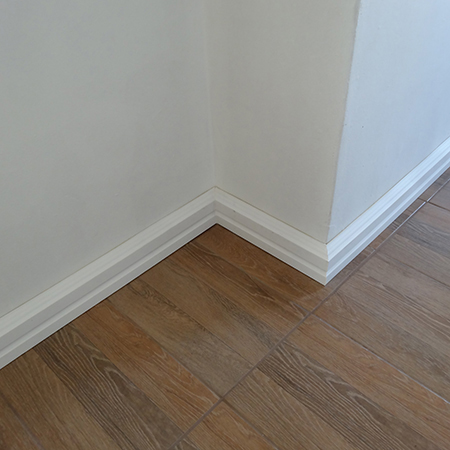
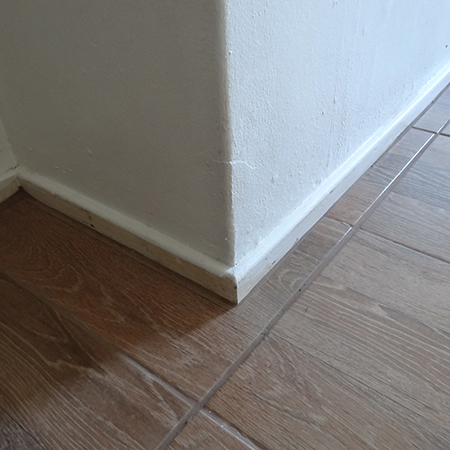
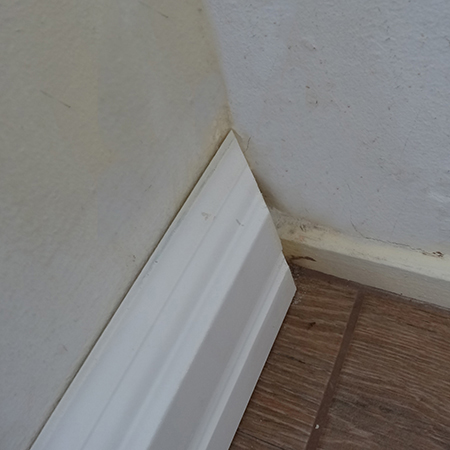
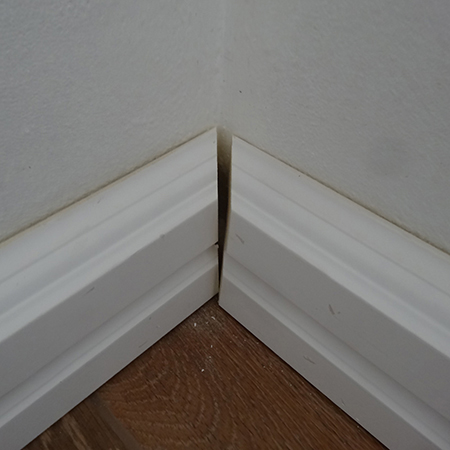
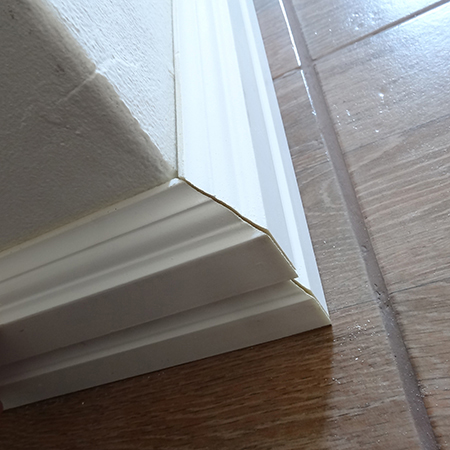
ABOVE and BELOW: Over-skirtings fit easily over most standard skirting board installations to add a decorative finish to rooms. The over-skirtings used in this project are available from Park Lane Decor - parklanedecor.co.za.
Extruded or rigid over-skirtings have a cut out at the back that allows for easy fitting over most standard skirting strips. The decorative profile adds architectural detailing to a plain room.
Installing over-skirtings is a quick and easy so-it-yourself project and it only took 2 hours to complete a 2 x 4 metre space.
GOOD TO KNOW: Having used Pattex No More Nails for the original installation, I can recommend that you rather use an adhesive specifically designed for cornice. Some of the pieces actually came off and had to be glued back in place.
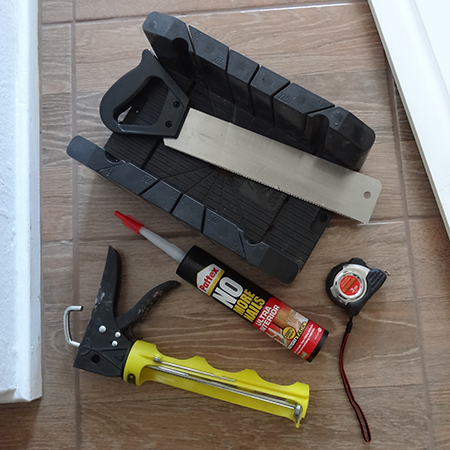
YOU WILL NEED:
Over-skirtings (supplied in 2.7 metre lengths)
adhesive (suitable for use with polystyrene)
Caulking gun
Mitre box and backsaw or mitre saw
Tape measure and pencil
*Note: Only use acrylic or solvent-free adhesive when working with polystyrene products - solvent-based adhesives will dissolve the material.
HERE'S HOW:
1. Measure up to work out how many 2.7 metre lengths you will need for the installation. Add an extra length for boo-boos and mistakes!
2. For this project is was easier to start in the corner and measure from the corner in both directions. The wall was measured from edge to corner on both angles.
GOOD TO KNOW
When going around a corner you need to add the thickness of the skirting to the length. EG. 1800mm wall plus 40mm (thickness of skirting) = total length 1840mm
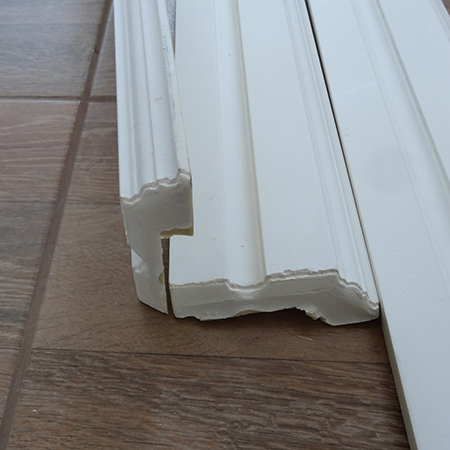
3. Cut a 45-degree angle at the end that will fit into the corner and then measure along the back and mark at 1840mm (1800mm x 40mm).
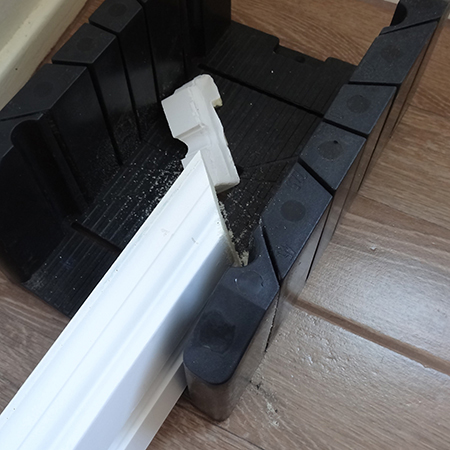
ABOVE and BELOW: This is the 45-degree angle for placing in the corner for the wall on the left.
4. You can repeat this process for the wall on the other side, cutting the length for either a corner or to go around a corner.
GOOD TO KNOW
Most homes don't have 90-degree corners, so rather than waste, cut two tester strips of about 200mm in length that you can use to check the corner angles before you cut the over-skirtings to length
5. At the other end, add on the thickness of the over-skirting. For example: If the actual length of the wall is 2800mm and the width of the over-skirting is 40mm, the cutting length is 2840mm.
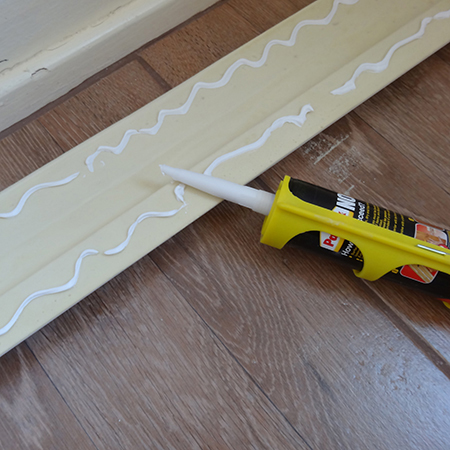
6. Once you know that everything fits perfectly in the corners - or around corners - you can apply adhesive to secure to the wall.

GOOD TO KNOW
Apply a liberal amount of adhesive (suitable for use with polystyrene) at the top and bottom of the over-skirting before pressing firmly in place. The adhesive has a fair bit of tack, which means it should stay in place on its own until the adhesive sets.
NOTE: For this project I used Pattex No More Nails adhesive - it didn't last, so definitely DON'T USE THIS!
You can also use the adhesive to fill in gaps at the top of the over-skirtings if the wall is not completely flat, as well as applying to any gaps at the corners.
It really is very easy to fit and install over-skirtings. Polystyrene is easy to cut and the adhesive holds everything in place as you work.