Dealing with Recurring Cracks in Walls
All the houses in my development have a problem with recurring cracks due to the installation of a slab for the second floor, so here's a way to deal with these cracks.
09/2019
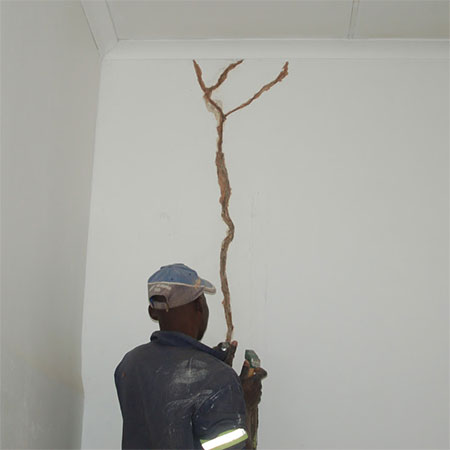
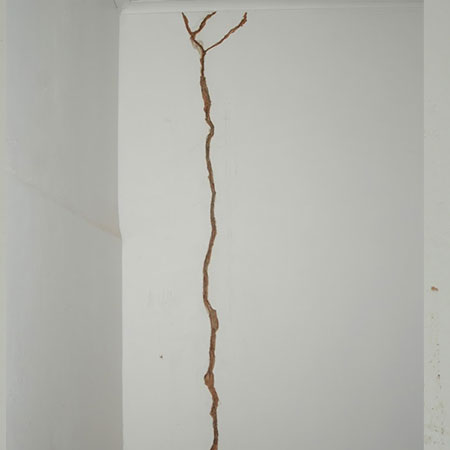
All the houses in my development are double-storey, and the upper level is created using concrete slabs. Due to movement, we all regularly experience cracks in the walls. It has been about 8 years since I last repaired the wall crack shown in this article, but it is starting to show again.
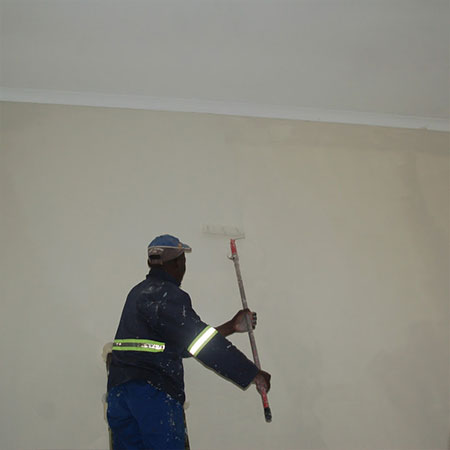
The entire room is being repainted and I wanted to show a good method for treating recurring cracks so that they don't have to be attended to on a regular basis.
When repairing cracks it is important that you do it the right way. As mentioned above, the last time I repaired this crack was about 8 years ago, and it has been good since then. You can't just apply interior crack filler and hope for the best. If done correctly, you should be able to fix recurring cracks for a long time, if not permanently.
HERE'S HOW:
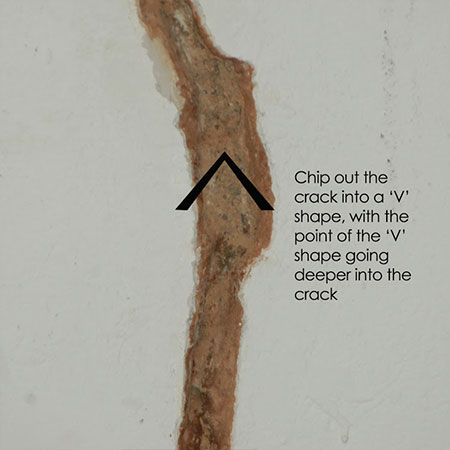
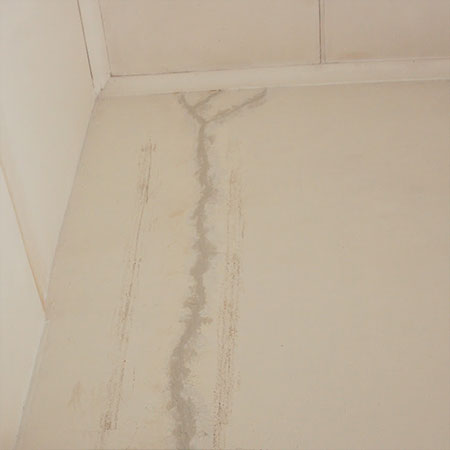
1. The first thing to do is to chase out the crack into a 'V' shape - in from the plaster on the wall as deep as you can go. Chipping out in this way not only removes any loose material around the cracks, it also helps to get to the base of the problem and will prevent a reoccurrence from happening (at least for a while).
Chasing out the crack with a hammer and chisel. It's not easy to see but the crack narrows into a 'V' shape all along the length of the crack.
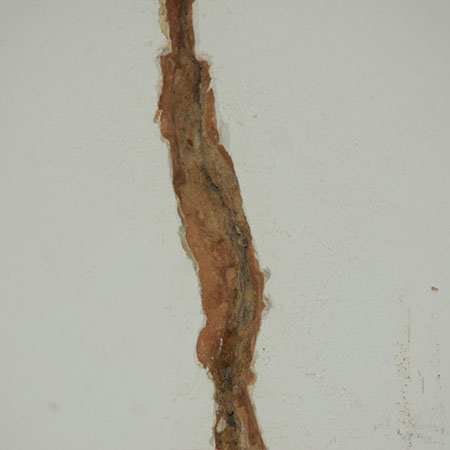
The entire length of the crack after chasing out.
2. After chasing out the crack, make sure to vacuum or brush out any loose debris, as this will interfere with the crack filler.
3. Use a damp paintbrush to wet the area as you apply the crack filler - working from the top all the way down or vice-versa. Wetting the area helps prevent the crack filler from drying too quickly, especially if the weather is warm.

4. Do not fill up the depth of the crack in one go, it is better to apply in layers and let each layer cure/dry (preferably overnight) before applying another layer. I generally apply a 5mm thick layer of crack filler, let this cure and then apply a second 5mm thick layer, repeating this until the crack is filled to the top.
GOOD TO KNOW
If, after applying the last layer, shrinkage cracks start to appear in the last layer of filler, apply another layer over the top to finish off.
After application of the final layer of crack filler it is left to cure thoroughly (2 to 3 days).
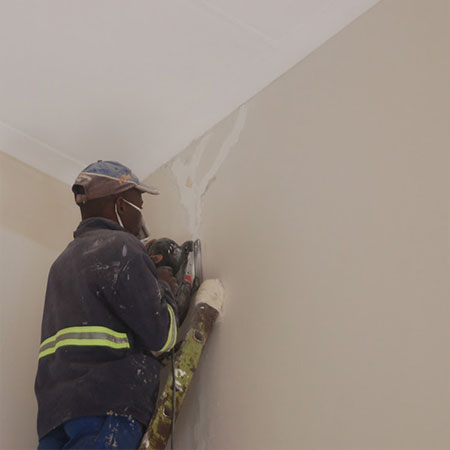
5. Before painting it was necessary to sand the crack filler to match the surrounding wall. Use a coarse grit sandpaper (60-grit) to start off and finish with a 120-grit sandpaper.
GOOD TO KNOW
Sanding is messy and creates a lot of dust. If you want to limit the amount of dust - sand by hand!
6. Apply a plaster primer over the filled in crack and then paint the wall with your choice of acrylic paint.