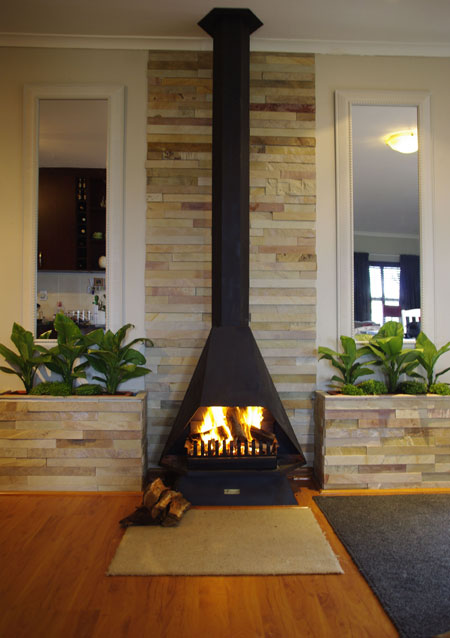
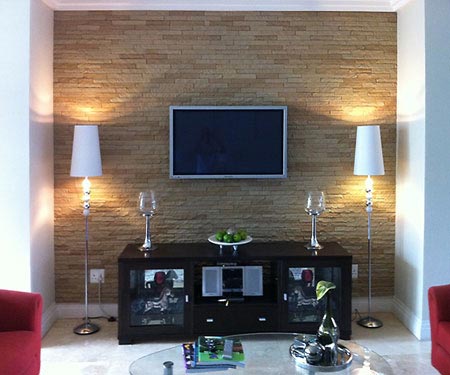
Ideas for wall cladding
Wall cladding is becoming a popular trend in homes as manufacturers introduce DIY alternatives to solid rock. Available locally, wall cladding in supplied in ready-made panels that resemble to look and feel of natural stone and rock.
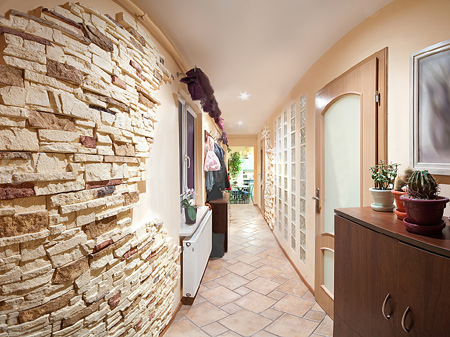
During this year we have seen a couple of readers adding wall cladding to create a feature wall. It's a nice way to add texture and detail to a plain room and not all that difficult as a DIY project.
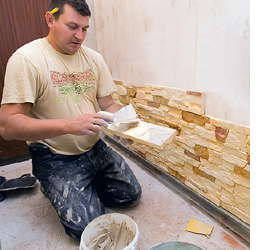
Measure out the area where you will apply the cladding, so that you can buy sufficient product to finish the task. Begin by cleaning the product before installation, especially if it's a stone-based cladding. Although not one hundred percent necessary, it is a good idea to chip the wall before applying the cladding. This guarantees a perfect bond between the wall, adhesive and cladding product.
Apply a heavy-duty tile adhesive by 'buttering' the back of each block or stone panel, as you would butter a slice of bread.
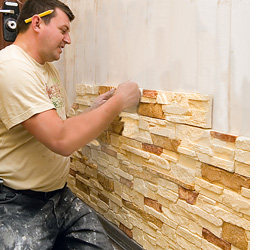
You may find that the product contains repeat patterns, and you need to make sure that these are not installed too close. Keep repeats separate so that they can be mounted randomly as you work across the wall. Press the block or stone panel firmly against the wall, applying gentle pressure across the entire block or panel.
NOTE: Only mix enough adhesive for working one section or strip at a time.
It is far easier to work from the bottom of the wall upwards towards the top, and you may need to cut the top panels or blocks to fit. Depending on the type of cladding you choose, the manufacturer will advise the best cutting method to use. For stone panels you will need to use an angle grinder and stone cutting disk. Take the panels to be cut outdoors to reduce dust.
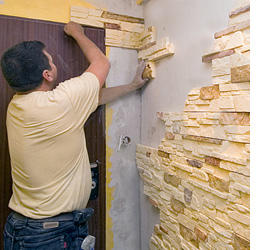
You will also need to cut blocks or panels for mounting into corners and around existing fittings, such as door and window frames.