Add Detail with Crown Moulding
As part of a room renovation that I am doing, where previously there was no detail between the top of the wall and ceiling, crown moulding has now been added as a decorative touch.
16/01/2019
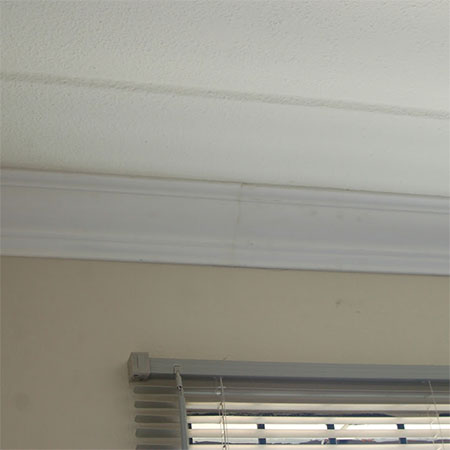
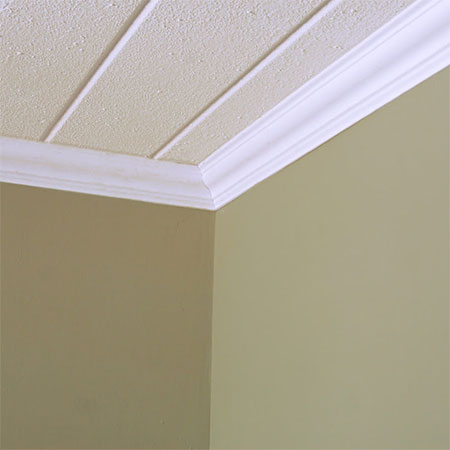
I live in a double-storey house where a concrete slabs serves as both ceiling and floor for the upper level. As part of going through the house room by room for a much needed update, I am adding detail that was previously not installed. In this bedroom you can see that neither cornice nor crown moulding was ever fitted along the top of the walls and ceiling, and it always gives me the impression of being unfinished.
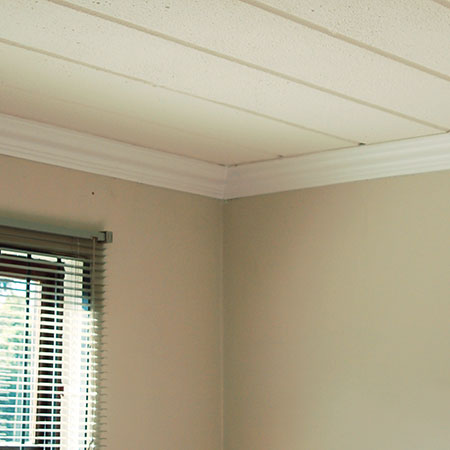
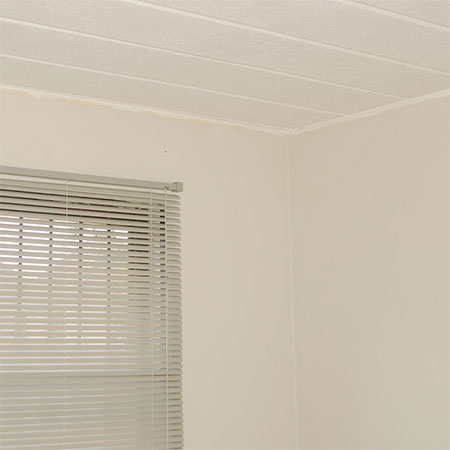
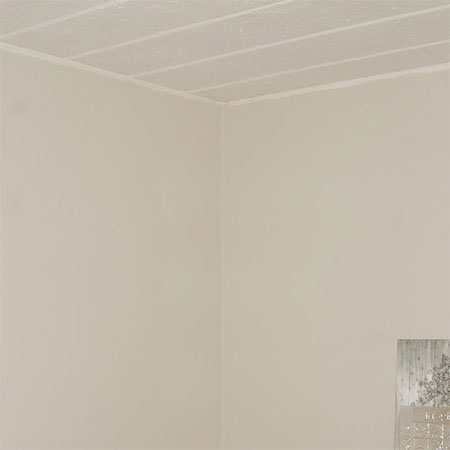
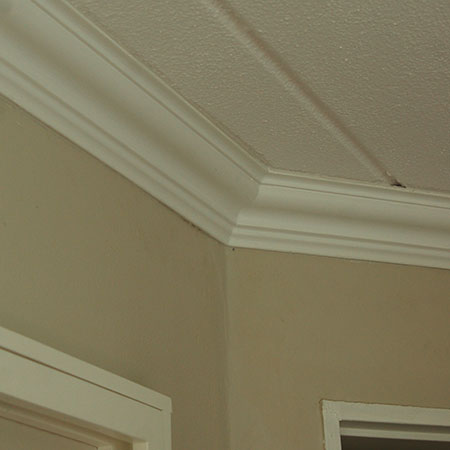
To rectify this, we recently installed crown moulding around the room, and it makes a huge difference in how the room looks and feels. When you walk into the room it definitely feels more polished and finished off, and the contrast between the white ceiling and crown moulding against the taupe walls is eye-catching.
What's the difference between Cornice and Crown Moulding
The definition between cornice or coving and crown moulding is a fine line. Some say they are the same thing, others say that cornice is a plain strip, whereas crown moulding offers a more decorative detail. Whatever the definition, I do believe in the latter since crown moulding most definitely has a lot more detail involved.
Measuring Up to fit Crown Moulding
Cornice is pretty easy to install and we have discussed this in a previous article. Using the method in this article took was a never ending case of going backwards and forwards to find the right angle.
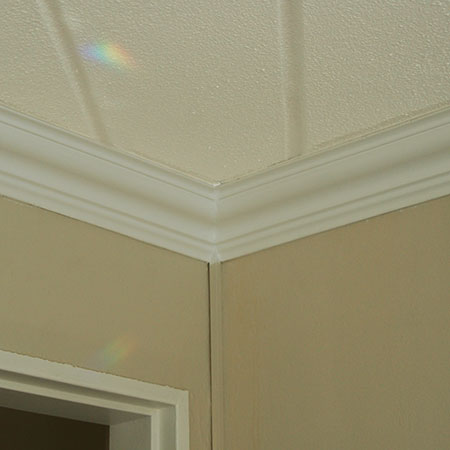
Crown moulding is generally much wider than cornice and has a wider profile, so it can be a bit more tricky to fit into corners, especially in my case. I have yet to find a corner in my house that is 90-degrees square!
If your walls aren't square it makes it difficult to accurately cut the ends of the crown moulding for a perfect corner. We tried a new approach that we found to see how it worked and it actually worked out quite well.
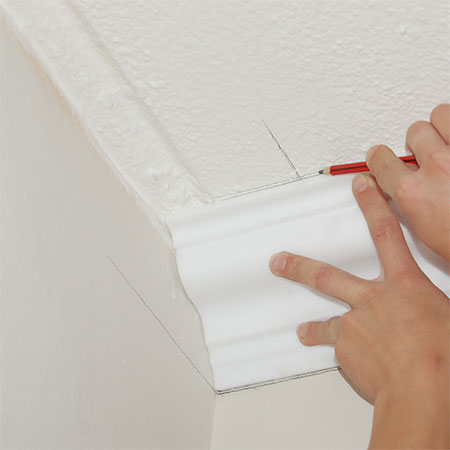
1. Place one section of crown moulding against the wall and ceiling, as it would be positioned if you were installing. Use a pencil to draw a line at the bottom and top of the moulding.
2. Place the other section against the wall and ceiling in the same way and draw another line at the top and bottom.
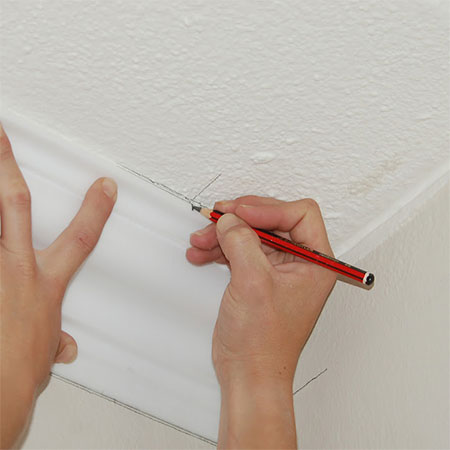
3. Place the first strip back against the wall and mark the top of the crown moulding where the second line is marked. Transfer this mark to the top of the crown moulding.
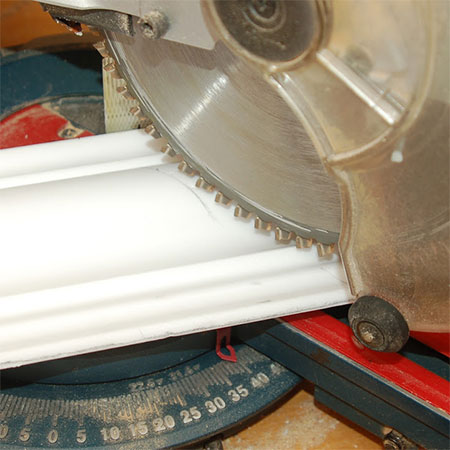
4. Using the mark from the top of the crown moulding, draw a line and use this to cut the ends of the crown moulding. Note that the bevel or compound angle is set at 45-degrees, while the simple angle is set at just under 40-degrees. I took a pic of the mitre saw to show the angle setting - definitely not a 90-degree corner!
5. Repeat this process for the other side to cut the angled end of the crown moulding.
Installing Crown Moulding
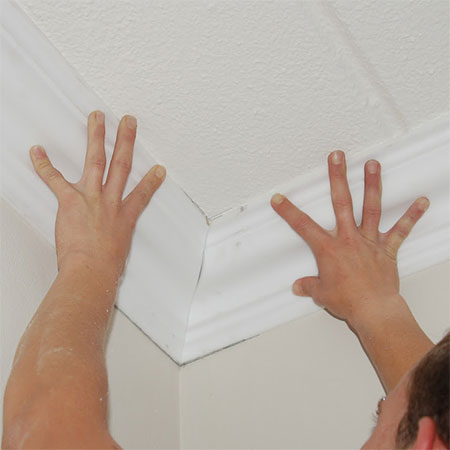
Once you know that corners fit perfectly in place, it's time to install the crown moulding.
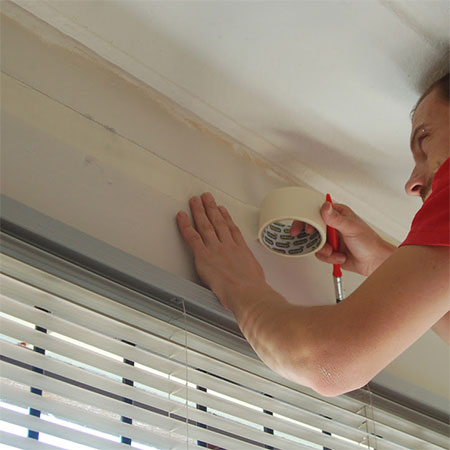
1. A nice trick we used when installing the crown moulding was to draw a line across the wall where the crown moulding will sit. You can use the corner marks, a spirit level and a straightedge to draw this line. Place a strip of wide masking tape along this line. This will keep your wall clean and free of excess adhesive when mounting the crown moulding.
2. Use the right product for adhering your crown moulding to the walls and ceiling. We have previously used Alcolin cornice and adhesive filler with excellent results.

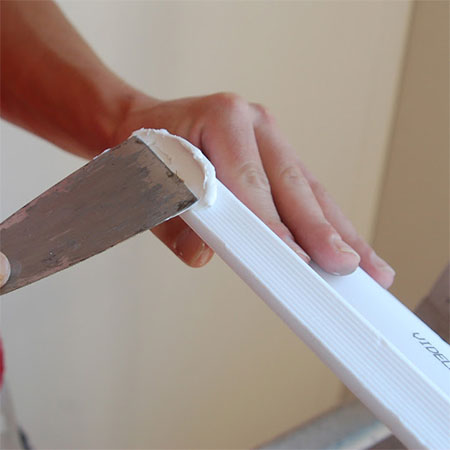
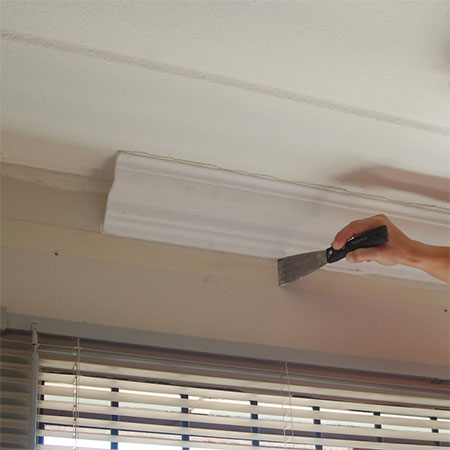
3. Use a wide paint scraper to apply the adhesive along the angled edge of the crown moulding - all the way along. Don't be skimpy when applying the cornice adhesive, when you push onto the wall it also fills the gap at the top and bottom.
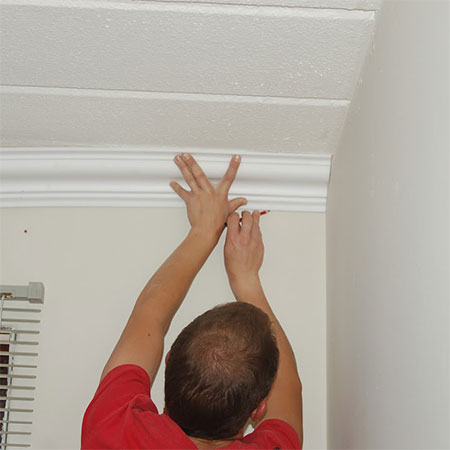
4. Carefully place the strip of crown moulding against the wall and ceiling, using your drawn marks as a guide, as well as the line of masking tape. Press firmly in place all the way along the length.
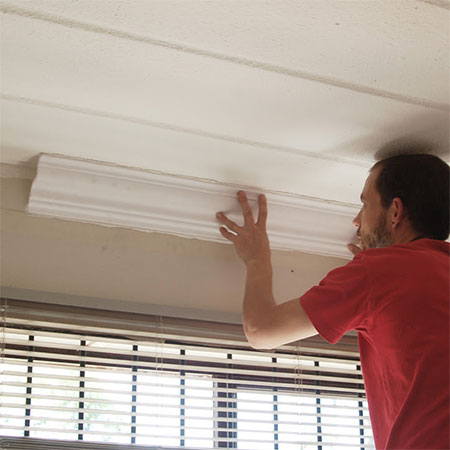
5. Use the paint scraper to remove any excess adhesive that oozes out at the top and bottom of the crown moulding. This is where the line of masking tape came in very useful.
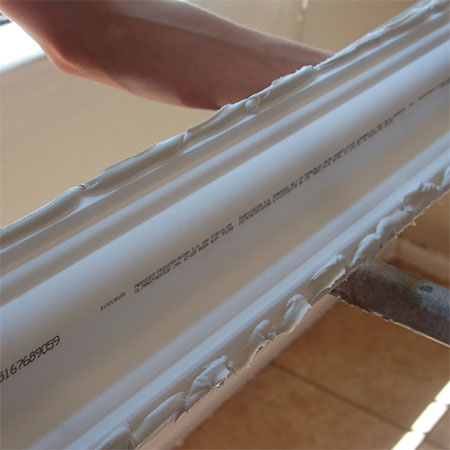
GOOD TO KNOW: Where joining two strips of crown moulding, apply cornice adhesive to the ends of the strips. Push together for a neat join and wipe away any excess adhesive.
Finishing
Any gaps can be filled in with cornice adhesive. Let this dry and then apply a water based enamel over the top to finish off.