
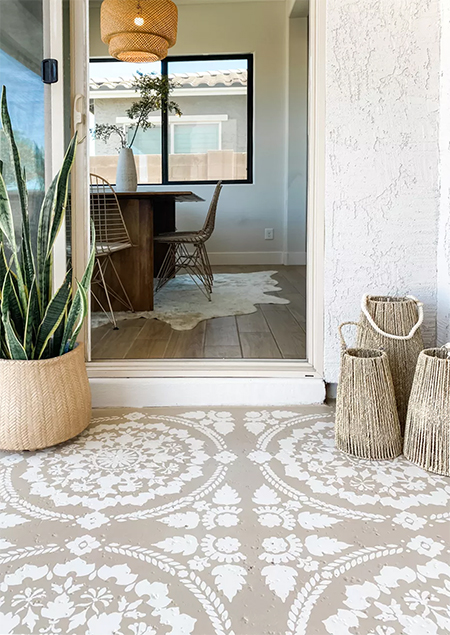
How to Paint and Stencil a Concrete Floor
Indoors or outdoors, painted concrete floors with stencilled designs are an affordable option to many other flooring solutions and they are durable as well.
24/04/2022
realhomes.com - Brooke Waite
Painted concrete floors have been a hot trend for a few years now and there are plenty of examples online where you can see the stunning results that have been achieved with paint and pretty stencils. What is great about painting a concrete floor, either indoors or outdoors, is that it is easy to do and gives you an affordable solution to other flooring options while still offering durability.
realhomes.com - Brooke Waite
If you plan on painting a concrete floor, there is some preparation work involved beforehand, but the most important factor is that the floor be smooth. If there are cracks, these can be filled in with concrete patch, but where the floor has spalling, a problem where the surface of the existing concrete has pulled away or deteriorated, this will need to be attended to. The easiest way would be to have a concrete screed put down over the top and there are contractors who will do this work for you - just check online for this service.
PREPARATION:
Before you start the painting process there is some preparation to be done to ensure the concrete is suitable for painting on. If there is any existing paint on the concrete, this will need to be stripped away. If it is not removed, you run the risk of the new paint coats peeling off later. Oil or grease stains must be removed with a degreasing product. After this, the floor can be cleaned and left to dry thoroughly for a few days.
realhomes.com - Brooke Waite
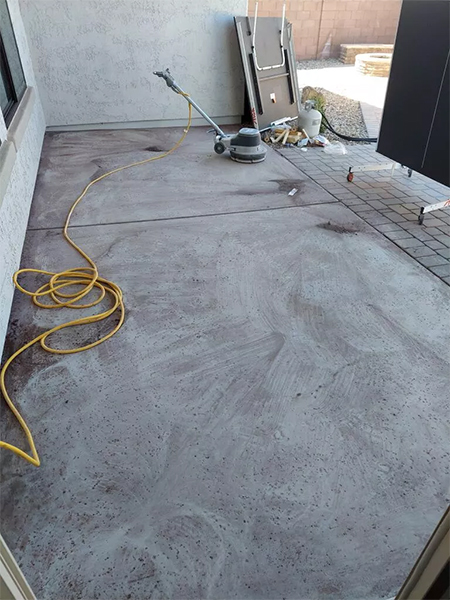
Once the floor is thoroughly dry, hire a floor cleaner and polisher. This is not 100% required but will give the finished floor a smoother finish and provide a better surface for painting.
realhomes.com - Brooke Waite
YOU WILL NEED:
Stencil **
Concrete etching solution
Paint for patio, stoep or concrete - not water-based
- You will need a colour for the base coat and a second colour for the top coat
Low-nap paint roller with extension handle
Foam paint roller
Paint tray
Painter's tape
Rags or cloths
** There isn't a large selection of large-format stencils on the market, but you should be able to arrange for a printer to make a custom stencil for you, or you can look at ordering a stencil online for local shipping. I know that Cutting Edge Stencils (https://www.cuttingedgestencils.com/) and Royal Design Studio (https://www.royaldesignstudio.com/collections/floor-stencils) have an amazing selection of floor stencils and ship to South Africa at reasonable rates.
Buy everything you need to complete this project at your local Builders Warehouse.
HERE'S HOW:
Step 1
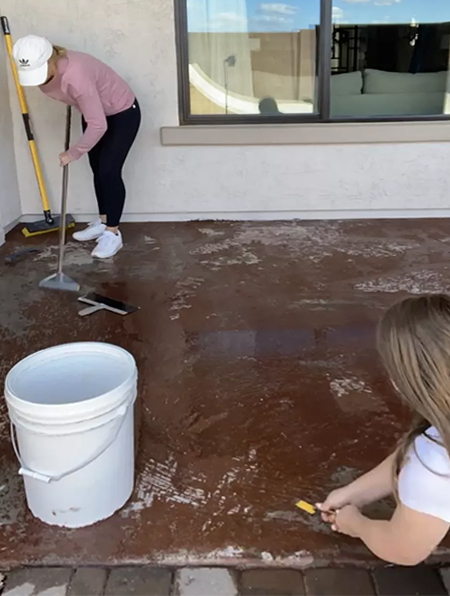
Apply the concrete etching solution according to the instructions. This product is an acid, so handle with care and wear protective gear and clothing when using. If you are using this indoors, open all windows and doors for air circulation and bring in a desk or floor fan to improve air flow out of the room.
Step 2
Use the low-nap paint roller and extension handle to apply the base coat, this will make it far easier and quicker to paint the entire area. Let the base coat dry for at least 48 hours.
Step 3
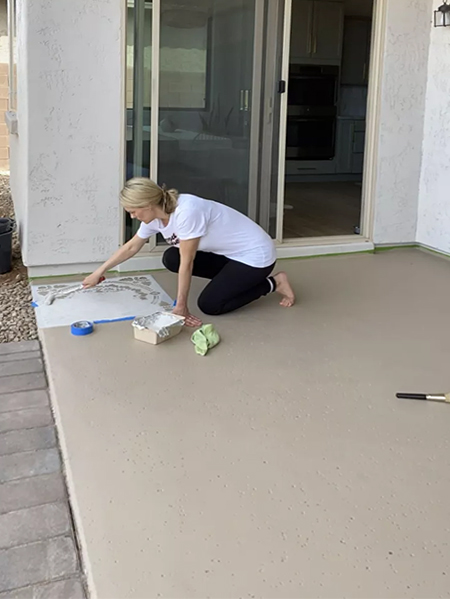
This is the step where you start adding the stencil design onto the painted concrete. First, decide where the best place would be to start paint, preferably at the front where you want a full stencil design to be displayed, and preferably away from any foot traffic in and out of the room or house.
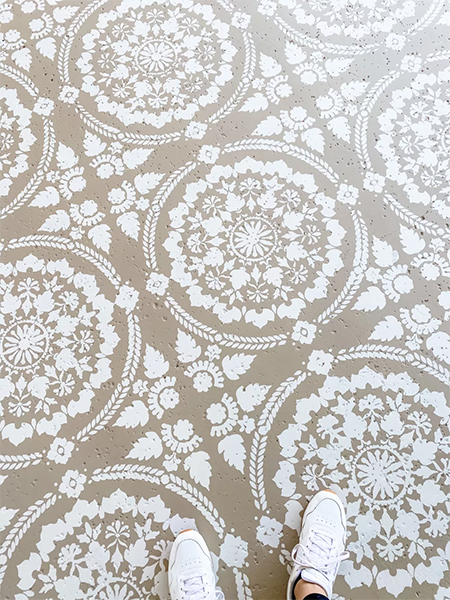
Use painter's tape to secure the stencil onto the floor and then use a foam paint roller to go over the stencil. DO NOT overload the roller with too much paint as you run the risk of the paint bleeding under the stencil, and this will totally spoil the finished look.
realhomes.com - Brooke Waite
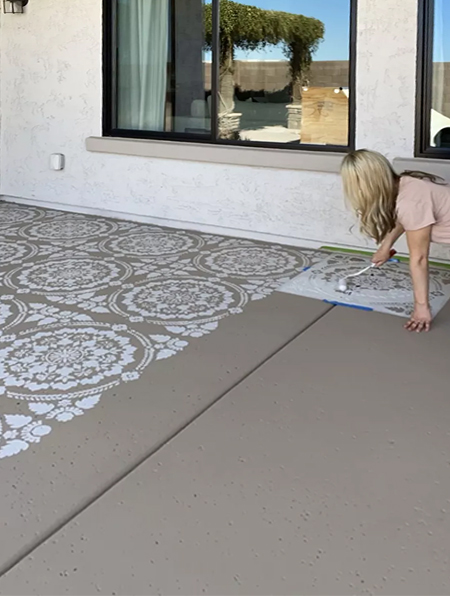
Continue to remove and replace the stencil to cover the entire area. If you need to keep an area open for people to walk through, only paint that area that will not be in the way. Let this dry for 48 hours and then paint the remaining area. This will allow people to walk on the painted finish without damaging the surface, but it is preferable that no one walks on the painted finish for at least a couple of days so that the paint can cure properly.
realhomes.com - Brooke Waite
Now you know how easy it is, what room are you going to paint?
realhomes.com - Brooke Waite